Voted Travelers' Choice 2023

Find Your Next Adventure
Where Will You Go Next?
Find Your Next Adventure
Where Will You Go Next?
Resources For Photographers
About Our Company
JOIN OUR FREE FACEBOOK GROUP - THE BCJ TRIBE
Big Changes: The Latest Lightroom Classic & Photoshop Update
by Matt Meisenheimer
The October 2020 update to Adobe’s main photography applications – Lightroom Classic and Photoshop – introduced some new features to both programs. I’ve spent the last two months playing with the new features and gathering my thoughts on the update, because, as you’ll find out, the update has major ethical implications…
Here is a summary of the added features for both programs, straight from Adobe, before we get into it. I’ve highlighted in bold the most important updates for us nature photographers.
Adobe Lightroom Classic
Adobe Photoshop
Lightroom’s New Color Grading Panel
The Color Grading panel replaces the Split Toning panel in Lightroom Classic and represents one of the biggest features added since the addition of Range Masks.
The Color Grading panel offers robust color control for the shadows, midtones, and highlights. It is similar to what you see in professional-grade video editors like Premiere Pro and Davinci Resolve. There are multiple views, which allow colors to be adjusted via color wheels or sliders, depending on what prefer. Aside from the targeted tonal controls, there is also a ‘Global’ option for adjusting the overall color of an image.
Here is a summary of the added features for both programs, straight from Adobe, before we get into it. I’ve highlighted in bold the most important updates for us nature photographers.
Adobe Lightroom Classic
- New controlled adjustments for shadows, midtones, and highlights with Color Grading
- Faster editing with all-new Performance Improvements
- Tethered Live View for Canon
- Enhanced Zoom Features
- Support for new cameras and lenses
Adobe Photoshop
- Neural Filters
- Sky Replacement Tool
- Learn More Directly In-App
- Enhanced Cloud Documents
- Pattern Preview
Lightroom’s New Color Grading Panel
The Color Grading panel replaces the Split Toning panel in Lightroom Classic and represents one of the biggest features added since the addition of Range Masks.
The Color Grading panel offers robust color control for the shadows, midtones, and highlights. It is similar to what you see in professional-grade video editors like Premiere Pro and Davinci Resolve. There are multiple views, which allow colors to be adjusted via color wheels or sliders, depending on what prefer. Aside from the targeted tonal controls, there is also a ‘Global’ option for adjusting the overall color of an image.

The first view of the panel features color wheels for the three tonal ranges. There is also a slider under each tonal range that controls luminosity – a nice added bonus. The wheels look like a lot but are simple to adjust after some tinkering. By default, the circle or color picker hovers over the center of each circle. Click on the center and move it towards the outside of the circle to adjust saturation, and move the circle around the circle to adjust the hue.
You can hold ‘Shift’ on the keyboard to restrict wheel movement to only saturation, or ‘Ctrl/Cmd’ to restrict movements to the only hue.
The ‘Blending’ and ‘Balance’ sliders are visible for each view, but their functions do not change:
Blending – Adjusts the amount of overlap between the shadows and the highlights.
Balance – Balances the effect of the sliders between highlights, midtones, and shadows. Values greater than 0 will increase the effect of the highlights, values less than 0 will increase the effect of the shadows.
The remaining four views are, all the same, only the tonal value changes (i.e. Shadows, Midtones, Highlights, Global).

Here, we still have the color wheel option, but there are now some additional sliders. These sliders resemble the previous Split Toning panel if you were familiar with it. If the color wheel is difficult for you to control, you can work with the ‘Hue’ and ‘Saturation’ slider instead. I actually prefer using the sliders because they offer more precise control. When you move the two sliders, you will see the hue and saturation selection reflected in the color wheel above.
There is also a small box in the lower left of the panel. When toggled, it will expand a table with a few preset colors and a color picker. The color picked can be used to sample a color in the image you’re working with – pro hack: the color picker amazingly can also pick a color from an outside source. If you want to use a color from an image online or another source, you can use the color picker to sample that color. Awesome!
Now, this is no doubt a huge addition to Lightroom Classic, but with that being said, it is a really hard panel to work with, especially for beginner Lightroom users. You will find that it is very easy to enter the range where your colors are way too overdone. The best way to approach the panel is with small scale, finer adjustments. It can definitely help you create a great look and color style, but you have to be careful with it.
Being able to target the tonal ranges is great though, it’s another addition of more selective control in Lightroom Classic, and the gap narrowing between Lightroom and Photoshop. I do 95% of my processing in Photoshop, but to me, Lightroom is definitely more intuitive and easier to use, sometimes faster too. So, if I can do more in Lightroom Classic, that’s a plus for me and I’m sure for others too.
Enhanced Zoom
Outside of various performance improvements, the only other feature added was enhanced zoom capability. Scrubby and box zoom is now available in Lightroom Classic.
For scrubby zoom, hold down Shift while moving the cursor left and right. I am actually glad this was added to Lightroom. I use scrubby zoom in Photoshop all the time and it is useful, it’s a nice addition for Lightroom.
For box zoom, hold down Control or Command and draw a box on an image to zoom in.
The ‘Navigator’ panel also had a slight change where zoom values are shown as percentages now versus the old ratios.

Photoshop’s New Sky Replacement Feature
The October update added ‘Sky Replacement’ to Photoshop, yes, sky replacement. Adobe has now enabled the masses to quickly fix those less than ideal shooting conditions with the click of a mouse.
To access the feature, go to Edit -> Sky Replacement. The tool automatically selects and masks out the sky, while giving you various preset skies for replacement. You can also stockpile your own skies for use.
For greater precision, you can zoom in and select a specific section of the sky or move the sky you selected around for best alignment.
This new feature is extremely easy to apply and the selection/masking algorithms are scary good. Beginner or lifelong user, it should be easy for you to quickly replace a sky…more on that later…
Sky Replacement Options
Although it only takes a click of ‘Sky Replacement’ to start the process, there are many options for fine-tuning.

A. Sky Move Tool B. Sky Brush C. Hand Tool D. Zoom Tool E. Select a replacement sky F. Settings G. Recently used sky H. Create new group I. Create new sky J. Delete sky K. Preset Preview Zoom
Shift Edge: Determines where the border between the sky and the original image begins
Fade Edge: Sets the amount of fading or feathering from the sky image to the original photo along the edges
Brightness: Adjusts the brightness of the sky
Temperature: Adjusts the temperature of the sky warmer or cooler
Scale: Resizes the sky image
Flip: Flips the sky image horizontally
Lighting mode: Determines the blend mode used for adjustments
Lighting Adjustment: Opacity slider that lightens or darkens the main image where it blends with the sky – a setting of zero will not make any adjustments
Color Adjustment: opacity slider Determines how strongly the foreground is harmonized with the sky colors – a setting of zero will not make any adjustments
Output: Allows you to select whether the changes to the image are placed on New Layers (named layer group with masks) or a Duplicate Layer (single flattened layer)

Oh, the Ethics!
I was surprised by the addition of the ‘Sky Replacement’ tool. I consider myself fairly lenient when it comes to photography ethics related to post-processing. After all, I think photography is a creative endeavor and some of my favorite photographers are true artists.
Now, I think this new feature is really bad for photography, like really bad. Adobe’s algorithms are so good that replacing a sky in almost any image is easy, and can be done in seconds. I’m sure many are doing composite work like this already and I’m sure Instagram is full of them.
I’m OK with composite work when it’s expressed as so by the photographer. I’m not OK with it when it’s passed as reality. I’ve spent a lot of time in the field and I do think there is a lot of value in putting in the time, preparation, and sacrifice (really) to get good light. I think it makes the experience special and it puts more weight on an image.
Well, I think it’s going to be really hard to determine what’s real and what’s not anymore, and what lengths a photographer went for a certain shot – and I’m not a fan of it. Of course, this is just my personal ethic on the new tool, but I’d love to hear what you think? Will you be using the new tool? How do you feel about others using the tool? I mean, maybe I’ll find myself using it in the future, but if I do, I’ll definitely make it clear.
So, let us know your thoughts! Definitely a big update for each program, and a controversial one for Photoshop.

arrow_drop_down_circle
Divider Text
AUTHOR
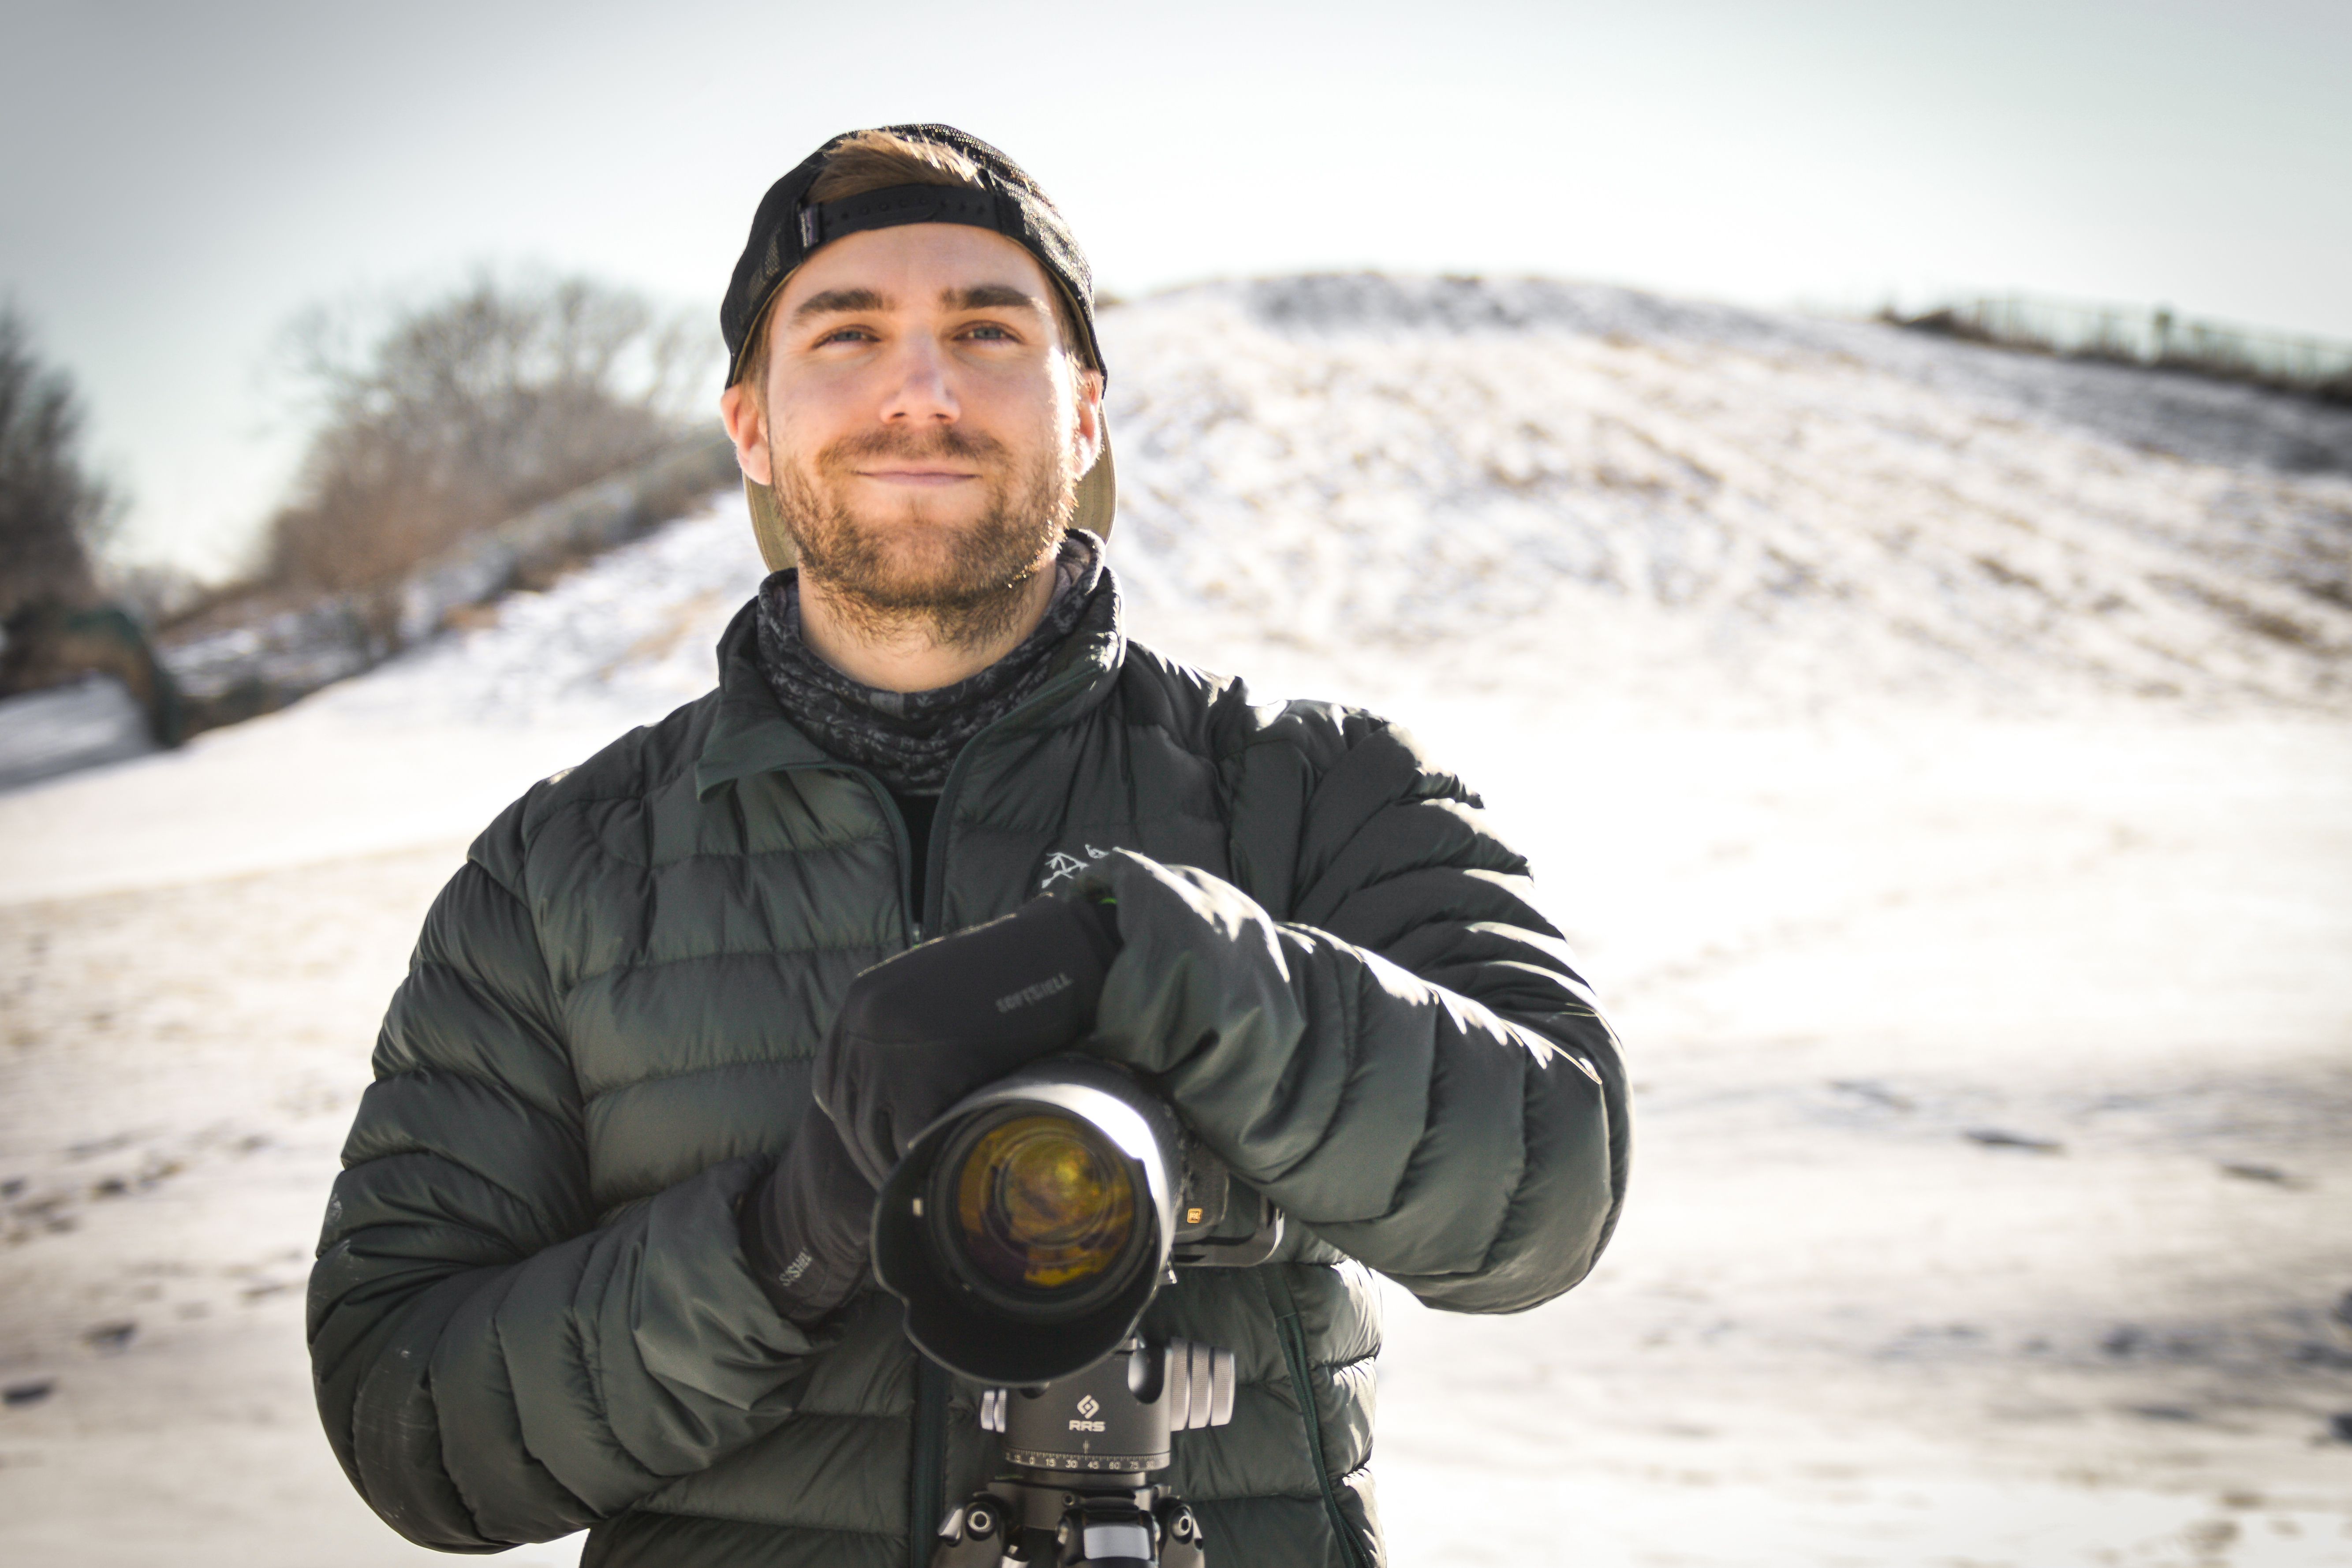
Matt Meisenheimer is a photographer based in Wisconsin. His artistry revolves around finding unique compositions and exploring locations that few have seen. He strives to capture those brief moments of dramatic light and weather, which make our grand landscapes so special. Matt loves the process of photography – from planning trips and scouting locations, taking the shot in-field, to post-processing the final image.
Matt is an active adventurer and wildlife enthusiast as well. He graduated with a degree in wildlife ecology and worked in Denali National Park and Mount Rainier National Park as a biologist. He also spent 6 months working in the deserts of Namibia before finding his path in photography. Matt’s passion for the wilderness has taken him to many beautiful places around the world.
As a former university teaching assistant, Matt is passionate about instruction. It is his goal to give his students the technical and creative knowledge they need to achieve their own photographic vision. He truly enjoys working with photographers on a personal level and helping them reach their goals.
You can see Matt’s work and portfolio on his webpage at www.meisphotography.com
SEARCH THE BLOG
clear


Join our free photo-travel community group on Facebook. A great place to swap stories & share images with fellow photographers!

Live events & webinars from the comfort of your own home. Free webinars on a variety of photography related topics – from photo editing to composition & more.

Check out the BCJ Trip Calendar for all of our upcoming Photography Tours, Workshops & Safaris!

FEATURED TRIP:
Brown Bears of Alaska: Beyond Brooks
Immerse yourself in the Alaskan wilderness and capture stunning images of Brown Bears!
Brown Bears of Alaska: Beyond Brooks
Immerse yourself in the Alaskan wilderness and capture stunning images of Brown Bears!


UPCOMING TRIPS WITH AVAILABILITY
[Block//Web Spots Left]
Price: [Block//Current Price]
Dates: [Block//Start Date %n/j/Y%+0] to [Block//End Date %n/j/Y%+0]
READ OUR NEWSLETTER FOR NEW TRIPS, ARTICLES, & PROMOS
BACKCOUNTRY JOURNEYS
"Backcountry Journeys offers guests the unique opportunity to explore our natural world from behind their own lens. We run a selection of hand-crafted Photo Tours, Workshops & Safaris connecting passionate people to exceptional experiences. Locations include Yosemite, Alaska, Yellowstone, Glacier National Park, Hawaii, Utah as well as Botswana & Costa Rica."
- Russ Nordstrand, Backcountry Journeys Founder & Director
- Russ Nordstrand, Backcountry Journeys Founder & Director
TRIP CATALOG
Download our Trip Catalog for detailed information on our many destinations for photography tours, workshops, and safaris.
All Images & Content are property of Backcountry Photography Tours, Workshops & Safaris LLCs - Copyright 2024
BACKCOUNTRY JOURNEYS
"Backcountry Journeys offers guests the unique opportunity to explore our natural world from behind their own lens. We run a selection of hand-crafted Photo Tours, Workshops & Safaris connecting passionate people to exceptional experiences. Locations include Yosemite, Alaska, Yellowstone, Glacier National Park, Hawaii, Utah as well as Botswana & Costa Rica."
All Images & Content are property of Backcountry Journeys Photography Tours, Workshops & Safaris LLC - Copyright 2024
TRIP CATALOG
Download our Trip Catalog for detailed information on our many destinations for photography tours, workshops, and safaris.