Voted Travelers' Choice 2023

Find Your Next Adventure
Where Will You Go Next?
Find Your Next Adventure
Where Will You Go Next?
Resources For Photographers
About Our Company
JOIN OUR FREE FACEBOOK GROUP - THE BCJ TRIBE
Canadian Rockies: A Personal Report & Notes on Planning
by Matt Meisenheimer
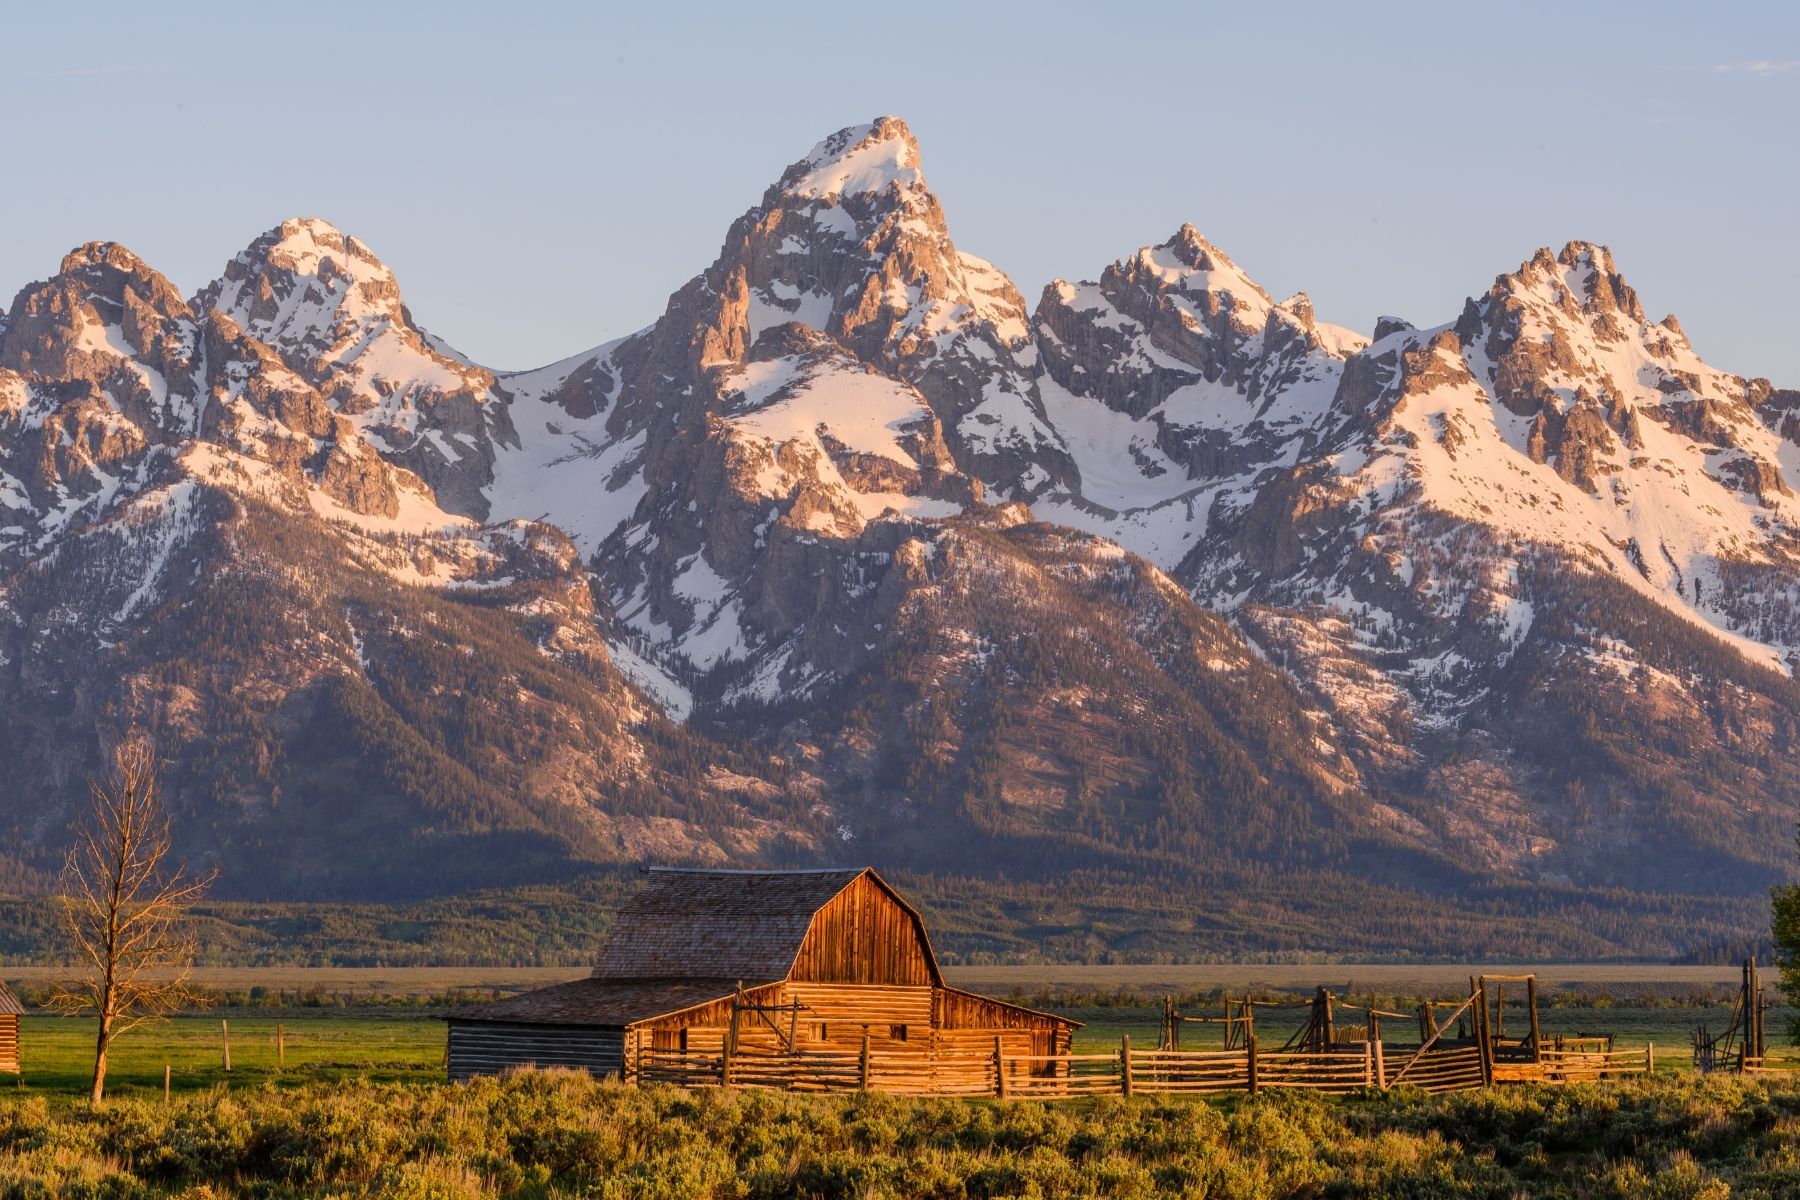
I recently took a personal trip to the Canadian Rockies, specifically Banff and Jasper National Parks in Alberta.
Both parks, as well as the extended surrounding areas, are some of the best destinations in the world for landscape photography, in my opinion. Great in all seasons as well. I have never visited in spring, but summer has great waterfalls, fall has great color and dramatic weather, and winter leaves the landscape covered in snow and ice. It is a special place in winter because the Canadian government creates great access during the months of snow and cold. Access to alpine areas and mountain landscapes is possible all from the comfort of a vehicle.

Notable landscape features include many of the massive lakes that dot the Canadian Rockies. In winter, organic matter on the bottom of some of these lakes releases methane, which rises to the surface and freezes in the forms of bubbles. The iconic bubbles are a famous thing to photograph in the Rockies. Over the last few years, Abraham Lake, the most iconic ‘bubble’ lake has exploded in popularity.
Many of the large rivers, like the Bow River and Athabasca River, have open areas that are skirted with ice and provide a nice leading line for some of the mountains in the area. There is also the Athabasca Glacier, and tours are possible to the glacier that will get you on the ice or better yet, in ice caves, which vary year to year.

That’s not to say a winter trip is a breeze in the Rockies. Temperatures can be anywhere from -30 degrees F to 30 degrees F, although access is good, many areas and roads do close in winter or during severe weather, and you need to be prepared for serious winter shooting. With some planning, taking a photo trip to the Canadian Rockies is simple overall. I would highly recommend it, as I will be going back again next year.
Planning
Getting to the Canadian Rockies is easy for most living near major airport hubs. You can fly straight into Calgary, I took a direct flight from O’Hare. The lower reaches of the Rockies, like Canmore and Kananaskis, are only an hour drive away…access to mountains from Calgary is amazing.
I would recommend renting an AWD SUV, a sedan or compact car would most likely be fine, but sections of the Icefields Parkway leading further north are not very well maintained and can get nasty during bad winter weather. If you plan to just hang out around the Banff area, a sedan is more than enough.
For me, planning always starts with compiling locations that I want to shoot. This involves different sources – Instagram, 500px.com, Flickr, Google, Google Maps, Google Earth, GaiaGPS, PhotoPills, and TPE 3D.
On Instagram, I look at hundreds of photos each day from photographers that inspire me. I constantly save photos and group them into collections on the app. This lets me go back and reference certain shots from a specific area. I do the same thing on 500px.com and Flickr.
After that, I look into areas where some of those shots might have been taken. I use that as a baseline to find similar (but different) compositions if possible. Of course, it’s hard to know what’s there until you’re. But, this process helps a lot with finding locations. So to find spots, I use basic keywords in Google of a place to try and find name locations. I then reference those locations with a map, usually starting in Google Maps. I access the ‘360-degree Photos’ in Google Maps, which opens many points on a map that I can zoom around too and do a 360-degree pan. That helps a lot with becoming comfortable with an area before ever going there. Google has mapped many roads and trails with photos too.

I use Google Maps in conjunction with Google Earth. The resolution on Google Earth is incredible. You can get a very good idea of how the major features of a landscape will look in person. I use it look at those major features and then hope I can find smaller features, like a stream, group of trees, a pond, etc…things that might help me think of how composition in the area might look.
Below is a snapshot from Google Earth. I used this view to help me plan a shot. Obviously the mountain is huge, but I knew that there would be some open braids of the river that could make for a nice foreground. That also let me know that I would definitely need waders for this trip.

After I dial-in location, I use some topographic maps via an awesome application called Gaia GPS. This is more of an advanced step, but I check out the topography and feature to again, gather more information on what might be available to shoot – in terms of big (mountains) and small (smaller features for composition).
I then progress to photo application like PhotoPhills and The Photographer’s Ephemeris 3D. PhotoPills gives me information on where the sun with rise and sunset, where the moon will be during different times, and where the core of the Milky Way will be. From research, I knew that the moon would be in a good spot for photographing some certain mountains I had my eye on.
From there, I used maybe my favorite photo application ever – TPE 3D. This app is amazing, like seriously. It is worth the price over and over. The application uses 3D imagery of the landscape as well as information on the sun, moon, and Milky Way. You can actually visualize (in 3D) exactly where those things will be in the sky. In addition to that, it shows you how light (from the moon and sun) will fall on certain landscape features at various times. For instance, for this Canadian Rockies trip, I found a cool mountain and wanted to see what sunrise would look like, in terms of light on the peak. I found the peak on the map, scrolled through to sunrise, and I saw exactly how sunrise and golden hour would light up the peak…amazing!
I also used it to see how the moon would be oriented in the sky over a mountain that I wanted to shoot. I could see it was in position on January 19th using the application so below is a snapshot from the app and the final shot.

Lodging
I am not going to lie, I sleep in my car or camp a lot during photo trips. Getting a great shot means being in the right place at the right time and being flexible enough to be in that right spot is huge. Sleeping anywhere in a vehicle or camping nearby allows you to not have to pre-book lodging and you can go wherever you want. No, it’s not the most comfortable option.
That wasn’t really an option for me on the trip since temperatures would be -20 to -30 degrees F. Instead, I booked some hostels through HI Hostels, which have a fantastic network in Parks Canada. They are rustic, and oftentimes only dorms are available, but some are ‘in the middle of nowhere’ and give great access to many shooting locations, which would be a 2 to 4-hour drive from the popular areas of Canmore, Banff, and Lake Louise.
I like staying in wilderness hostels in Canada because many have nice kitchens and I can cook my own meals, at whatever time I want.
Of course, there are many nice (very nice) hotels in the area, but they might mean you have a longer driver on your hands depending on what you want to shoot.
Packing List
Backpack
- F-stop Gear Tilopa
Photo Gear
- Nikon Z7
- Nikon 14-30mm f/4
- Nikon 24-70mm f/4
- Nikon 70-300 AF-P FX
- Really Right Stuff TFC-14 Tripod
- Really Right Stuff BH-30 Ballhead
- Really Right Stuff Nikon Z7 L-Bracket Plate
- Breakthrough Filters Circular Polarizers
- Breakthrough Filters 5-stop Neutral Density Filters
- 6 x batteries
- 2 x Sony XQD 64 GB cards
- Zeiss Lens Cleaning Wipes
- 10 x lens clothes
- 2 x washcloths
Apparel
- Salomon X Ultra Winter Boots
- Arc’teryx Beta AR Shell Jacket
- Rab Neutrino Endurance Down Jacket
- Cabela’s Ultralight Waders
- Five Ten Canyoneer Boots (for wading)
- 2mm Neoprene Socks
- 2 x Wool Long-sleeve Shirts
- Patagonia Capilene 4 Baselayer
- Arc’teryx Fortrez Fleece Hoody
- 2 x Mountaineering Wool Socks
- 2 x Merino 250 Wool Long Underwear
- Wool Hat
- Buff
- Face Mask
- Gloves
- 15 x Hand Warmers
Electronics
- Anker Astro E1 Power Bank
- Black Diamond ReVolt Headlamp
- Garmin inReach

Overall, it was a good trip, yet not as productive as I had hoped it would be. Many of the large lakes had so much snowfall early winter that they were covered in snow, meaning the bubbles were buried. Thus, I turned my focus elsewhere and was greeted with some not so nice weather. I got maybe 1-2 breaks at sunrise or sunset, so I was glad to still come away with some shots, but I was hoping it would be more productive. That’s always the case though if you want a great shot, it often takes many, many, many visits to the same location.

I am planning to go back next year, although I might go earlier. Sometime in December, perhaps, when not all of the lakes have frozen over and the rivers aren’t iced over the top. My goal would be early season ice on the edges of the lakes and rivers, with mountains of course.

arrow_drop_down_circle
Divider Text
AUTHOR
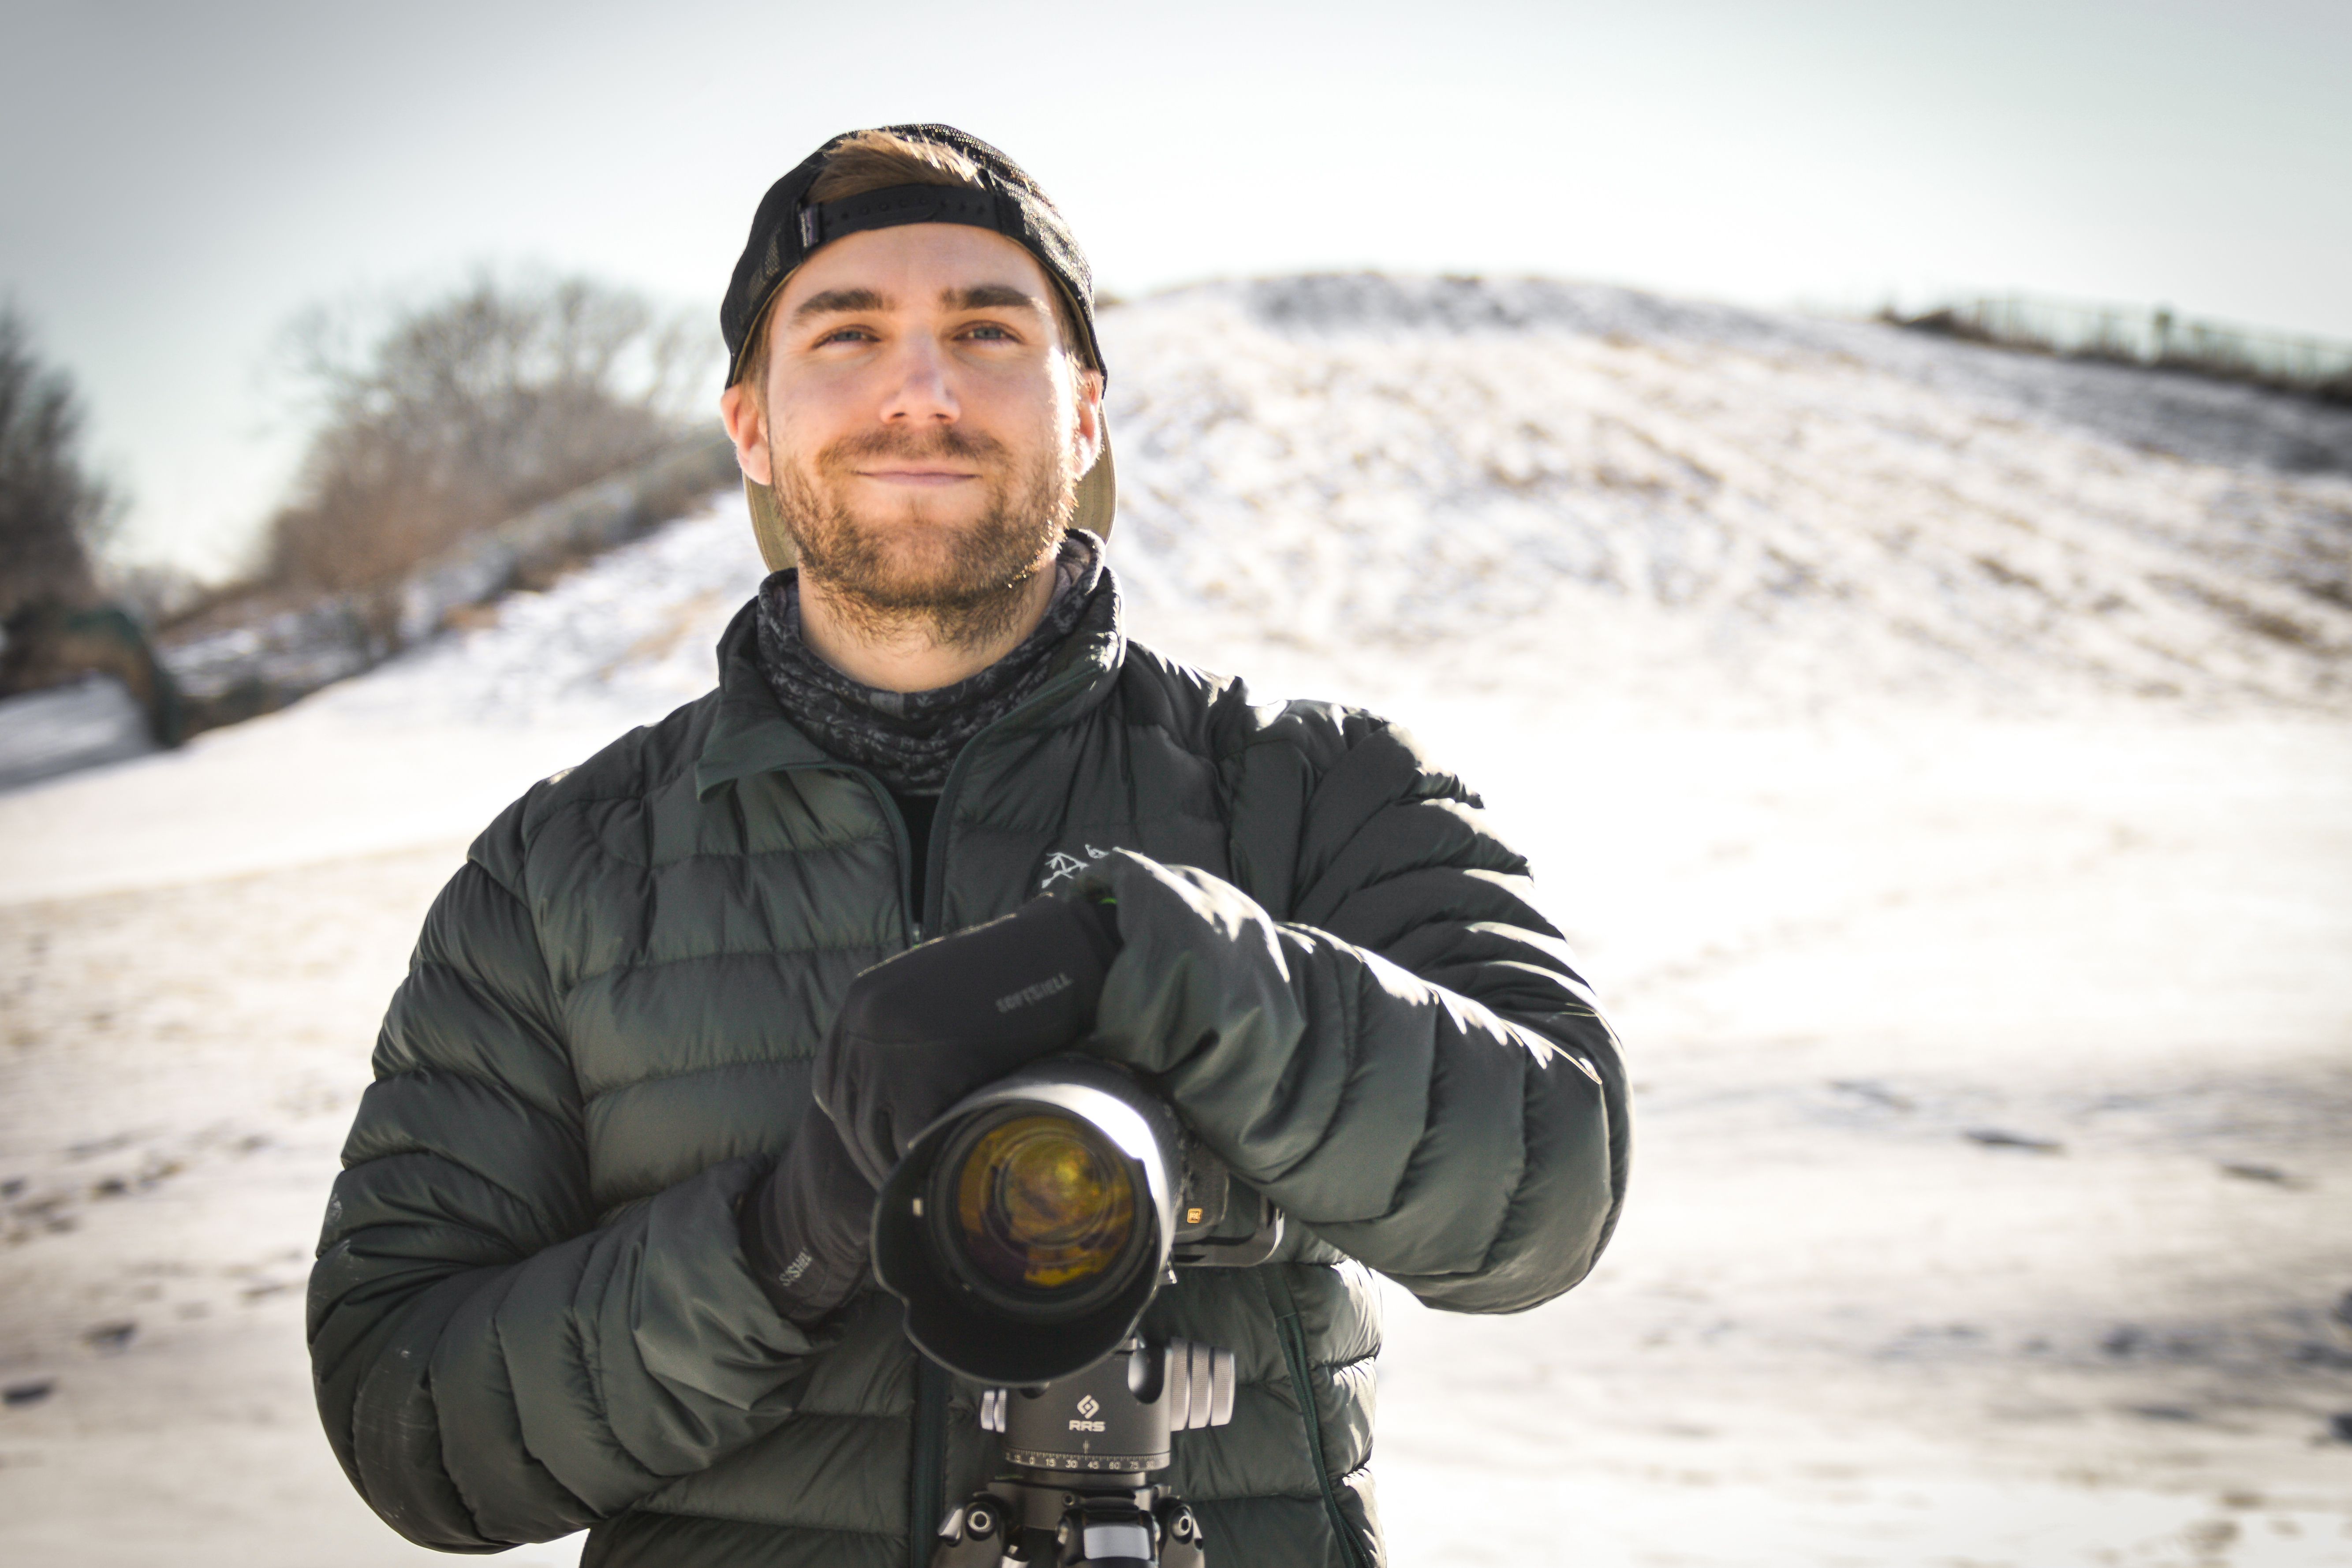
Matt Meisenheimer is a photographer based in Wisconsin. His artistry revolves around finding unique compositions and exploring locations that few have seen. He strives to capture those brief moments of dramatic light and weather, which make our grand landscapes so special. Matt loves the process of photography – from planning trips and scouting locations, taking the shot in-field, to post-processing the final image.
Matt is an active adventurer and wildlife enthusiast as well. He graduated with a degree in wildlife ecology and worked in Denali National Park and Mount Rainier National Park as a biologist. He also spent 6 months working in the deserts of Namibia before finding his path in photography. Matt’s passion for the wilderness has taken him to many beautiful places around the world.
As a former university teaching assistant, Matt is passionate about instruction. It is his goal to give his students the technical and creative knowledge they need to achieve their own photographic vision. He truly enjoys working with photographers on a personal level and helping them reach their goals.
You can see Matt’s work and portfolio on his webpage at www.meisphotography.com
SEARCH THE BLOG
clear


Join our free photo-travel community group on Facebook. A great place to swap stories & share images with fellow photographers!

Live events & webinars from the comfort of your own home. Free webinars on a variety of photography related topics – from photo editing to composition & more.

Check out the BCJ Trip Calendar for all of our upcoming Photography Tours, Workshops & Safaris!

FEATURED TRIP:
Brown Bears of Alaska: Beyond Brooks
Immerse yourself in the Alaskan wilderness and capture stunning images of Brown Bears!
Brown Bears of Alaska: Beyond Brooks
Immerse yourself in the Alaskan wilderness and capture stunning images of Brown Bears!


UPCOMING TRIPS WITH AVAILABILITY
[Block//Web Spots Left]
Price: [Block//Current Price]
Dates: [Block//Start Date %n/j/Y%+0] to [Block//End Date %n/j/Y%+0]
READ OUR NEWSLETTER FOR NEW TRIPS, ARTICLES, & PROMOS
BACKCOUNTRY JOURNEYS
"Backcountry Journeys offers guests the unique opportunity to explore our natural world from behind their own lens. We run a selection of hand-crafted Photo Tours, Workshops & Safaris connecting passionate people to exceptional experiences. Locations include Yosemite, Alaska, Yellowstone, Glacier National Park, Hawaii, Utah as well as Botswana & Costa Rica."
- Russ Nordstrand, Backcountry Journeys Founder & Director
- Russ Nordstrand, Backcountry Journeys Founder & Director
TRIP CATALOG
Download our Trip Catalog for detailed information on our many destinations for photography tours, workshops, and safaris.
All Images & Content are property of Backcountry Photography Tours, Workshops & Safaris LLCs - Copyright 2024
BACKCOUNTRY JOURNEYS
"Backcountry Journeys offers guests the unique opportunity to explore our natural world from behind their own lens. We run a selection of hand-crafted Photo Tours, Workshops & Safaris connecting passionate people to exceptional experiences. Locations include Yosemite, Alaska, Yellowstone, Glacier National Park, Hawaii, Utah as well as Botswana & Costa Rica."
All Images & Content are property of Backcountry Journeys Photography Tours, Workshops & Safaris LLC - Copyright 2024
TRIP CATALOG
Download our Trip Catalog for detailed information on our many destinations for photography tours, workshops, and safaris.