Voted Travelers' Choice 2023

Find Your Next Adventure
Where Will You Go Next?
Find Your Next Adventure
Where Will You Go Next?
Resources For Photographers
About Our Company
JOIN OUR FREE FACEBOOK GROUP - THE BCJ TRIBE
Tack-Sharp Nature Photos: Ten Tips
by Matt Meisenheimer
Getting sharp photos is a crucial aspect of photography. If a photo is blurry, out of focus, or simply not sharp, then it’s not a good photo. One you will most likely end up dragging to your computer’s Recycle Bin.
In my mind, the two things that are essential for a high-quality image are sharpness and exposure. While there are indeed more things that matter, these two details lay a foundation, and without them, it’s hard to go much further. In this article, we’ll take talk about just how to go about achieving perfect sharpness and focus.
While leading assisting guists on photo workshops, I see a handful of blurry images. Usually, I help correct this by providing one, or more, of the following tips. The most common culprit I see is shooting handheld with a shutter speed that is too slow, but we will cover that issue in-depth later.
So, let’s take a look at our list. This list is by no means comprehensive, and we’d love to hear from you about any additional helpful things that you use to get your images sharp.

Use a Tripod
Many people hate using a tripod, and I don’t use the term ‘hate’ lightly. They will go to great lengths to avoid using that dreaded three-legged apparatus. I totally get it, tripods are cumbersome and another added piece of gear. Unless you invest a lot of money into a top of the line tripod (like Really Right Stuff), you will most likely run into issues with your tripod and/or ball head, which makes using a tripod all the more frustrating.
But, a tripod is a necessity for nature photography. The only exception being wildlife photography where you can sometimes shoot handheld at a fast enough shutter speed.
A tripod helps stabilize your camera and ensures there is no camera movement or shake. That’s so important for a sharp photo. A tripod allows you to capture sharp photos at very slow shutter speeds as well. We are starting to see mirrorless systems with extremely good IBIS that can produce sharp shots at 1/5 second and slower, but as of right now, a tripod is still a very important component of producing sharp, high-quality images. I recommend using a tripod whenever possible, your images will thank you.
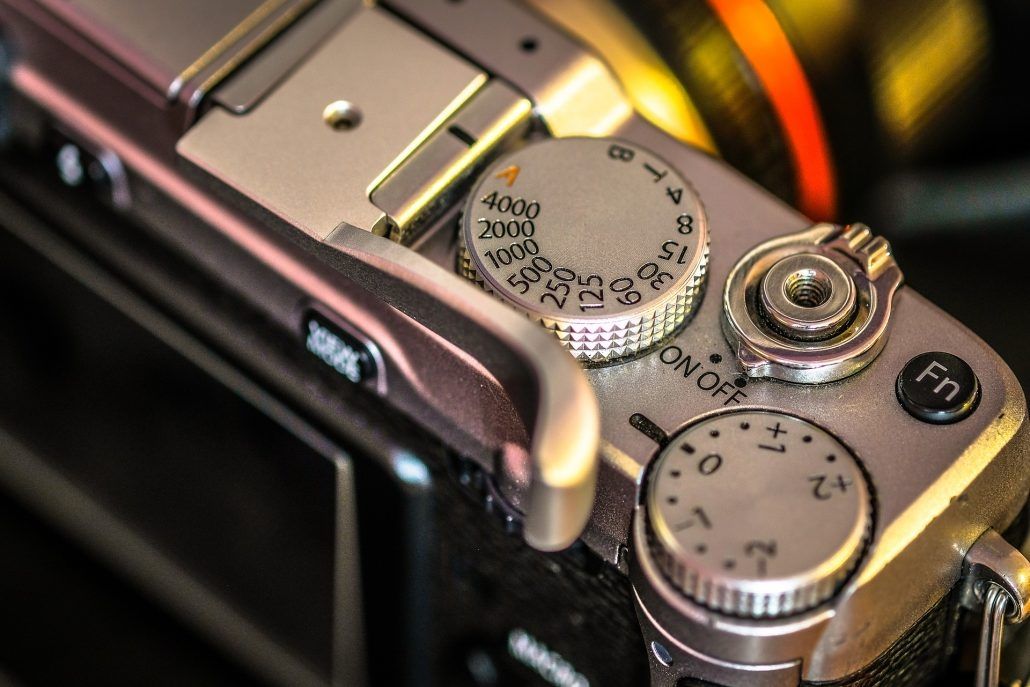
Check your Shutter Speed
Always monitor and check your shutter speed while shooting. Shutter speed can decide whether or not your photo is sharp. Too often I see photographers shooting handheld during periods of low light, like golden hour, with extremely slow shutter speeds. While the small LCD preview of those images might give the appearance that the image is sharp, a laptop or monitor will expose them as blurry and unusable.
If you do forego a tripod, always check your shutter speed when shooting. A good rule of thumb is using the general shutter speed formula of 1/2x where ‘x’ is your focal length. So, if you are shooting at 50mm, you want a minimum shutter speed of 1/100s. With good in-body or lens stabilization, you can get away with 1/x.
Also, be cognizant of what you’re shooting. If you’re shooting birds in flight, you will need a very fast shutter speed – 1/1000s and even faster is best. If you’re shooting at 200mm, a 1/400s shutter speed will fulfill the general 1/2x rule, but it won’t be appropriate for fast-flying birds.
Likewise, if you’re shooting a landscape where the wind is prevalent. You will need to choose a fast enough shutter speed to freeze the landscape, for instance, any trees, foliage, or flowers that might be in your frame.
Many people hate using a tripod, and I don’t use the term ‘hate’ lightly. They will go to great lengths to avoid using that dreaded three-legged apparatus. I totally get it, tripods are cumbersome and another added piece of gear. Unless you invest a lot of money into a top of the line tripod (like Really Right Stuff), you will most likely run into issues with your tripod and/or ball head, which makes using a tripod all the more frustrating.
But, a tripod is a necessity for nature photography. The only exception being wildlife photography where you can sometimes shoot handheld at a fast enough shutter speed.
A tripod helps stabilize your camera and ensures there is no camera movement or shake. That’s so important for a sharp photo. A tripod allows you to capture sharp photos at very slow shutter speeds as well. We are starting to see mirrorless systems with extremely good IBIS that can produce sharp shots at 1/5 second and slower, but as of right now, a tripod is still a very important component of producing sharp, high-quality images. I recommend using a tripod whenever possible, your images will thank you.
Check your Shutter Speed
Always monitor and check your shutter speed while shooting. Shutter speed can decide whether or not your photo is sharp. Too often I see photographers shooting handheld during periods of low light, like golden hour, with extremely slow shutter speeds. While the small LCD preview of those images might give the appearance that the image is sharp, a laptop or monitor will expose them as blurry and unusable.
If you do forego a tripod, always check your shutter speed when shooting. A good rule of thumb is using the general shutter speed formula of 1/2x where ‘x’ is your focal length. So, if you are shooting at 50mm, you want a minimum shutter speed of 1/100s. With good in-body or lens stabilization, you can get away with 1/x.
Also, be cognizant of what you’re shooting. If you’re shooting birds in flight, you will need a very fast shutter speed – 1/1000s and even faster is best. If you’re shooting at 200mm, a 1/400s shutter speed will fulfill the general 1/2x rule, but it won’t be appropriate for fast-flying birds.
Likewise, if you’re shooting a landscape where the wind is prevalent. You will need to choose a fast enough shutter speed to freeze the landscape, for instance, any trees, foliage, or flowers that might be in your frame.

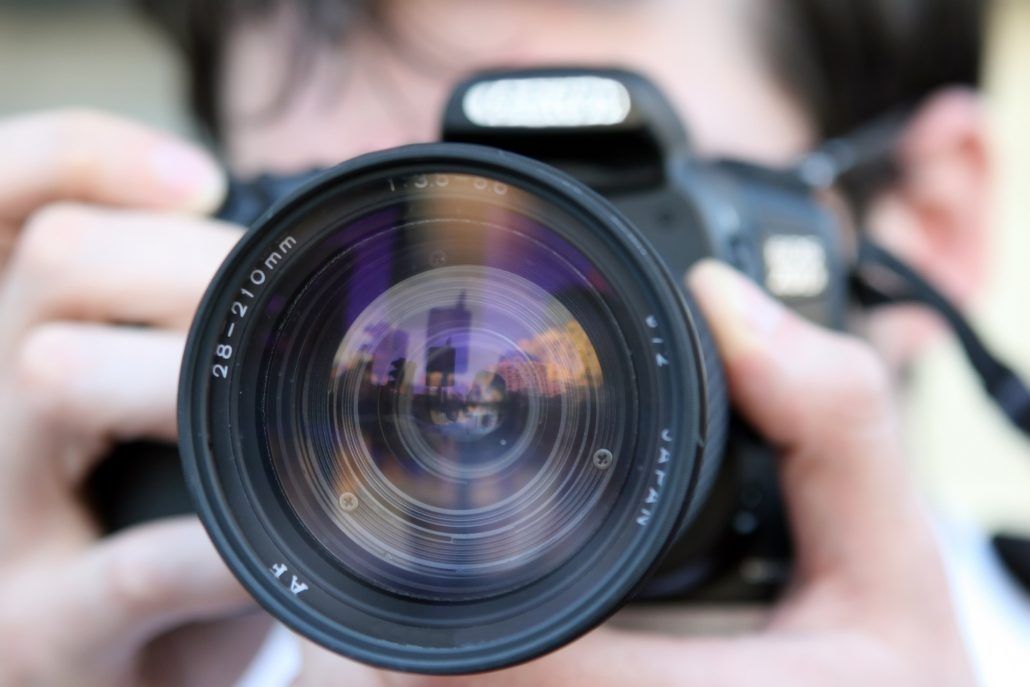
Invest in Great Lenses
All of us are on a budget when it comes to camera gear, but to be short and sweet, higher-priced lenses are worth it. Professional lenses are priced at a premium for good reason, they deliver the best performance. They are sharp across the entire frame at, even in the corners, they have the lowest amount of chromatic aberration, they are optimized across their operating apertures, and they sometimes have added features like lens stabilization.
I think the biggest upgrade when moving to professional lenses is the great contrast and sharpness. Professional grade lenses are not only sharper in the center of the frame, but also the edges, where you will see cheaper kit lenses perform extremely badly.
Today, gear is actually one of the least important components for getting a great shot, but that’s not to say that professional equipment does not make a difference.

Use a Remote Shutter Release or 2-Second Delay
Another thing I see overlooked is using a shutter release or using the super simple 2-second delay that almost all DSLR and mirrorless cameras have within their internal settings. It can seem negligible, but when you press the shutter button, there is vibration generated that can affect image quality, especially when shooting at slow shutter speeds during periods of low light (like golden hour).
An easy way to prevent this is by using a shutter release or delay. Shutter releases come in all shapes and sizes, prices, and features. I have a wired intervalometer that I use for oceanscapes and night photography. All other times, I simply set the 2-second delay on my camera. I love doing this because I don’t need any other accessories and it’s easy – I pick my focus point, press the shutter, and then 2 seconds later an image is captured.
Review your Photos in Playback
Always, always, always review the photos you are capturing when you’re shooting. Whether it’s a brown bear or a beautiful sunrise, use the Playback feature on your camera. Using Playback allows you to not only check exposure but also check sharpness and focus. After every 5-10 shots, I will go into Playback quickly and use the zoom tools to check images for focus. If images are blurry, I know that I either need to readjust focus or make a change to my shutter speed.
Don’t shoot blindly, Playback has a lot of great features to make sure you are on the right track. You can check your Histogram and zoom/pan all over to make sure images are tack sharp. If they are not, make a change!

Use Live View
Live View is so useful for capturing sharp images. It operates much like Playback, except with Live View you are seeing a real-time preview of the frame you intend to capture. Difficult to use for wildlife photography, but for static subjects, it works great. Because I shoot mirrorless, I use Live View for every image I capture, but DSLRs also have great Live View modes that can be toggled on/off.
With Live View, you can use those same zoom/pan tools to check out areas of your image to ensure proper sharpness and focus, but you can do those things before you take the shot rather than after. Live View is said to also provide more accurate focusing because focusing is happening directly on the sensor.

Learn how to Manually Focus
Learning to manually focus can help ensure sharp shots and will also make you a better photographer. Modern cameras have some great features that also make it easier to focus manually. The first is called focus peaking. Focus peaking is a visual overlay that can be viewed via an EVF or Live View. The overlay is a bright color (red or yellow) and shows a preview of what edges are in focus. This makes it easy to manually adjust focus and see when the subject/element is in focus.
Another awesome feature that is often overlooked is the depth of field preview button. This is usually an assignable button or a button on the front of the camera, near the lens mount. The depth of field preview feature takes your current focus selection and your aperture into consideration. Remember, aperture controls the depth of field. Thus, say I set my aperture to f/11 and focus 1/3 of the way through the scene I’m shooting. When I press the depth of field preview button, my camera will generate a preview on Live View that shows me what’s in focus based on my current focus point and aperture. So, I can see if my foreground and background are in focus with my current selection. It’s an awesome tool and one I don’t see used nearly enough in the field.
Choose the Lowest Possible ISO
I find novices struggle to understand ISO. It seems like a magical setting. When increased, it makes a very dark scene brighter, perfect! But, the nasty side effects aren’t considered. When ISO values are increased, more and more noise creeps into the image and at very high ISOs (ISO 800+), there is some serious image degradation. Even with proper focus, the inclusion of heavy noise makes an image appear less sharp (and noisier). This is unavoidable sometimes for wildlife photography and for low light scenes, but do your best to keep your ISO as low as possible.
If shooting landscapes on a tripod, your ISO should almost always be at the lowest base setting of your camera, which will be ISO 64-100 depending on the model. There are only a few exceptions to this and one would be if it’s very windy out and you need a higher ISO for faster shutter speed. In general, keep that ISO low for the best possible image quality and sharpness.

Focus Stack for Sharpness
Focus stacking is a more advanced technique and requires the use of Photoshop, but it is relatively simple.
Focus stacking alludes to taking multiple exposures in the field, all at the same exact camera settings with only the focus point changing exposure to exposure. It is a technique commonly used by landscape professionals.
It allows photographers to position their camera setup very close to foreground elements, which can produce great compositions. Unfortunately, optically and physically, there is no way for the camera to achieve sharp front-to-back focus in these situations without stacking.
So, leaving your camera settings static, you focus on the foreground and take an exposure, the midground and take an exposure, and the background and take an exposure. Usually focus stacking is done with 2-5 exposures and then the images are blended together in Photoshop based on focus. Again, using this focus stacking technique is a great way to ensure everything in your image is sharp and in focus. Read more about Focus Stacking here.
Pick the Right Aperture
Aperture controls the depth of field, which is a very important consideration for nature photography. With wildlife, we often choose a wide-open aperture (f2.8-f/8) to ensure the eyes of the species are sharp and in focus, while the background is blurred and out of focus. With landscapes, we often choose narrower apertures (f/8-f/16) to ensure that the landscape is sharp from foreground to background.
Choosing the right aperture for the situation is essential. If you shoot a landscape at f/2.8 and focus 1/3 of the way through the scene, you will find that only the specific area you focused on is in focus, with the remaining areas of the scene out of focus. The same thing with wildlife, if you shoot a brown bear with an aperture of f/16, you’ll find that not only is the bear sharp, but also is the distracting background.

arrow_drop_down_circle
Divider Text
AUTHOR
Matt Meisenheimer is a photographer based in Wisconsin. His artistry revolves around finding unique compositions and exploring locations that few have seen. He strives to capture those brief moments of dramatic light and weather, which make our grand landscapes so special. Matt loves the process of photography – from planning trips and scouting locations, taking the shot in-field, to post-processing the final image.
Matt is an active adventurer and wildlife enthusiast as well. He graduated with a degree in wildlife ecology and worked in Denali National Park and Mount Rainier National Park as a biologist. He also spent 6 months working in the deserts of Namibia before finding his path in photography. Matt’s passion for the wilderness has taken him to many beautiful places around the world.
As a former university teaching assistant, Matt is passionate about instruction. It is his goal to give his students the technical and creative knowledge they need to achieve their own photographic vision. He truly enjoys working with photographers on a personal level and helping them reach their goals.
You can see Matt’s work and portfolio on his webpage at www.meisphotography.com
SEARCH THE BLOG
clear


Join our free photo-travel community group on Facebook. A great place to swap stories & share images with fellow photographers!

Live events & webinars from the comfort of your own home. Free webinars on a variety of photography related topics – from photo editing to composition & more.

Check out the BCJ Trip Calendar for all of our upcoming Photography Tours, Workshops & Safaris!

FEATURED TRIP:
Mountain Gorillas of Rwanda
Photograph the complex personalities and behaviors of one of the world's most fascinating animals in the beating heart of Africa!
Mountain Gorillas of Rwanda
Photograph the complex personalities and behaviors of one of the world's most fascinating animals in the beating heart of Africa!


UPCOMING TRIPS WITH AVAILABILITY
[Block//Web Spots Left]
Price: [Block//Current Price]
Dates: [Block//Start Date %n/j/Y%+0] to [Block//End Date %n/j/Y%+0]
READ OUR NEWSLETTER FOR NEW TRIPS, ARTICLES, & PROMOS
BACKCOUNTRY JOURNEYS
"Backcountry Journeys offers guests the unique opportunity to explore our natural world from behind their own lens. We run a selection of hand-crafted Photo Tours, Workshops & Safaris connecting passionate people to exceptional experiences. Locations include Yosemite, Alaska, Yellowstone, Glacier National Park, Hawaii, Utah as well as Botswana & Costa Rica."
- Russ Nordstrand, Backcountry Journeys Founder & Director
- Russ Nordstrand, Backcountry Journeys Founder & Director
TRIP CATALOG
Download our Trip Catalog for detailed information on our many destinations for photography tours, workshops, and safaris.
All Images & Content are property of Backcountry Photography Tours, Workshops & Safaris LLCs - Copyright 2024
BACKCOUNTRY JOURNEYS
"Backcountry Journeys offers guests the unique opportunity to explore our natural world from behind their own lens. We run a selection of hand-crafted Photo Tours, Workshops & Safaris connecting passionate people to exceptional experiences. Locations include Yosemite, Alaska, Yellowstone, Glacier National Park, Hawaii, Utah as well as Botswana & Costa Rica."
All Images & Content are property of Backcountry Journeys Photography Tours, Workshops & Safaris LLC - Copyright 2024
TRIP CATALOG
Download our Trip Catalog for detailed information on our many destinations for photography tours, workshops, and safaris.