Voted Travelers' Choice 2023

Find Your Next Adventure
Where Will You Go Next?
Find Your Next Adventure
Where Will You Go Next?
Resources For Photographers
About Our Company
JOIN OUR FREE FACEBOOK GROUP - THE BCJ TRIBE
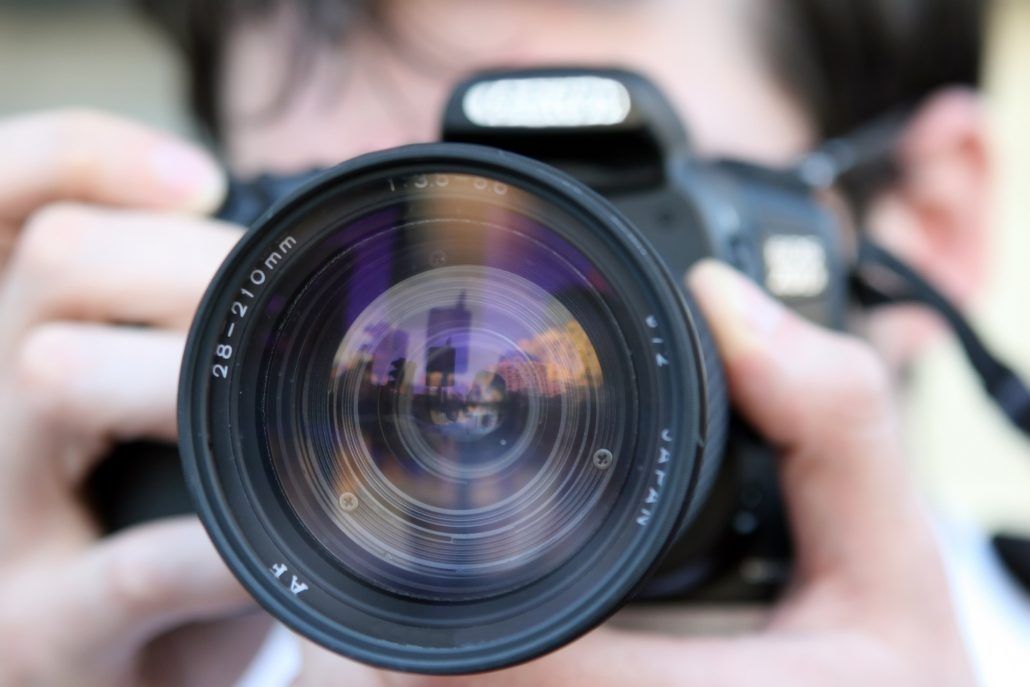
Take Better Panoramas
by Kenton Krueger
Everyone loves playing with the panorama function on their iPhone, right?
It takes cool pics. And there is a lot of fun to be had messing with that particular setting. If you’re reading this blog, however, we’re guessing that you’re probably a bit more of an advanced photographer than someone who’s going to be completely satisfied getting a panoramic shot with their iPhone.
No offense to the iPhone’s ability to take photos (they are pretty good at it), nor to folks who are satisfied with those types of shots (nothing wrong with that).
This blog post is about upping your game with panoramic photography using your more advanced equipment, combined with the following technique tips, as you hunt for more professional images.
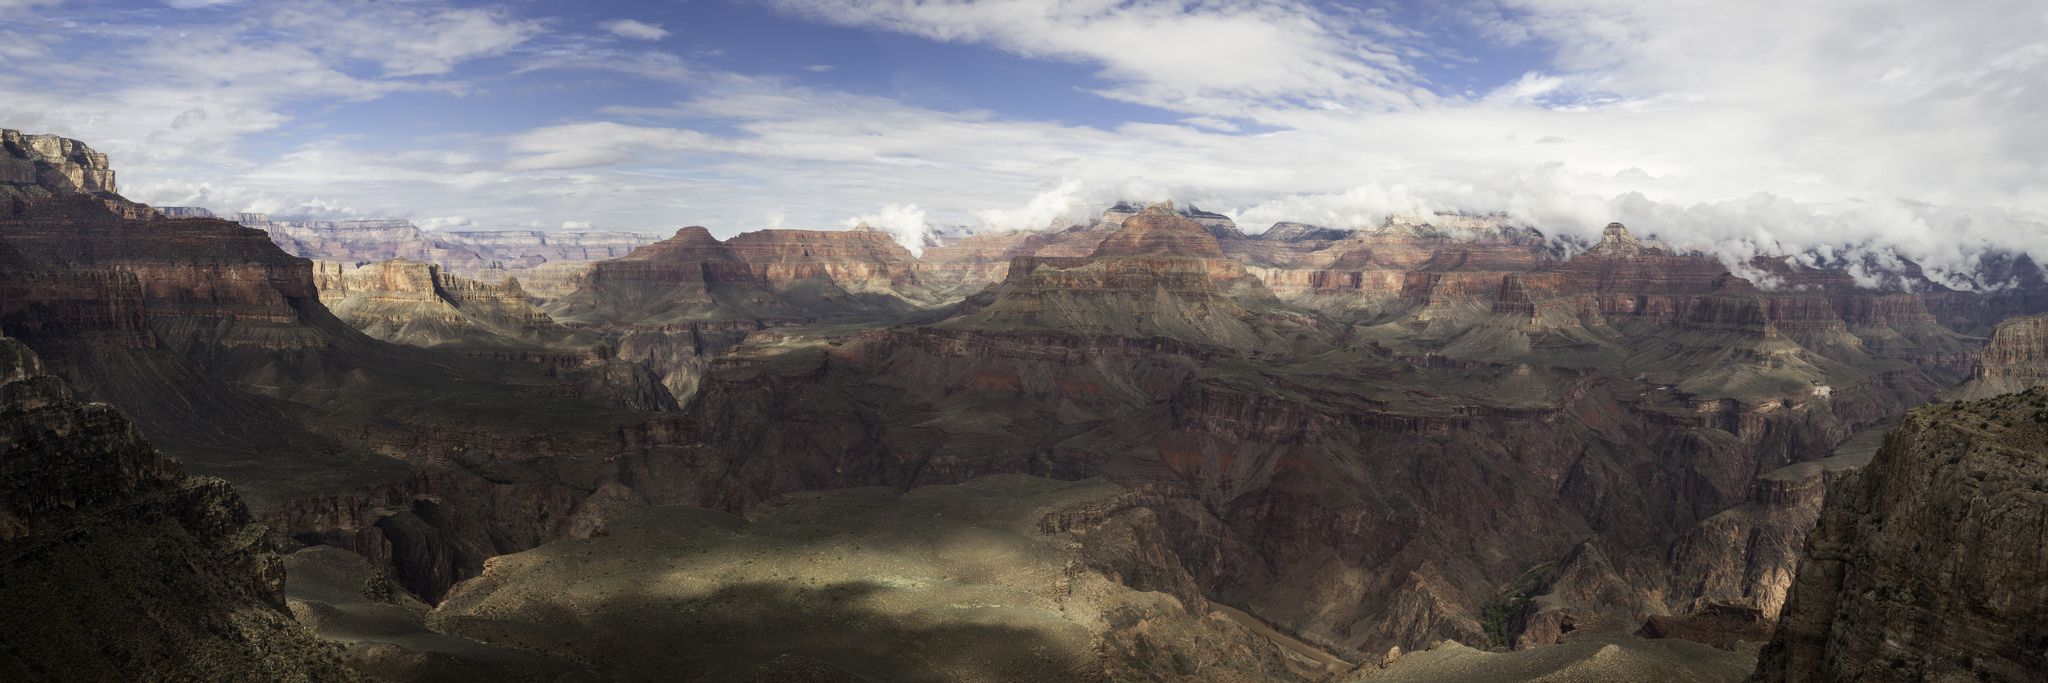
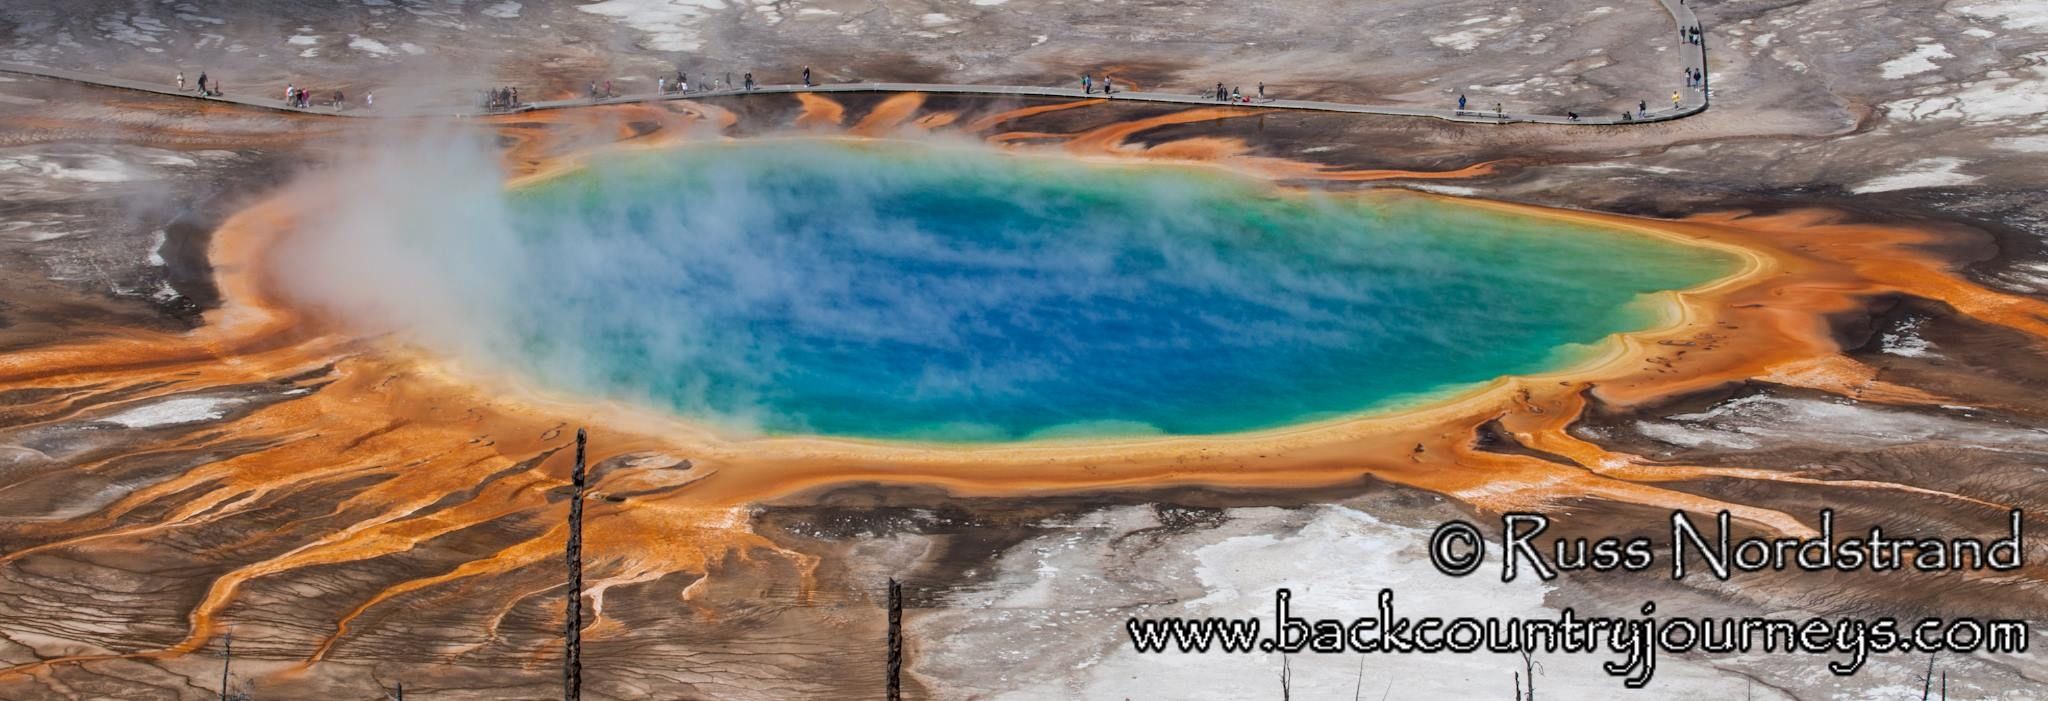
Panoramic photography is a special technique that stitches multiple images from the same camera together to form a single, wide photograph that is large and high in resolution. This can be done with both vertical or horizontal shots. Vertical images can capture more of the sky and ground and yield higher resolution panoramas compared to horizontal ones.
In our current digital day and age, as well as with our advanced software, it is now much easier to stitch images together. In fact, using a proper photography technique and panoramic equipment we can create pretty much near perfect stuff.
So, let us get started with some tips, tips, tips that hopefully can be utilized easily in the field to help improve your panoramic photos:
It takes cool pics. And there is a lot of fun to be had messing with that particular setting. If you’re reading this blog, however, we’re guessing that you’re probably a bit more of an advanced photographer than someone who’s going to be completely satisfied getting a panoramic shot with their iPhone.
No offense to the iPhone’s ability to take photos (they are pretty good at it), nor to folks who are satisfied with those types of shots (nothing wrong with that).
This blog post is about upping your game with panoramic photography using your more advanced equipment, combined with the following technique tips, as you hunt for more professional images.
Panoramic photography is a special technique that stitches multiple images from the same camera together to form a single, wide photograph that is large and high in resolution. This can be done with both vertical or horizontal shots. Vertical images can capture more of the sky and ground and yield higher resolution panoramas compared to horizontal ones.
In our current digital day and age, as well as with our advanced software, it is now much easier to stitch images together. In fact, using a proper photography technique and panoramic equipment we can create pretty much near perfect stuff.
So, let us get started with some tips, tips, tips that hopefully can be utilized easily in the field to help improve your panoramic photos:
Use a Tripod
Just do it. Invest in a good one and use it. Often. We feel this one goes without saying, but we’ll say it anyway. With panoramic photography, because we’re going to be stitching several photos together it is pretty imperative that you are working with the best images possible. You cannot afford to have any shake, just the same as you’d prefer to not have any shake or movement in your normal landscape photos, but it’s even more crucial for your software’s ability to do what its supposed to do here. While you’re at it, maybe additionally try a panoramic tripod head. A tripod head is able to rotate on the center axis of your camera as you capture your series of images. Their 0-360 degree markers can be used to ensure your movements are completed with accuracy.
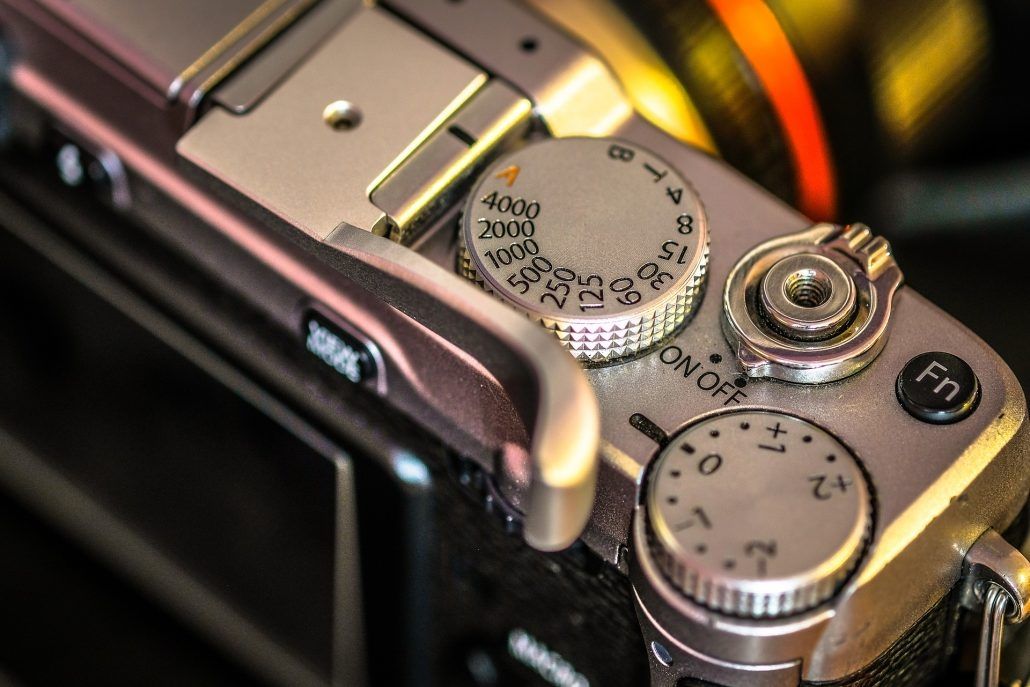
Shoot using a Aperture Priority
Depending on where the sun is in the sky, the exposure is going to change as you point the camera in different directions. You’ve got to have consistency of exposures for panoramas so that when you stitch them together you won’t end up with some lighter or same darker images. Watch your exposure meter and use Aperture Priority so that the exposure remains the same – in Aperture priority mode YOU set the Aperture and the ISO while the camera sets the shutter speed in order to maintain a consistent exposure in differing lighting / metering situations.
Overlap
You’re going to want to make certain to shoot photos with overlap. This will allow your computer to see where it needs to stitch the photos, and it can help with barrel distortion in the lens, which is when the photo stretches off in the corners on a really wide angle lens. A good rule of thumb is to overlap each image by about 30%.
Use the Right Lens
Try using a lens with a longer focal length for this one. Maybe something in the neighborhood of a 35-85mm. This should make for more realistic-looking images, compared to the look and feel of more wide angle shots.
Post Process
The world of Panoramic Photography has gotten a lot easier recently with Lightroom features that allow for in-program panoramic stitching. In the old days you would have to use Photoshop (you still can) but now you can stitch your images within Lightroom. It’s as easy as selecting your RAW files, right-clicking on “Photo-Merge” and then choosing the Panoramic option. After Lightroom merges your RAW files you can then edit them as you see fit!
Panoramas can produce some really fun and amazing photos, providing a wider view than normal shots, and can be fun in the field as well as in post-production. So get out there and snag some wonderful panoramas using the above techniques to see what is possible! We’d love to see what you come up with.
Just do it. Invest in a good one and use it. Often. We feel this one goes without saying, but we’ll say it anyway. With panoramic photography, because we’re going to be stitching several photos together it is pretty imperative that you are working with the best images possible. You cannot afford to have any shake, just the same as you’d prefer to not have any shake or movement in your normal landscape photos, but it’s even more crucial for your software’s ability to do what its supposed to do here. While you’re at it, maybe additionally try a panoramic tripod head. A tripod head is able to rotate on the center axis of your camera as you capture your series of images. Their 0-360 degree markers can be used to ensure your movements are completed with accuracy.
Shoot using a Aperture Priority
Depending on where the sun is in the sky, the exposure is going to change as you point the camera in different directions. You’ve got to have consistency of exposures for panoramas so that when you stitch them together you won’t end up with some lighter or same darker images. Watch your exposure meter and use Aperture Priority so that the exposure remains the same – in Aperture priority mode YOU set the Aperture and the ISO while the camera sets the shutter speed in order to maintain a consistent exposure in differing lighting / metering situations.
Overlap
You’re going to want to make certain to shoot photos with overlap. This will allow your computer to see where it needs to stitch the photos, and it can help with barrel distortion in the lens, which is when the photo stretches off in the corners on a really wide angle lens. A good rule of thumb is to overlap each image by about 30%.
Use the Right Lens
Try using a lens with a longer focal length for this one. Maybe something in the neighborhood of a 35-85mm. This should make for more realistic-looking images, compared to the look and feel of more wide angle shots.
Post Process
The world of Panoramic Photography has gotten a lot easier recently with Lightroom features that allow for in-program panoramic stitching. In the old days you would have to use Photoshop (you still can) but now you can stitch your images within Lightroom. It’s as easy as selecting your RAW files, right-clicking on “Photo-Merge” and then choosing the Panoramic option. After Lightroom merges your RAW files you can then edit them as you see fit!
Panoramas can produce some really fun and amazing photos, providing a wider view than normal shots, and can be fun in the field as well as in post-production. So get out there and snag some wonderful panoramas using the above techniques to see what is possible! We’d love to see what you come up with.

arrow_drop_down_circle
Divider Text
AUTHOR
SEARCH THE BLOG
clear


Join our free photo-travel community group on Facebook. A great place to swap stories & share images with fellow photographers!

Live events & webinars from the comfort of your own home. Free webinars on a variety of photography related topics – from photo editing to composition & more.

Check out the BCJ Trip Calendar for all of our upcoming Photography Tours, Workshops & Safaris!

FEATURED TRIP:
Brown Bears of Alaska: Beyond Brooks
Immerse yourself in the Alaskan wilderness and capture stunning images of Brown Bears!
Brown Bears of Alaska: Beyond Brooks
Immerse yourself in the Alaskan wilderness and capture stunning images of Brown Bears!


UPCOMING TRIPS WITH AVAILABILITY
[Block//Web Spots Left]
Price: [Block//Current Price]
Dates: [Block//Start Date %n/j/Y%+0] to [Block//End Date %n/j/Y%+0]
READ OUR NEWSLETTER FOR NEW TRIPS, ARTICLES, & PROMOS
BACKCOUNTRY JOURNEYS
"Backcountry Journeys offers guests the unique opportunity to explore our natural world from behind their own lens. We run a selection of hand-crafted Photo Tours, Workshops & Safaris connecting passionate people to exceptional experiences. Locations include Yosemite, Alaska, Yellowstone, Glacier National Park, Hawaii, Utah as well as Botswana & Costa Rica."
- Russ Nordstrand, Backcountry Journeys Founder & Director
- Russ Nordstrand, Backcountry Journeys Founder & Director
TRIP CATALOG
Download our Trip Catalog for detailed information on our many destinations for photography tours, workshops, and safaris.
All Images & Content are property of Backcountry Photography Tours, Workshops & Safaris LLCs - Copyright 2024
BACKCOUNTRY JOURNEYS
"Backcountry Journeys offers guests the unique opportunity to explore our natural world from behind their own lens. We run a selection of hand-crafted Photo Tours, Workshops & Safaris connecting passionate people to exceptional experiences. Locations include Yosemite, Alaska, Yellowstone, Glacier National Park, Hawaii, Utah as well as Botswana & Costa Rica."
All Images & Content are property of Backcountry Journeys Photography Tours, Workshops & Safaris LLC - Copyright 2024
TRIP CATALOG
Download our Trip Catalog for detailed information on our many destinations for photography tours, workshops, and safaris.