Voted Travelers' Choice 2023

Find Your Next Adventure
Where Will You Go Next?
Find Your Next Adventure
Where Will You Go Next?
Resources For Photographers
About Our Company
JOIN OUR FREE FACEBOOK GROUP - THE BCJ TRIBE
The Joys and Pitfalls of Astro Photography: How to create compelling images in the nighttime, from the Milky Way to Star Trails
by Kenton Krueger
Backcountry Journeys is in the field this week (and next) on our Special Departure ‘Night Skies of the Southwest’ photo workshop. It seems like the perfect time to lay out some of my tips and tricks for creating compelling photos of the night sky.

It is hard to argue that some of the most compelling and beautiful images of our natural world are taken at night. From dramatic desert foregrounds with the Milky Way arcing overhead to simple landscapes punctuated by a sky streaked with star trails, shooting in the night sky provides unique opportunities as well as challenges for photographers. In this article, I’m going to put together a few tips to get you started.
Step 1: PLANNING!
For many photographers, the art of photography is about capturing a moment in time, usually just a millisecond. But nighttime photography is more about capturing a span of time. From the much longer exposure times to the compositing of multiple long exposures to the millions of years it takes for the light from many stars to reach us, we can think about nighttime photography in an entirely different temporal space as traditional photography.
Because of this, and due to the unique challenges of shooting in the dark, nighttime.
photography requires planning. Planning?! Who wants to do that? But, with just a little forethought, the quality of images you will produce will be enhanced greatly.
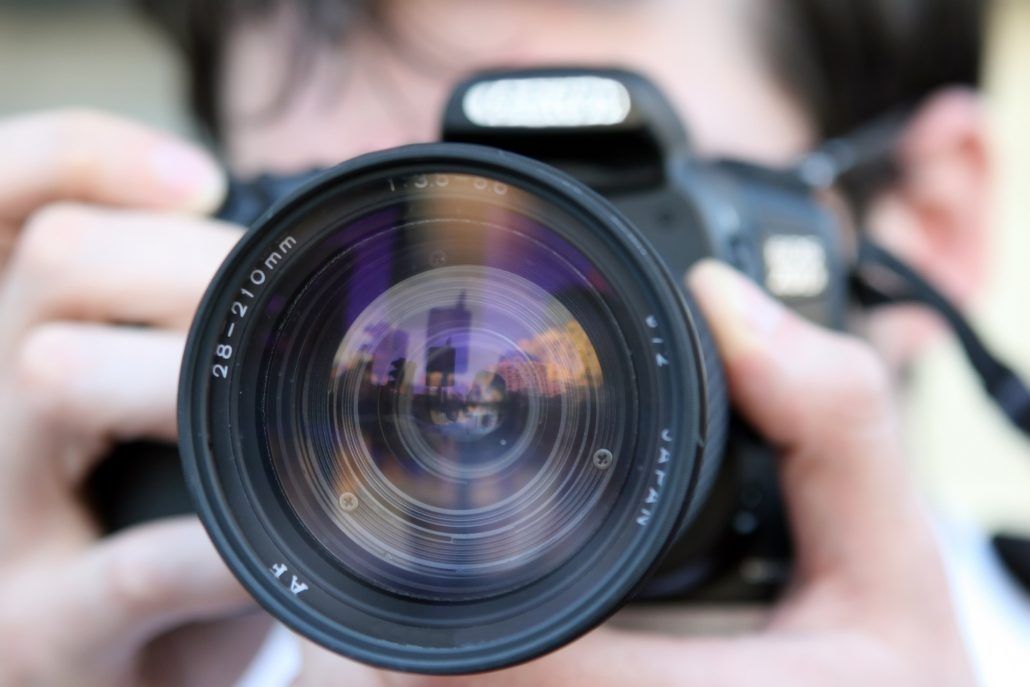
First off, let’s talk gear! Everyone’s favorite subject. Ideally, you are going to have the following.
Step 1: PLANNING!
For many photographers, the art of photography is about capturing a moment in time, usually just a millisecond. But nighttime photography is more about capturing a span of time. From the much longer exposure times to the compositing of multiple long exposures to the millions of years it takes for the light from many stars to reach us, we can think about nighttime photography in an entirely different temporal space as traditional photography.
Because of this, and due to the unique challenges of shooting in the dark, nighttime.
photography requires planning. Planning?! Who wants to do that? But, with just a little forethought, the quality of images you will produce will be enhanced greatly.
First off, let’s talk gear! Everyone’s favorite subject. Ideally, you are going to have the following.
- Full Frame Camera: The full-frame sensor will allow you to soak up as much of that faint starlight as possible. If you don’t have a full-frame camera, do not fret as most cropped sensor DSLRs and mirrorless cameras will suffice. BUT, if you have a full-frame, go for this body over the cropped camera.
- Sturdy Tripod: This is not the time for light travel tripods. Due to the long exposure times, steady support for your camera is imperative.
- Fast Wide-Angle Lens: The wider the maximum aperture the better. And remember, the maximum aperture is represented by the small numbers of the lens’s f-stop range. So a lens that shoots at f/2.8 or wider is preferred. A 16-35 f/2.8 lens would be perfect, or a 24-70 f/2.8 would be great too.
- Intervalometer: If your camera does not have a built-in intervalometer, make sure to pack one of these. This is especially important for shooting star trails.

Next up, planning your foreground and angle of view is very important. There are many useful apps out there that can help you determine the best direction to shoot. Applications like PhotoPills will use an augmented reality view to show you where the milky way, moon, and stars will travel over time.
If you’re after star trails, because we are in the northern hemisphere, it’s best to aim your camera north so that the North Star is visible. Because the North Star does not move in the night sky, this will create the effect of a circular swirl of star trails that is usually most pleasing to look at. If you’re after the Milky Way, use an app like PhotoPills to zero in on that section of the sky.
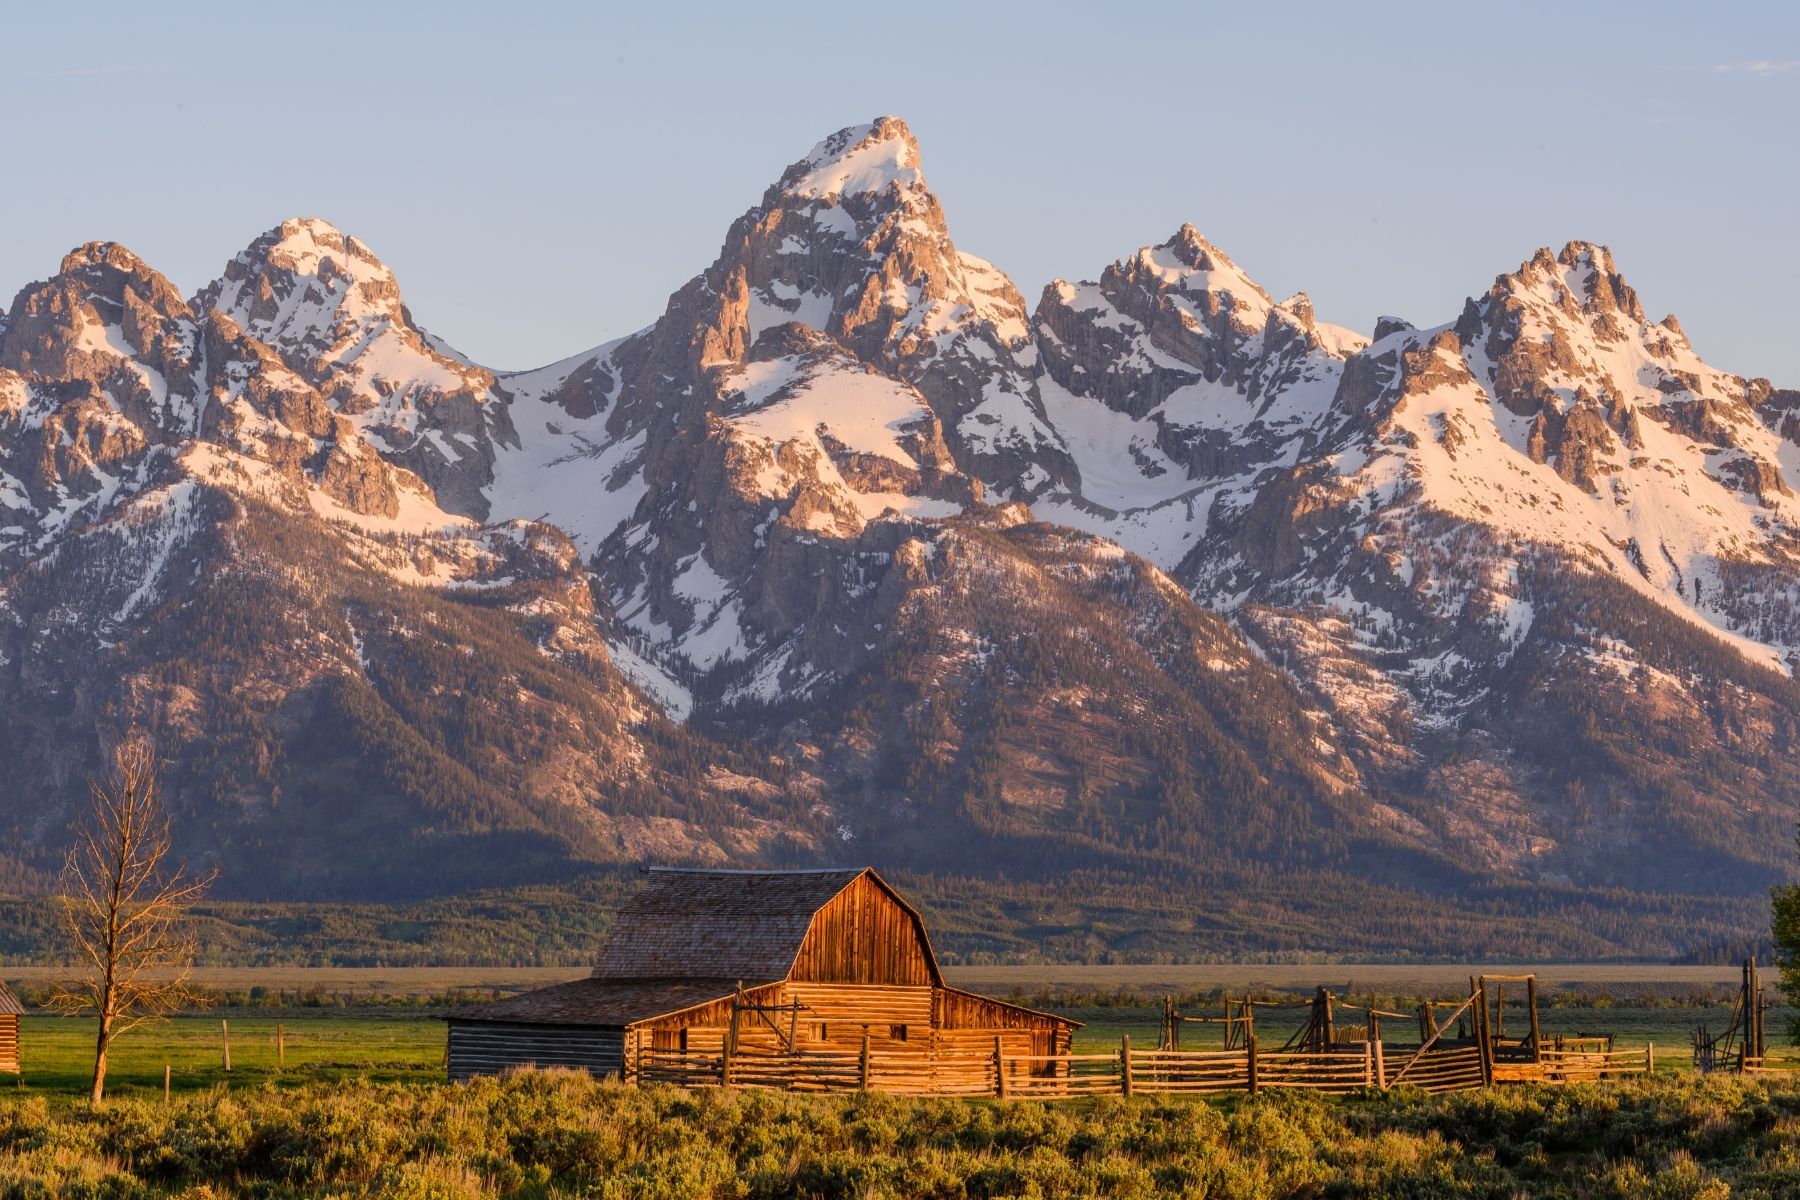
Next up, pick a cool foreground subject, such as a rock formation, tree, barn, old house, or anything else to ground the beautiful sky you are about to capture. Check that your horizon line is even and use the classic rules of composition like the rule of thirds and balance to compose your image.
If you’re after star trails, because we are in the northern hemisphere, it’s best to aim your camera north so that the North Star is visible. Because the North Star does not move in the night sky, this will create the effect of a circular swirl of star trails that is usually most pleasing to look at. If you’re after the Milky Way, use an app like PhotoPills to zero in on that section of the sky.
Next up, pick a cool foreground subject, such as a rock formation, tree, barn, old house, or anything else to ground the beautiful sky you are about to capture. Check that your horizon line is even and use the classic rules of composition like the rule of thirds and balance to compose your image.

Step 2: Focus and Camera Settings
For astrophotography, you want to focus your lens on infinity. But, this does not just mean focusing your lens out as far as it will go. Almost all still photography lenses will focus beyond infinity.
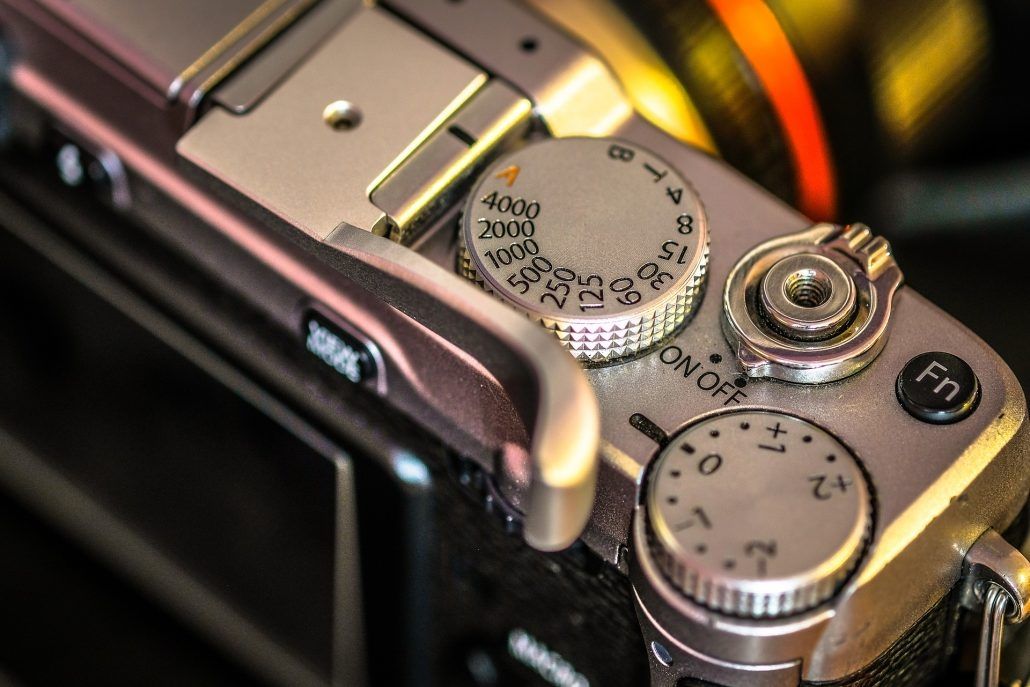
To ensure you are correctly focused, first, switch your lens to manual focus. To make sure you are focused on the lens’s true infinity, use the hash marks on the barrel of the lens. You will see a series of distances in feet and meters. These represent the focal distance of the lens. At the end of this list on one side is the ∞ symbol. As you rotate the focus wheel, you will see the numbers rotate past a non-moving hashmark. To focus your lens to infinity rotate it until the ∞ (infinity symbol) is directly centered against the hashmark. The hashmark will be lined up directly with where the two loops of the infinity symbol meet in the middle. This will have your lens focused on infinity. Don’t forget to take test shots before you go for the final one. The exact position of infinity focus differs from lens to lens, so it always better to know your lens and its exact infinity mark position where it works the best.
If you don’t have these hash marks and focal distances on the barrel of your lens, you can focus your lens to infinity by first switching it to manual focus. Then, switch on Live View. Crank your ISO up as high as it goes so you can see the stars on your screen. Then, zoom in on the stars and adjust your focus so that the stars are completely sharp. Zoom back out, adjust your ISO back to shooting speed (1000-2000), and don’t touch that focus wheel!
For astrophotography, you want to focus your lens on infinity. But, this does not just mean focusing your lens out as far as it will go. Almost all still photography lenses will focus beyond infinity.
To ensure you are correctly focused, first, switch your lens to manual focus. To make sure you are focused on the lens’s true infinity, use the hash marks on the barrel of the lens. You will see a series of distances in feet and meters. These represent the focal distance of the lens. At the end of this list on one side is the ∞ symbol. As you rotate the focus wheel, you will see the numbers rotate past a non-moving hashmark. To focus your lens to infinity rotate it until the ∞ (infinity symbol) is directly centered against the hashmark. The hashmark will be lined up directly with where the two loops of the infinity symbol meet in the middle. This will have your lens focused on infinity. Don’t forget to take test shots before you go for the final one. The exact position of infinity focus differs from lens to lens, so it always better to know your lens and its exact infinity mark position where it works the best.
If you don’t have these hash marks and focal distances on the barrel of your lens, you can focus your lens to infinity by first switching it to manual focus. Then, switch on Live View. Crank your ISO up as high as it goes so you can see the stars on your screen. Then, zoom in on the stars and adjust your focus so that the stars are completely sharp. Zoom back out, adjust your ISO back to shooting speed (1000-2000), and don’t touch that focus wheel!

Next, let’s get into camera settings. Believe it or not, the exposure approach to shooting start trails versus freezing the stars into clean points is quite different.
First, let’s handle the more traditional approach of freezing your stars as points.
Aperture: For almost all nighttime photography, you’re going to be shooting wide open. So, in the case of our 16-35mm f2.8 lens, we will shoot it at f2.8.
Shutter Speed: This is where things get interesting. So for every focal length lens (24mm, 16mm, 12mm, etc.), there is a different maximum exposure time to be able to freeze the stars. Shoot too long of an exposure, and the movement of the stars across the sky will smear them into streaks in your image. And so, as you use a longer focal length lens (or zoom in), the stars are magnified, and therefore so are their movements across the sky.
So, for instance, if you are shooting at 16mm, you can shoot an exposure up to 31 seconds long without seeing any star trails. But, if you were shooting at 35mm, you would be confined to shooting under 15 seconds. But, there is an easy way to calculate this. It’s called the 500 Rule.
To calculate the exposure time, divide 500 by the focal length at which your lens is set. The equation looks like this:
500 / 35mm = 14.29 second exposure time
or in the case of a 16mm lens…
500 / 16mm = 31.25 second exposure time
So you can see that as you choose a wider focal length, the longest possible shutter time to freeze the stars increases as you “zoom-out” on the night sky.
ISO: When aiming to freeze the stars as points in your image, you can adjust your ISO so that your light meter is at zero, or right in the middle (not under or overexposing).
This, for a 24mm lens at f/2.8 shooting a 26-second exposure requires an ISO of 1000. But generally, with a fast enough lens, you will be able to keep your ISO’s under 2000.

Star Trails: For shooting star trails, it is possible to create a decent image with star trails from a single exposure, but for the best star trail images, we will be stacking several images (like 75-100 images), so our exposure approach will be different, and we will be using our intervalometer, either in-camera or external.
Unlike Milky Way photography, for which you are trying to absorb as much light as possible, for star trails, it is best to slightly underexpose. This helps to keep the fainter stars from being visible in the image. If too many stars are seen in the base image, it can make the sky overly busy and chaotic once the images are stacked and the stars’ paths become visible. This will also make it easier for Photoshop to composite the images together in just a few clicks.
Aperture for Star Trails: f/4 should be good. Again, because we want the image a little darker, we do not need to shoot wide open.
Shutter Speed: 30 seconds is perfect, as it will allow the stars to just begin streaking into star trails in the individual images if shooting around 24mm.
ISO: Again, it is good to underexpose a touch, so setting your ISO so that your light meter is reading -1 to -1.3 stops underexposed is perfect. This will probably be around 800 ISO.
Intervalometer: Set your intervalometer to shoot a frame every 35 seconds. This will give your camera time to process your 30-second exposures as well as allow the sensor to cool down slightly.
Depending upon how much time you have, you can set your intervalometer to shoot a maximum of 100 images or more if you can. The more the better, as the star paths will be more complete. 100 images at these settings will take about an hour.
Go Try!
Now that we’ve got you set up, go out and try to shoot some night skies. It is amazing how simple compositions can come to life at night with a swirl of stars overhead.

arrow_drop_down_circle
Divider Text
AUTHOR
SEARCH THE BLOG
clear


Join our free photo-travel community group on Facebook. A great place to swap stories & share images with fellow photographers!

Live events & webinars from the comfort of your own home. Free webinars on a variety of photography related topics – from photo editing to composition & more.

Check out the BCJ Trip Calendar for all of our upcoming Photography Tours, Workshops & Safaris!

FEATURED TRIP:
Brown Bears of Alaska: Beyond Brooks
Immerse yourself in the Alaskan wilderness and capture stunning images of Brown Bears!
Brown Bears of Alaska: Beyond Brooks
Immerse yourself in the Alaskan wilderness and capture stunning images of Brown Bears!


UPCOMING TRIPS WITH AVAILABILITY
[Block//Web Spots Left]
Price: [Block//Current Price]
Dates: [Block//Start Date %n/j/Y%+0] to [Block//End Date %n/j/Y%+0]
READ OUR NEWSLETTER FOR NEW TRIPS, ARTICLES, & PROMOS
BACKCOUNTRY JOURNEYS
"Backcountry Journeys offers guests the unique opportunity to explore our natural world from behind their own lens. We run a selection of hand-crafted Photo Tours, Workshops & Safaris connecting passionate people to exceptional experiences. Locations include Yosemite, Alaska, Yellowstone, Glacier National Park, Hawaii, Utah as well as Botswana & Costa Rica."
- Russ Nordstrand, Backcountry Journeys Founder & Director
- Russ Nordstrand, Backcountry Journeys Founder & Director
TRIP CATALOG
Download our Trip Catalog for detailed information on our many destinations for photography tours, workshops, and safaris.
All Images & Content are property of Backcountry Photography Tours, Workshops & Safaris LLCs - Copyright 2024
BACKCOUNTRY JOURNEYS
"Backcountry Journeys offers guests the unique opportunity to explore our natural world from behind their own lens. We run a selection of hand-crafted Photo Tours, Workshops & Safaris connecting passionate people to exceptional experiences. Locations include Yosemite, Alaska, Yellowstone, Glacier National Park, Hawaii, Utah as well as Botswana & Costa Rica."
All Images & Content are property of Backcountry Journeys Photography Tours, Workshops & Safaris LLC - Copyright 2024
TRIP CATALOG
Download our Trip Catalog for detailed information on our many destinations for photography tours, workshops, and safaris.