Voted Travelers' Choice 2023

Find Your Next Adventure
Where Will You Go Next?
Find Your Next Adventure
Where Will You Go Next?
Resources For Photographers
About Our Company
JOIN OUR FREE FACEBOOK GROUP - THE BCJ TRIBE
On a Seascape-based Workshop this May? The Following Tips Will Have you Primed for Success!
by Matt Meisenheimer
Seascapes and ocean scenes are some of my favorite landscapes to photograph. They are also some of the most challenging scenes to approach – from a technical and creative standpoint.
Backcountry Journeys has three trips in the Pacific Northwest this May, itineraries packed with scenes of the most breathtaking coastlines in the world. Our Olympic National Park trip begins next week, which Doug Marshall and I will be leading. Then, back-to-back departures of our Coastal Oregon & California’s Redwoods tour, the first of which I will lead with Kenton Krueger; the second, Kenton & Doug.
Ahead of these three trips seems like a perfect time to discuss some tips for photographing seascapes. If you are on one of these trips (or simply interested in coastal landscape photography), these tips should give you a head start for success.

I remember my first time photographing the ocean. My shots were bland, I struggled with composition, I wasn’t able to keep salt off my lens, and I felt overwhelmed. I simply wasn’t prepared. Fast forward, and I’ve learned a lot about what it takes to take quality images of seascapes, things I wish I would have known my first time on the coast.
I think preparing yourself for what it takes to photograph seascapes, makes your life a lot easier once you’re actually out there. And, there’s a greater chance of you coming away with really good images.
These tips are relevant for all coastal scenes, but they especially relate to what I’ve experienced photographing the rugged coastline from California to Alaska.
Prepare to Get Wet
Sometimes photographers have a thing where they don’t want to get wet. I’ve been there, for sure. Whether it’s the coast or waterfalls…no one wants to get their pants, footwear, socks, etc. wet. We like to be comfortable and I understand that.
When it comes to photographing seascapes, you have to prepare yourself to get wet though. By doing so, you’ll open yourself up to so many more compositions, and the types of compositions that are much more dynamic than the ones you find sitting back.
You’ll allow yourself to capture breaking waves, the tide coming in and out, and more. Your images will be better if you are open to getting wet. We can still be comfortable though if we prepare.
When I’m shooting the coast, I always bring a few essential pieces of gear. I always carry my lightweight waders, neoprene socks, and some type of footwear that I’m OK with getting wet. For me, these are usually sandals or water shoes.
Sometimes I wear my waders to stay totally dry and sometimes I just wear my neoprene socks to keep my feet dry.

Use the Flow of Water
This relates to getting wet and ‘getting in the action’. The ocean tides alone provide endless compositions. Each day, the seas rise and fall due to gravity and the rotation of the earth. As photographers, we can start by thinking of tides in a very simple form – seawater flowing in and out.
It’s a great way to approach composition. Think about this, if you are focused on a sea stack as your main composition element then you can target them in and outwards flow of water to draw the eye right to the sea stack. Water is such a great element because it’s a natural leading line.
When I approach a coastal scene I’m almost always looking for this type of movement for my composition. I’m trying to find good water flow coming in and out that I can use to ‘suck’ the eye into whatever my focal point is.
The flow of water, especially in the PNW, can be quite unforgiving as well. In certain spots and at certain times, like high tide, that in and outflow will be much more than water lazily coming in and out. It’ll be waves crashing and splashing.
I target the waves and those crashes too. Pairing them with your focal point will create drama and depth in your final image. But, they are more difficult to capture and more precarious.
Start small, look for water flow you can use as a leading line, and then maybe progress to targeting waves and splashes if you’re up to it. I do both.

ND Filters
Now, ND filters for me are an essential piece of seascape photography gear. I cannot create the shots I want without an ND filter. Everything I just mentioned above (‘capturing the flow of water) relies on slow shutter speeds. I know slow shutter speeds and the resultant blurred water is not for everyone, but using slow shutter speeds allows you to create the awesome leading lines available on the coast
My preferred shutter speeds are 1 second for the flow of water and 1/5th of a second for waves. Those shutter speeds are close to impossible to capture along the coast when you’re shooting into the sun, like a sunset in the PNW and sunrise in the east. So, an ND filter is needed to achieve those speeds. An ND filter is like putting sunglasses on your camera – it darkens the scene so you have to use camera settings to brighten the exposure. In this case, I keep all my aperture and ISO the same but compensate with my shutter speed (slower shutter speed = brighter exposure).
I use a 6-stop ND filter along the coast, but a 4-stop would also work. I use and recommend Breakthrough Filters. I have used a ton of filters and systems, and I have found Breakthrough to be the best because of its high-quality glass and coatings. An ND filter will undoubtedly help you use the tides and water as leading lines.
Keep Your Lens Clean
One thing I never understood or thought about when I was a novice photographing seascapes as the saltwater. I figured I’d just go out and if my lens got a little wet, then oh well. Well, salt water is one of the WORST things you can get on your lens while shooting – for your images not for the lens itself.
Saltwater combined with shooting into the sun, which we do a lot of on the coast, is a recipe for disaster. I have ruined a lot of great shots because I didn’t realize there was a small drop of saltwater on my lens. While shooting in the sun, the saltwater will produce the worst flare I’ve ever encountered – and it’s not fixable in post. It also will create smudges and artifacts all over. Take a look below for an example:

So, you need to keep your lens clean. I usually put a damp washcloth in my pocket with fresh water and another dry washcloth in another pocket. If I encounter a wave splash or get some salt on the front, I’ll clean it with the freshwater cloth and then wipe it again with the dry cloth. This is one of the reasons I recommend Breakthrough. I have shot with their ND filters and gotten soaked. I’ve learned that I simply have to use one cloth and wipe the salt off to clean, the coating is so good on their filters that they’re relatively unaffected after being wiped off with a normal cloth.
Dynamic Range
Seascapes can be so difficult to shoot because there’s a lot going on. The tides are constantly coming in and out, and no two tides are the same. You’re trying to keep your gear clean. You’re maybe getting wet. Your tripod is sinking into the sand. There’s a lot of stuff going on and making the image you want to capture even more difficult.
And, of course, there’s also the sun. The best light on the west coast is at sunset and the best light on the east coast is at sunrise. To take advantage of the best light, you have to shoot into the sun. Shooting into the sun and producing that awesome ‘sun star’ adds a lot to an image, but there are challenges that arise as well.
One of those challenges is dynamic range and exposure. The sun is extremely bright, and if you expose for the sun alone, you will be left with very dark shadows that are sure to be clipped. If you expose for the shadows, your sky and sun will be blown out.
I take two approaches. One, to expose for my highlights but leave the sun slightly blown out. With the great dynamic range of my Nikon Z7, I know I can recover a lot of the shadow detail. Two, which I tend to do more and more, is to take a bracketed set of three exposures (one for shadows, one for highlights, one in middle) and then blend those together in post processing.
Blending multiple exposures can be tough though because of so many moving elements. Many times you will need Photoshop because of the movement frame to frame. So, I’ll take my exposures for the foreground and sea stacks (if any) and then a sky exposure, and use Photoshop to blend in that sky exposure.
Final result – properly exposed highlights and shadows, and a high dynamic range scene.

Summary
Shooting seascapes is hard, and producing a high-quality image(s) is even more difficult. The above are tips I’ve learned along the way and they’ve helped me out a lot. I think the biggest thing for seascapes is knowing what to expect and being prepared. Preparation makes in-the-field execution much easier. Even today though, there are times when I go out to shoot seascapes and I don’t come away with a shot. Sometimes the wave action/tides don’t go your way, sometimes the light just doesn’t work out, sometimes the conditions are too tough…it happens. But, applying these tips will help you be more successful than not.
Shooting seascapes is hard, and producing a high-quality image(s) is even more difficult. The above are tips I’ve learned along the way and they’ve helped me out a lot. I think the biggest thing for seascapes is knowing what to expect and being prepared. Preparation makes in-the-field execution much easier. Even today though, there are times when I go out to shoot seascapes and I don’t come away with a shot. Sometimes the wave action/tides don’t go your way, sometimes the light just doesn’t work out, sometimes the conditions are too tough…it happens. But, applying these tips will help you be more successful than not.

I also highly recommend joining one of our Pacific Northwest trips. The best way to learn how to photograph seascapes and get great images is by going out and doing it and doing it alongside a guide who knows what to expect and can help. There are many more advanced techniques that we cover across a week, like time blending for wave splashes and correcting for sun flare.
Getting a perfect shot from a specific beach takes more than just showing up too. The daily high and low tides, and their alignment with sunrise/sunset can make a beach have the perfect conditions or make it unshootable entirely. Anyways, I’m excited to get out, I love these trips. Best of luck to all you coastal shooters out there and hope these tips helped!
Getting a perfect shot from a specific beach takes more than just showing up too. The daily high and low tides, and their alignment with sunrise/sunset can make a beach have the perfect conditions or make it unshootable entirely. Anyways, I’m excited to get out, I love these trips. Best of luck to all you coastal shooters out there and hope these tips helped!

arrow_drop_down_circle
Divider Text
AUTHOR
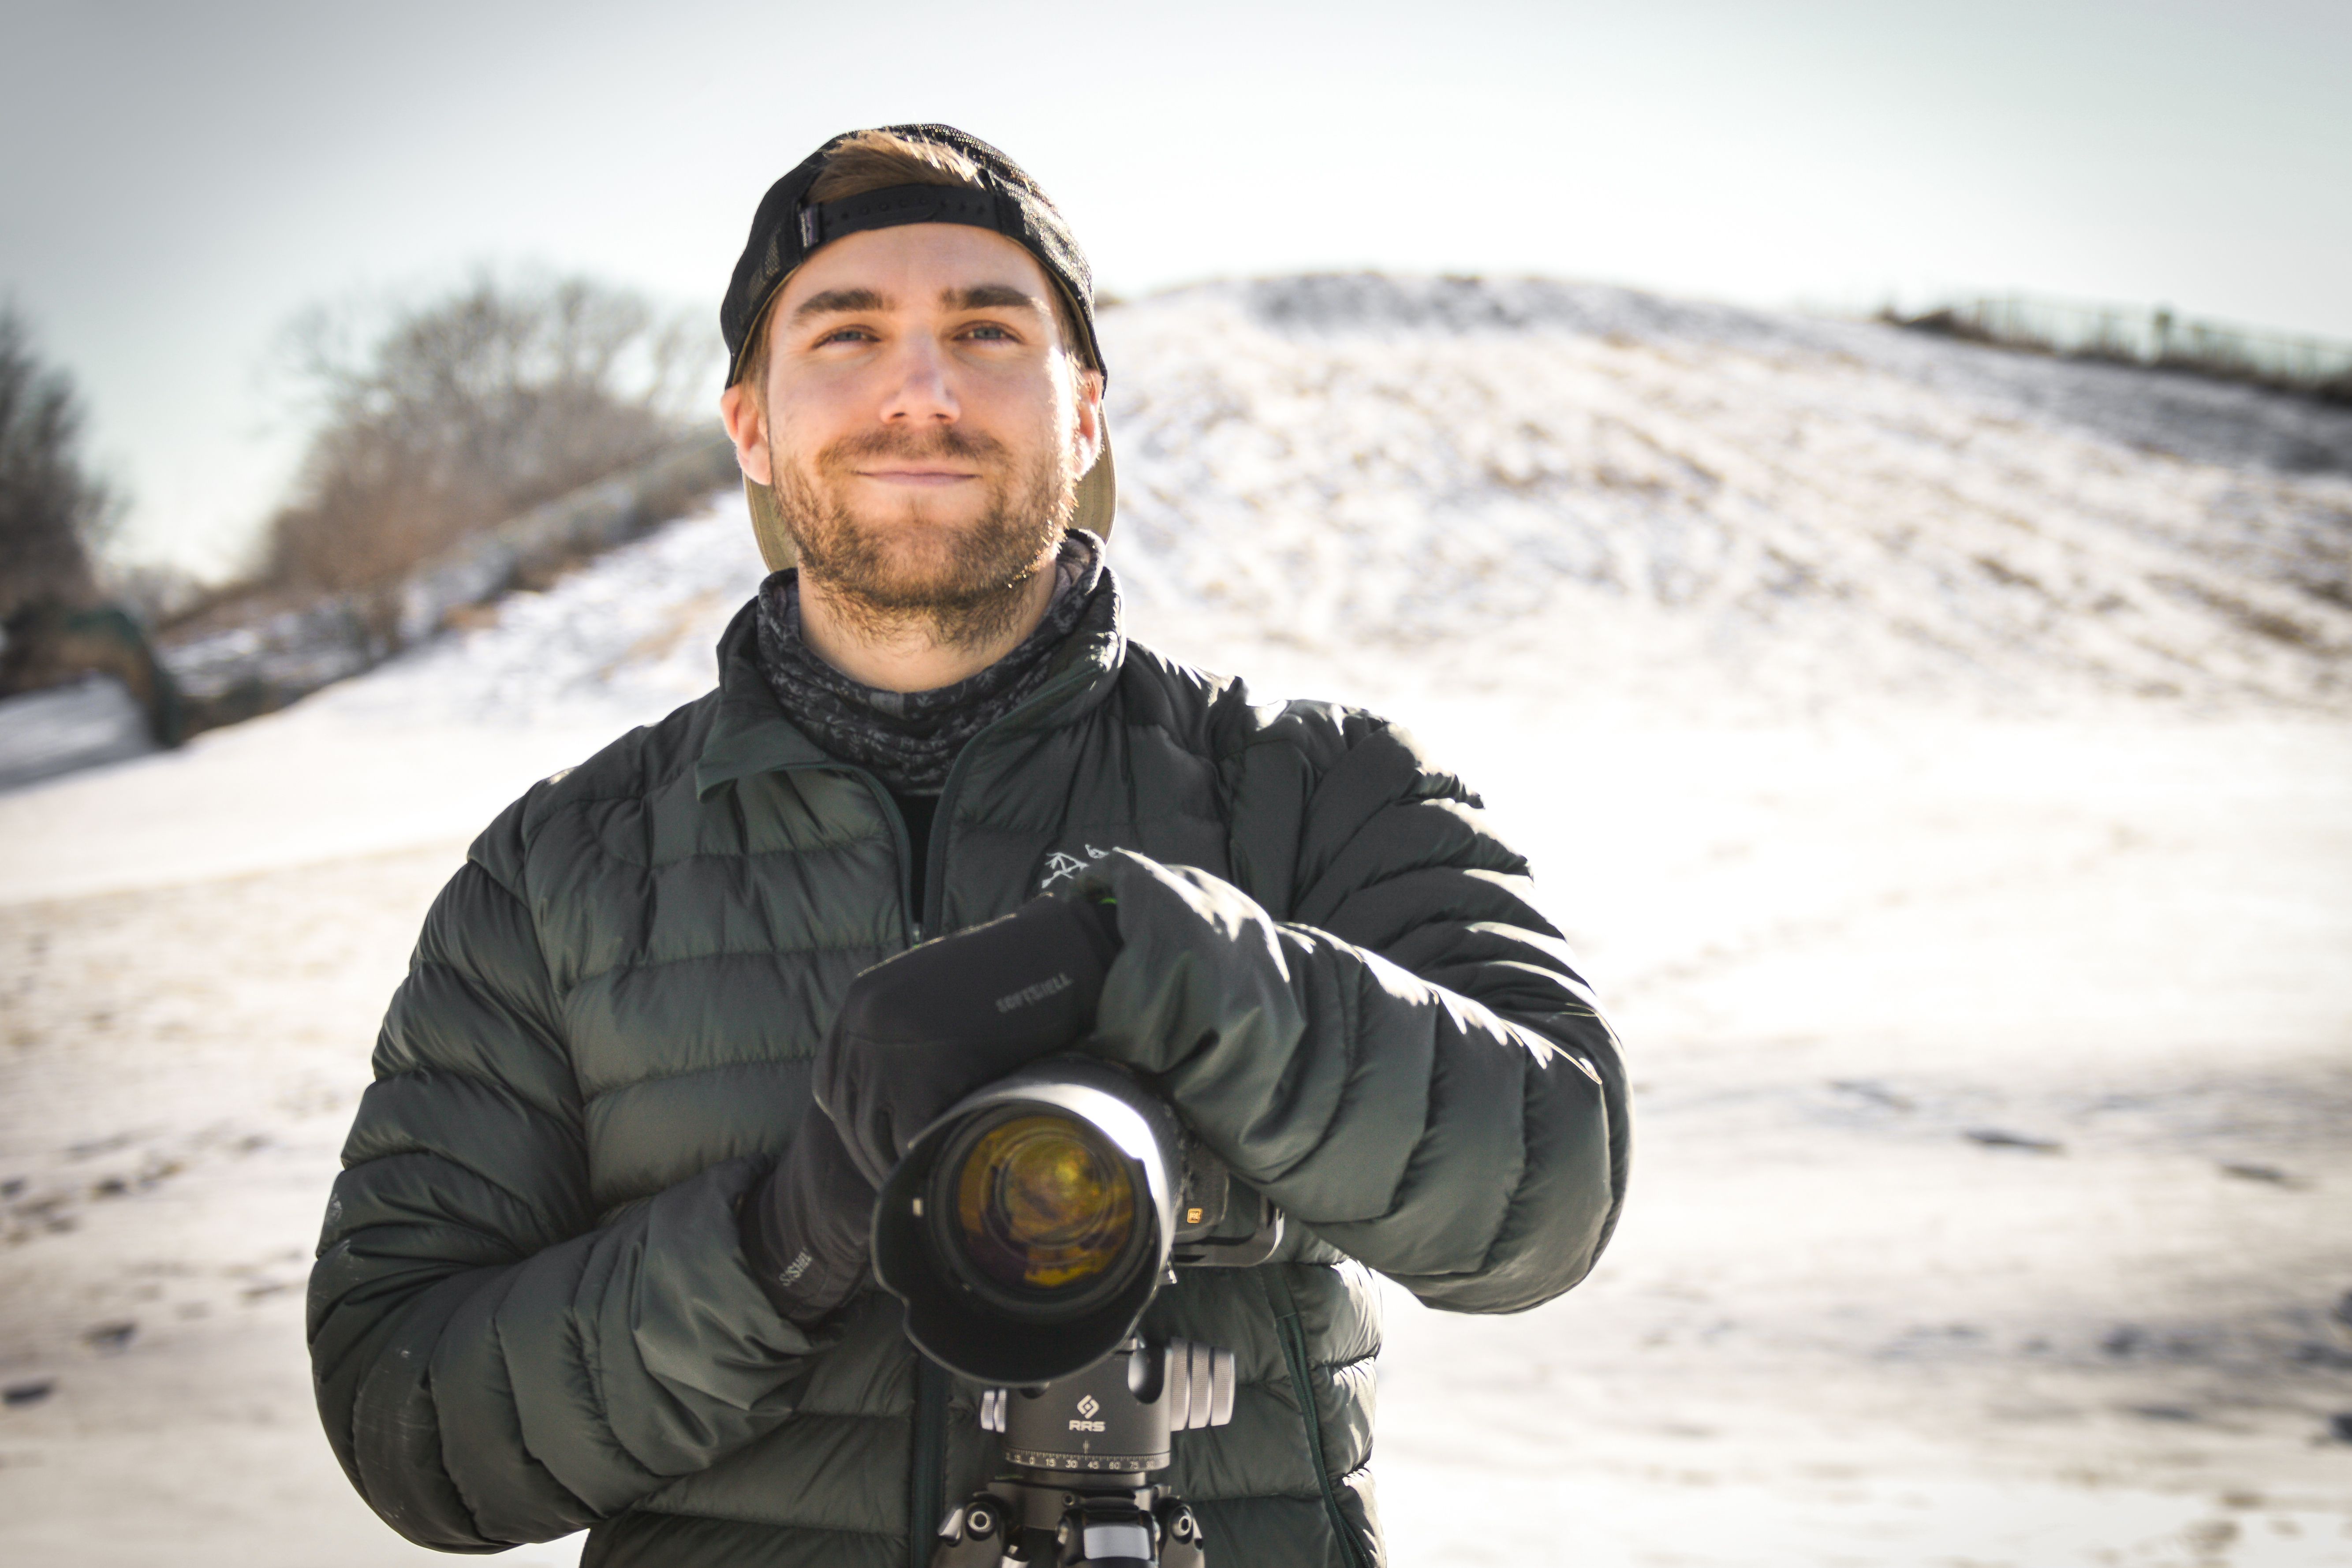
Matt Meisenheimer is a photographer based in Wisconsin. His artistry revolves around finding unique compositions and exploring locations that few have seen. He strives to capture those brief moments of dramatic light and weather, which make our grand landscapes so special. Matt loves the process of photography – from planning trips and scouting locations, taking the shot in-field, to post-processing the final image.
Matt is an active adventurer and wildlife enthusiast as well. He graduated with a degree in wildlife ecology and worked in Denali National Park and Mount Rainier National Park as a biologist. He also spent 6 months working in the deserts of Namibia before finding his path in photography. Matt’s passion for the wilderness has taken him to many beautiful places around the world.
As a former university teaching assistant, Matt is passionate about instruction. It is his goal to give his students the technical and creative knowledge they need to achieve their own photographic vision. He truly enjoys working with photographers on a personal level and helping them reach their goals.
You can see Matt’s work and portfolio on his webpage at www.meisphotography.com
SEARCH THE BLOG
clear


Join our free photo-travel community group on Facebook. A great place to swap stories & share images with fellow photographers!

Live events & webinars from the comfort of your own home. Free webinars on a variety of photography related topics – from photo editing to composition & more.

Check out the BCJ Trip Calendar for all of our upcoming Photography Tours, Workshops & Safaris!

FEATURED TRIP:
Brown Bears of Alaska: Beyond Brooks
Immerse yourself in the Alaskan wilderness and capture stunning images of Brown Bears!
Brown Bears of Alaska: Beyond Brooks
Immerse yourself in the Alaskan wilderness and capture stunning images of Brown Bears!


UPCOMING TRIPS WITH AVAILABILITY
[Block//Web Spots Left]
Price: [Block//Current Price]
Dates: [Block//Start Date %n/j/Y%+0] to [Block//End Date %n/j/Y%+0]
READ OUR NEWSLETTER FOR NEW TRIPS, ARTICLES, & PROMOS
BACKCOUNTRY JOURNEYS
"Backcountry Journeys offers guests the unique opportunity to explore our natural world from behind their own lens. We run a selection of hand-crafted Photo Tours, Workshops & Safaris connecting passionate people to exceptional experiences. Locations include Yosemite, Alaska, Yellowstone, Glacier National Park, Hawaii, Utah as well as Botswana & Costa Rica."
- Russ Nordstrand, Backcountry Journeys Founder & Director
- Russ Nordstrand, Backcountry Journeys Founder & Director
TRIP CATALOG
Download our Trip Catalog for detailed information on our many destinations for photography tours, workshops, and safaris.
All Images & Content are property of Backcountry Photography Tours, Workshops & Safaris LLCs - Copyright 2024
BACKCOUNTRY JOURNEYS
"Backcountry Journeys offers guests the unique opportunity to explore our natural world from behind their own lens. We run a selection of hand-crafted Photo Tours, Workshops & Safaris connecting passionate people to exceptional experiences. Locations include Yosemite, Alaska, Yellowstone, Glacier National Park, Hawaii, Utah as well as Botswana & Costa Rica."
All Images & Content are property of Backcountry Journeys Photography Tours, Workshops & Safaris LLC - Copyright 2024
TRIP CATALOG
Download our Trip Catalog for detailed information on our many destinations for photography tours, workshops, and safaris.