Voted Travelers' Choice 2023

Find Your Next Adventure
Where Will You Go Next?
Find Your Next Adventure
Where Will You Go Next?
Resources For Photographers
About Our Company
JOIN OUR FREE FACEBOOK GROUP - THE BCJ TRIBE
Top 5 Filters for Landscape Photography
by Matt Meisenheimer
Filters used to be an accessory that every photographer owned, regardless of genre and style. But the digital age rushed onto the scene rendering many filters obsolete, mainly due to the fact that many desired filter effects have become easily replicated in digital processing applications like Adobe Lightroom and Adobe Photoshop.
However, filters that produce results that cannot be replicated in any processing software still remain. There are still others that can be useful as well, especially if you like to do everything you can to capture the shot in-camera and prefer not to process your images.
As a landscape photographer, I carry three filters with me during every photo trip; a polarizing filter, a 5-stop neutral density filter, and a UV filter. I have those filters for each lens that I use. We will cover those filters, but also discuss the effects of graduated neutral density filters and warming/cooling filters. Filters are sized by thread length and although you might purchase a filter that fits on multiple lenses, you will most likely have to buy filters for each lens that you own in order for them to fit properly.
Circular Polarizing Filter

In my opinion, if you were to own just one filter, it would have to be a polarizing filter. With excellent digital post-processing skills, effects similar to many filters can be created. A polarizing filter is the outlier. There is nothing you can do in post-processing to mimic the effect of a polarizer. Polarizers reduce reflective glare and naturally saturate colors. They are excellent for creating vibrant blue skies and removing harsh reflections from water, leaves, rocks, etc. You can also control the amount of polarization by rotating the filter in a circular fashion when it is attached. A polarizer is on my wide-angle lens almost 100% of the time. One thing to keep in mind though is a polarizing has absolutely no effect if you’re shooting directly into the sun. One tip is to buy some polarized sunglasses. The sunglasses will give you a good idea of what effect a polarizer might have on a scene, especially if you tilt your head, which changes how much of the effect is applied.
Neutral Density Filter

My second most used filter is my 5-stop neutral density filter. A neutral density is analogous to putting sunglasses on, the filter will decrease the amount of light available to your camera sensor. Many use neutral density filters to achieve slower shutter speeds, which can be particularly useful for water scenes and fast-moving clouds. When I photograph the coast (ocean-scapes), I always have my neutral density filter on. I like my shutter speed to be around ¼ – 1/6 second for water detail and without a neutral density filter, it’s impossible for me to achieve that speed. I also use a neutral density filter to streak clouds when it’s windy out. With the right neutral density filter, you can take a couple minute exposure after sunrise or before sunset and create some very interesting effects with the sky. So, what is the right neutral density filter? Well, you can purchase 1-stop neutral density filters all the way up to 10-stop neutral density filters. I recommend either purchasing a 5 to 6-stop filter or buying a 10-stop filter. I also recommend staying away from variable neutral density filters, as the quality usually isn’t very good.
Graduated Neutral Density Filter

I don’t own a graduated neutral density filter myself, but many photographers still swear by them. They operate in the same way as a normal neutral density filter by decreasing the amount of light available to your sensor. However, they are graduated so the effect is only applied to one half of the filter. This makes them great for dealing with high dynamic range situations, such as when you find yourself shooting into the sun. I don’t like them myself because I can achieve the effect of a graduated neutral density in Lightroom/Photoshop by taking multiple exposures and blending them. But, if you don’t want to process your photos or spend a lot of time in the digital darkroom, this filter is essential for you. The reason I prefer to do my blending in photoshop is I can control how I blend my exposures together. For instance, I can blend in my darker exposure exactly where the horizon meets the landscape versus a graduated neutral density filter which will also darken other elements in your scene making it look unnatural (i.e. darker sky, but also line across mountains darkening some mountains as well).
UV Filter

In the days of film, it was a no-brainer to have a UV filter mounted on your lens. Film exposures were greatly affected by UV light, but even today, owning a UV filter is a good idea. Although digital sensors are much better at dealing with UV light, a UV filter has a couple of other benefits that make it worthwhile. The first is definitely protection. A quality UV filter will not detract from your image quality and it offers a line of protection for your lens. Not only will it help protect your front element if you drop your camera it also will help protect your lens from smudging and scratching. I’ve had friends drop their camera or have their tripod tip and although their UV filter was absolutely destroyed, their lens was left unharmed. It can be a good insurance policy. UV filters will also help cut through atmospheric haze and help improve image quality in smoggy or hazy conditions.
Warming/Cooling Filters

Warming and cooling filters are another set of filters that you should look into if you’re a photographer that likes to perfect your shot in the field. Warming and cooling filters do exactly what they might imply, they warm up your image or cool down your image. If you shoot in RAW, you can easily accomplish this by creatively adjusting your white balance while post-processing. But like I said if you don’t like to process or want to get your shot in the field, try these out. They can be really great for establishing a great mood for your shot. Warming filters work great during the golden hour and can help amplify the great colors you might experience at sunrise or sunset. Cooling filters pair really well with water scenes, overcast days, or foggy/misty conditions.
Recommend Filter Brands
Not all filters are created equal and price points for various filters can be all over the place. Some are made out of simple glass and are less expensive, while more expensive filters might be constructed with optical glass and have an anti-reflective coating.
Here are some recommend filter brands – high quality and budget choices:
High Quality: Lee, Nisi, Singh-Ray, B+W, Hoya
Budget: Tiffen, Cokin, Polaroid
Stacking Filters
You can also stack filters. For example, I routinely shoot with both a neutral density filter and a circular polarizer attached to my lens. Combined, they can offer some great effects. It’s common for a photographer to stack multiples filters, but there are some things to be aware of. Whenever you are attaching a filter, no matter what the quality, you’re adding another element that can deter the signal (light) to your sensor. When you stack filters, you most likely will lose some quality in your images. Sure, it’s most likely negligible, but if you’re printing your images huge, it’s something to be aware of. Vignetting can also be an issue, especially when using filters with wide angles. I get vignetting in the corners even with just a single filter attached to my wide-angle, but usually, it’s only something you need to worry about when stacking filters. This is easily corrected in processing software such as Adobe Lightroom, but if you’re not processing your images, take heed.

arrow_drop_down_circle
Divider Text
AUTHOR
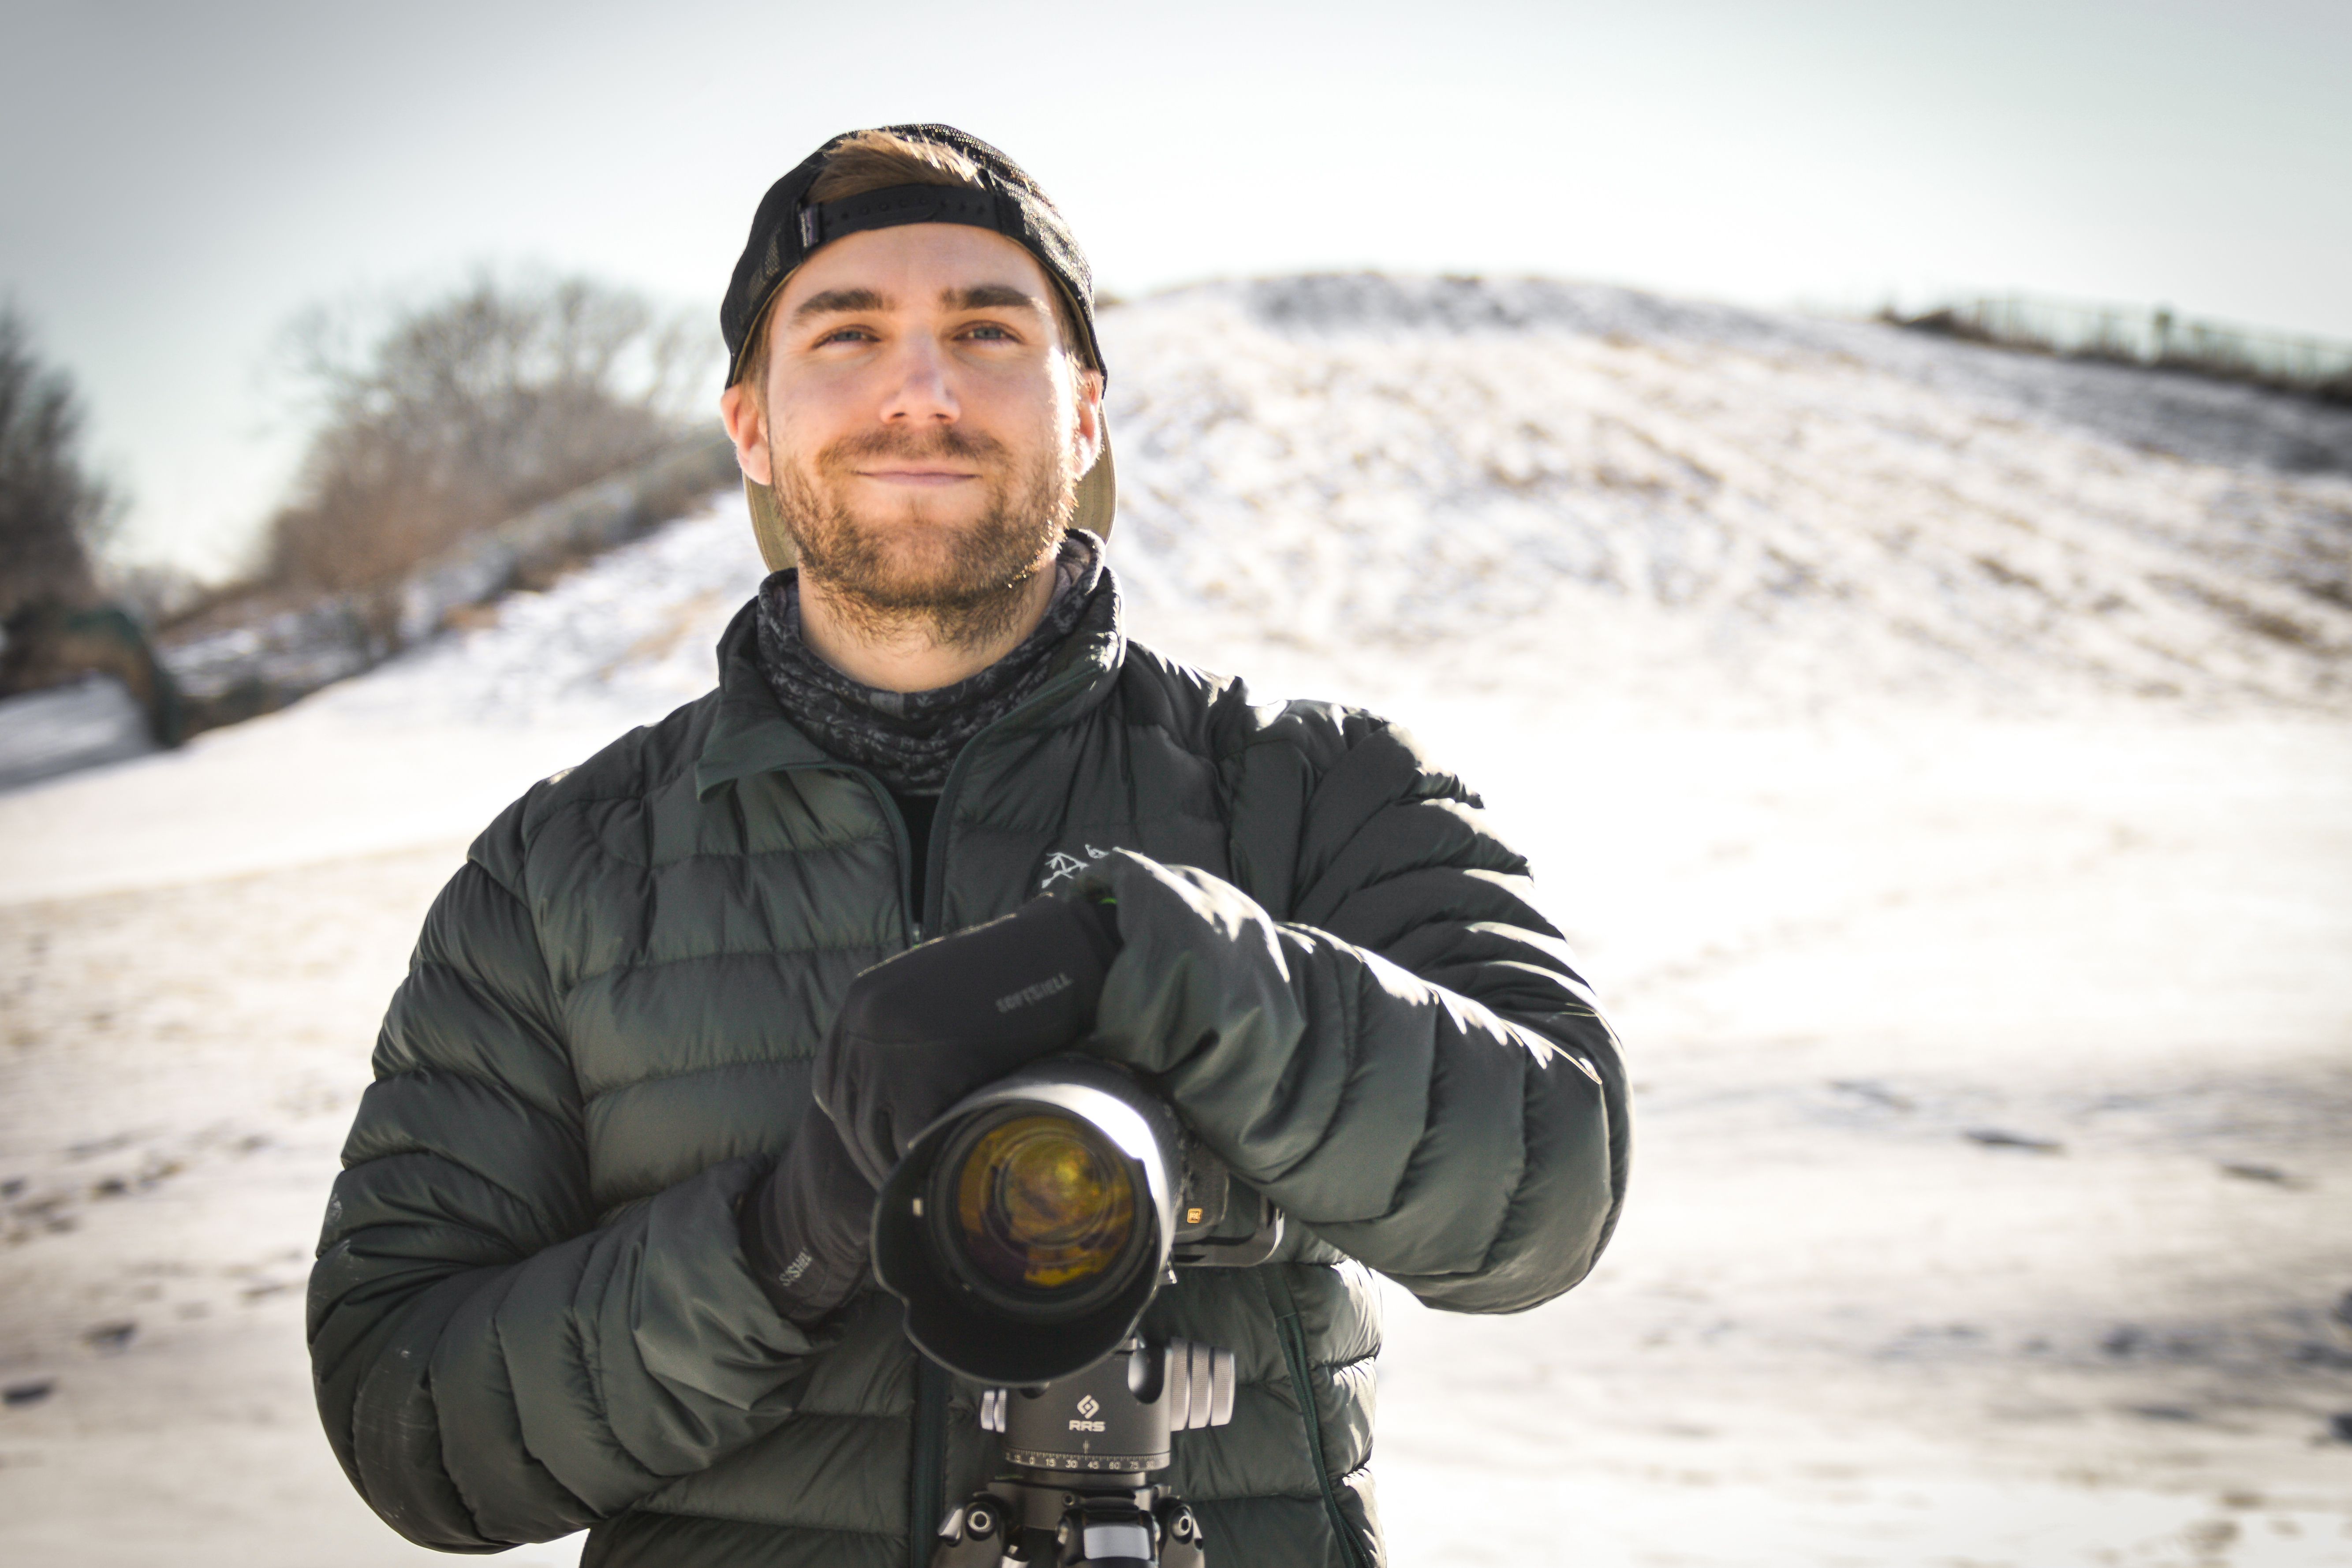
Matt Meisenheimer is a photographer based in Wisconsin. His artistry revolves around finding unique compositions and exploring locations that few have seen. He strives to capture those brief moments of dramatic light and weather, which make our grand landscapes so special. Matt loves the process of photography – from planning trips and scouting locations, taking the shot in-field, to post-processing the final image.
Matt is an active adventurer and wildlife enthusiast as well. He graduated with a degree in wildlife ecology and worked in Denali National Park and Mount Rainier National Park as a biologist. He also spent 6 months working in the deserts of Namibia before finding his path in photography. Matt’s passion for the wilderness has taken him to many beautiful places around the world.
As a former university teaching assistant, Matt is passionate about instruction. It is his goal to give his students the technical and creative knowledge they need to achieve their own photographic vision. He truly enjoys working with photographers on a personal level and helping them reach their goals.
You can see Matt’s work and portfolio on his webpage at www.meisphotography.com
SEARCH THE BLOG
clear


Join our free photo-travel community group on Facebook. A great place to swap stories & share images with fellow photographers!

Live events & webinars from the comfort of your own home. Free webinars on a variety of photography related topics – from photo editing to composition & more.

Check out the BCJ Trip Calendar for all of our upcoming Photography Tours, Workshops & Safaris!

FEATURED TRIP:
Brown Bears of Alaska: Beyond Brooks
Immerse yourself in the Alaskan wilderness and capture stunning images of Brown Bears!
Brown Bears of Alaska: Beyond Brooks
Immerse yourself in the Alaskan wilderness and capture stunning images of Brown Bears!


UPCOMING TRIPS WITH AVAILABILITY
[Block//Web Spots Left]
Price: [Block//Current Price]
Dates: [Block//Start Date %n/j/Y%+0] to [Block//End Date %n/j/Y%+0]
READ OUR NEWSLETTER FOR NEW TRIPS, ARTICLES, & PROMOS
BACKCOUNTRY JOURNEYS
"Backcountry Journeys offers guests the unique opportunity to explore our natural world from behind their own lens. We run a selection of hand-crafted Photo Tours, Workshops & Safaris connecting passionate people to exceptional experiences. Locations include Yosemite, Alaska, Yellowstone, Glacier National Park, Hawaii, Utah as well as Botswana & Costa Rica."
- Russ Nordstrand, Backcountry Journeys Founder & Director
- Russ Nordstrand, Backcountry Journeys Founder & Director
TRIP CATALOG
Download our Trip Catalog for detailed information on our many destinations for photography tours, workshops, and safaris.
All Images & Content are property of Backcountry Photography Tours, Workshops & Safaris LLCs - Copyright 2024
BACKCOUNTRY JOURNEYS
"Backcountry Journeys offers guests the unique opportunity to explore our natural world from behind their own lens. We run a selection of hand-crafted Photo Tours, Workshops & Safaris connecting passionate people to exceptional experiences. Locations include Yosemite, Alaska, Yellowstone, Glacier National Park, Hawaii, Utah as well as Botswana & Costa Rica."
All Images & Content are property of Backcountry Journeys Photography Tours, Workshops & Safaris LLC - Copyright 2024
TRIP CATALOG
Download our Trip Catalog for detailed information on our many destinations for photography tours, workshops, and safaris.