Voted Travelers' Choice 2023

Find Your Next Adventure
Where Will You Go Next?
Find Your Next Adventure
Where Will You Go Next?
Resources For Photographers
About Our Company
JOIN OUR FREE FACEBOOK GROUP - THE BCJ TRIBE
Using Range Masks in Lightroom
by Matt Meisenheimer
Over the past two years, Lightroom Classic has experienced some great improvements. With competition popping up from Skylum’s Luminar, ON1, and Capture One, Adobe has been forced to ensure they are offering the best product possible because the alternatives are becoming very good. I think Lightroom Classic is still the best option for RAW processing and if you want to really learn the program and see why, I recommend checking out our Lightroom: Beginner to Expert Course.
Lightroom Classic has really become an ‘all-in-one’ product for photographers. It’s intuitive for the most part, it can organize images (something Photoshop cannot do without support from Adobe Bridge), and you can do some serious post-processing. Now, with that said, I do 100% of my photo organization in Lightroom, and about 15% of my processing in Lightroom Classic versus 85% in Photoshop. I do this because Photoshop still gives you the utmost control over selective adjustments. Adobe has recognized that though and has really been pushing selective adjustments in Lightroom Classic. With tools like the Graduated Filter and the Adjustment Brush, you can target specific areas of an image in Lightroom Classic, and within those tools there are even more options. In the most recent update, Adobe introduced the ‘Hue’ local adjustment slider, which allows you to selectively alter color in an image.
In my opinion, one of the best additions Adobe has made to Lightroom Classic over the last to years is the ‘Range Mask’ feature. It includes a series of options and sliders within the selective tools – the Graduated Filter Tool, the Radial Filter Tool, and the Adjustment Brush Tool. It is a masking feature and for those of you unfamiliar with masking, masking simply allows you to control where adjustments are applied to an image. Masking is a major component of processing in Photoshop and allows users to make very fine-tuned, selective adjustments (learn more with our Photoshop courses). Lightroom has had shortcomings when it has come to selective adjustments, but the ‘Range Mask’ feature really changes that. Let’s dive in.
Range Mask Options
‘Range Mask’ is an option located at the bottom of the Graduated Filter, Radial Filter, and Adjustment Brush Tools. To enable the option, you must first apply an adjustment to an image. There are three masking options – Color, Luminance, and Depth.

Color
‘Color’ allows you to confine an adjustment to a specific color range, which you are able to select using the ‘Color Range Selector’.
‘Color’ allows you to confine an adjustment to a specific color range, which you are able to select using the ‘Color Range Selector’.

Using the selector, you can select one point (Click), multiple points (Shift + Click), or designate a rectangular area in an image (Click + Drag). The area(s) you select will receive the adjustment, while the adjustment will be masked out of other color ranges. For instance, let’s say you want to make an adjustment to a blue sky. If you use the ‘Color Range Selector’ and pick an area in the sky that is blue, the adjustment will be constricted to areas in the image that match the blue color that you selected. You can further fine tune the mask by using the ‘Amount’ slider that corresponds with the ‘Color’ range mask options.
Let’s use the same blue sky example and say you used the ‘Color Range Selector’ tool to pick a blue area in the sky. By default, the ‘Amount’ is set to 50 and represents a good balance. If you move it to 0, it will narrow the color range, that means that only areas in the image that exactly match the blue color you picked in the sky will be affected. If you move it to 100, it will broaden the color range, that means that additional hues similar to blue will be affected, not just the specific blue color you originally selected.
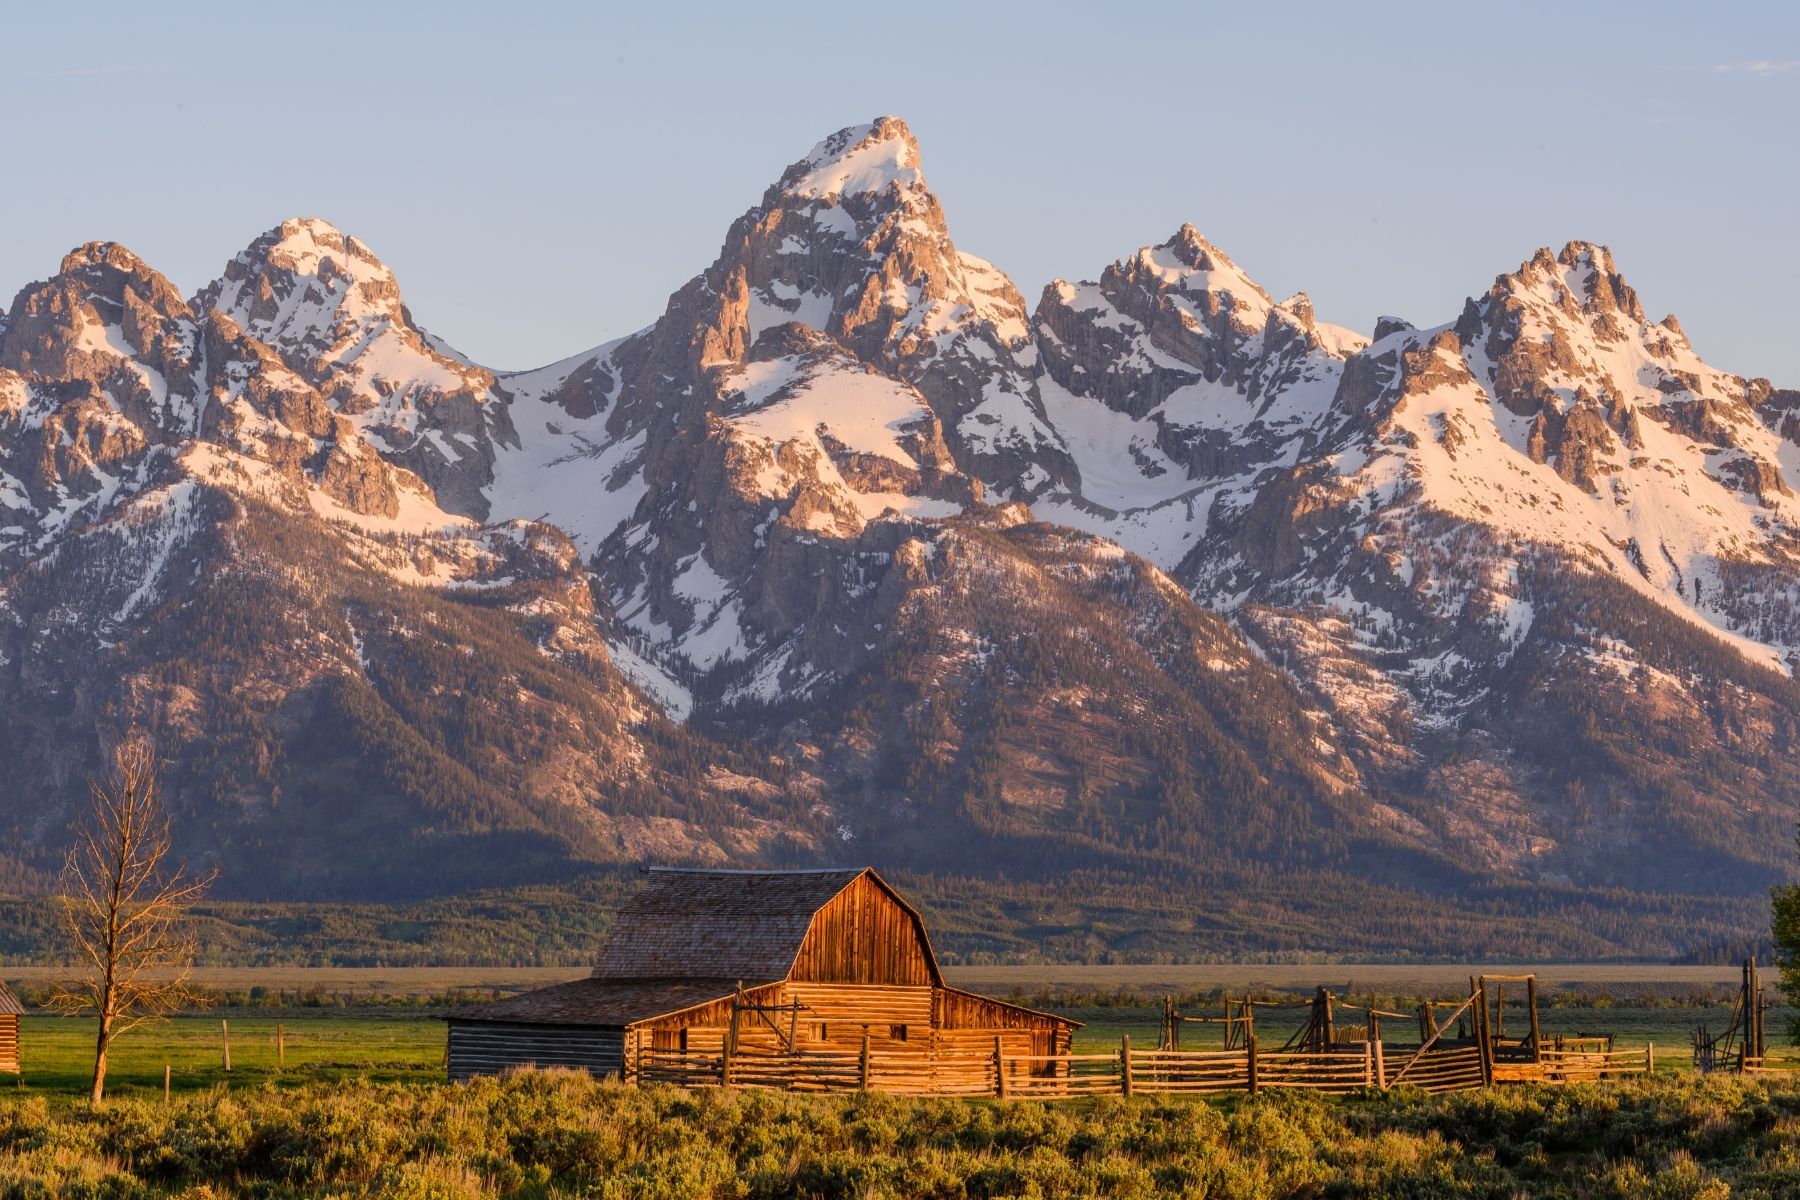
Let’s look at an actual example. In the below image, I wanted to add some brightness and contrast to the sky, but not the rest of the image. Here is the original image:
Let’s use the same blue sky example and say you used the ‘Color Range Selector’ tool to pick a blue area in the sky. By default, the ‘Amount’ is set to 50 and represents a good balance. If you move it to 0, it will narrow the color range, that means that only areas in the image that exactly match the blue color you picked in the sky will be affected. If you move it to 100, it will broaden the color range, that means that additional hues similar to blue will be affected, not just the specific blue color you originally selected.
Let’s look at an actual example. In the below image, I wanted to add some brightness and contrast to the sky, but not the rest of the image. Here is the original image:

To do this, I applied a Graduated Filter with +0.40 of Exposure and +100 of Contrast. Without a mask applied, the image then looked like this:

Now, the sky looks good, but the mountain peaks have too much contrast and are oversaturated. By the way, this image was taken during one of our Canyons of Utah: Zion & Bryce workshops, one of my favorite workshop destinations.
To remove the adjustment from the peaks, I used a range mask set to ‘Color’. I used the ‘Color Range Selector’ and selected one point in the sky. I did not adjust the ‘Amount’ slider at all. Let’s look at the end result.
To remove the adjustment from the peaks, I used a range mask set to ‘Color’. I used the ‘Color Range Selector’ and selected one point in the sky. I did not adjust the ‘Amount’ slider at all. Let’s look at the end result.

The end result is pretty impressive, as all I did was active the range mask and select a point in the sky with the ‘Color Range Selector’. Hopefully you can see how powerful range masking can be. One last tip, I find the best way to use the ‘Color Range Selector’ is to designate a rectangle versus selecting a point(s). You can do this by clicking and dragging. I prefer this method because all colors within the rectangle will be affected by whatever adjustment you apply. This results in a smooth application of the adjustment, as well as a nice transition between areas that are receiving the adjustment and those that are not.
Luminance
‘Luminance’ allows you to confine an adjustment to a specific luminance or tonal range. I prefer using ‘Luminance’ over ‘Color’ because I find it to either be more applicable or have a better effect on most images I work on.
‘Luminance’ also has more options than ‘Color’, and those options allow you to really control what luminosity values you want affected by the adjustment you are applying. And if you’re confused by luminosity, it simply refers to the brightness values of an image – blacks, midtones, and whites. Here are the sliders and options available with ‘Luminance’:

The options include a ‘Luminance Range Selector’, a ‘Range’ slider, and a ‘Smoothness’ slider.
The ‘Luminance Range Selector’ works similar to the ‘Color Range Selector’, you can either click one point or click and drag to select an area. The selected luminosity values will be the values that are affected by the adjustment throughout the entire image. I don’t use the selector often because I find the ‘Range’ slider to be easier and more effective.
The ‘Range’ slider comes with two sliders and allows you to remove or mask out an adjustment from certain luminosity values. The slider on the left corresponds to the blacks of an image and the slider on the right corresponds to the whites of an image. If you move the blacks slider to the right, it will gradually mask out the adjustment from the blacks and dark areas of an image. If you move the whites slider to the left, it will gradually mask out the adjustment from the whites and light areas of an image.
The ‘Smoothness’ slider refers to the transition between tonal values that affected by the adjustment and those values that are not. A value of 0 represents a very harsh and quick transition. A value of 100 represents a very smooth transition. ‘Smoothness’ can be difficult to understand. My recommendation is the default of 50 works very well in most cases, and if you do adjust the slider, I recommend a range between 50-100. A value of 0 will often create some nasty effects, most notably color/luminosity banding.
You can also toggle on and off a preview that will show you the luminance range mask. The preview is grayscale with a red overlay, which indicates the parts of the image that are receiving the adjustment (A.K.A not masked). When you adjust the ‘Range’ and ‘Smoothness’ sliders, the red overlay will change and react to what you set. This preview function is very useful, but it is always best to turn the preview on/off so you can see the actual affect the range mask is having on your image as well.

The best application of the ‘Luminance’ range mask option is to for selectively applying adjustments to either the darkest or brightest parts of an image. Let’s take a look at an example.
Here is the image without any adjustments applied. My goal is to recover some of the highlights in the sky and add a little pop. I plan to do this by decreasing exposure and adding some contrast via a Graduated Filter.
Here is the image without any adjustments applied. My goal is to recover some of the highlights in the sky and add a little pop. I plan to do this by decreasing exposure and adding some contrast via a Graduated Filter.

I applied a Graduated Filter over the sky with the below adjustment settings and the adjusted image looked like this


Now, these adjustments look great on the sky and mountain for the most part. But, the adjustments are creeping into the shadows, specifically the dark trees on the left side of the frame. The addition of decreased exposure and contrast makes these trees extremely dark and some pixels are clipped. To fix this, we can use a ‘Luminance’ range mask and the fix is relatively quick and simple.
I accessed the Graduated Filter I placed over the sky and went to the very bottom of the adjustment options, I set the ‘Range Mask’ option to ‘Luminance’. I wanted to mask the exposure/contrast adjustment from the darkest parts of the area being affected by the Graduated Filter. Thus, I navigated to the ‘Range’ slider and moved the left slider (blacks) to the right, from 0 to 25. To ensure there was a nice transition between tones, I then moved the ‘Smoothness’ slider from 50 to 80. I recommend adjusting the ‘Smoothness’ slider left and right until you get a result that looks good to your eye, as I said previously, I usually leave the slider somewhere between 50-100.
Here are the options and the final image with the applied ‘Luminance’ range mask.

Depth
The final range mask option is ‘Depth’. ‘Depth’ allows you to selectively make adjustments based on the embedded depth map data of an image. The key word is ‘embedded’. Not all file types support embedded depth and actually, only one file type currently does. HEIC files, which are recorded by certain Apple iPhones, do include embedded data on depth. You must be using a supported iPhone and you must also be shooting in ‘Portrait’ mode for depth to be recorded. As of now, the RAW files we capture using DSLRs and mirrorless cameras do not record depth data and therefore, this option is not available and will be greyed out.
‘Depth’ is extremely useful though if you do have a supported file type and I think we may potentially see greater support for depth data in the future. This would be especially useful for wildlife photography, where you want to make an adjustment to a wildlife species that is sharp and in-focus, but not to the blurred background that is further from your lens. Only time will tell, but as of now, ‘Depth’ is an inaccessible option for us DSLR and mirrorless shooters.
Summary
If you have not tried out Lightroom’s ‘Range Mask’ feature, definitely see how it works on some of your own images. In general, areas of an image require different adjustments and processing. With landscapes, I am constantly processing the foreground/midground and sky separately. With wildlife, I often am making adjustments specifically for the animal. Those types of adjustments are selective and generally more difficult to apply in Lightroom (or should I say they were). The inclusion of ‘Range Mask’ has changed that. Selectively applying adjustments in Lightroom Classic is now easier than ever. Yes, you need to understand basic masking principles and understand what you are trying to do with an adjustment, but the actual application of a range mask is very quick. In the above examples, I demonstrated how to use the two major ‘Range Mask’ options – ‘Color’’ and ‘Luminance’. By using the two options, you can apply local adjustments (Graduated Filter, Radial Filter, and the Adjustment Brush) to selective parts of an image – for instance, just the red areas of an image or just the brightest parts of an image.
I highly recommend trying out this technique, it is very effective and will make you a better Lightroom Classic user. If you enjoyed this article and want more, please check out our Lightroom: Beginner to Expert course or our previous articles on Lightroom Classic techniques.

arrow_drop_down_circle
Divider Text
AUTHOR
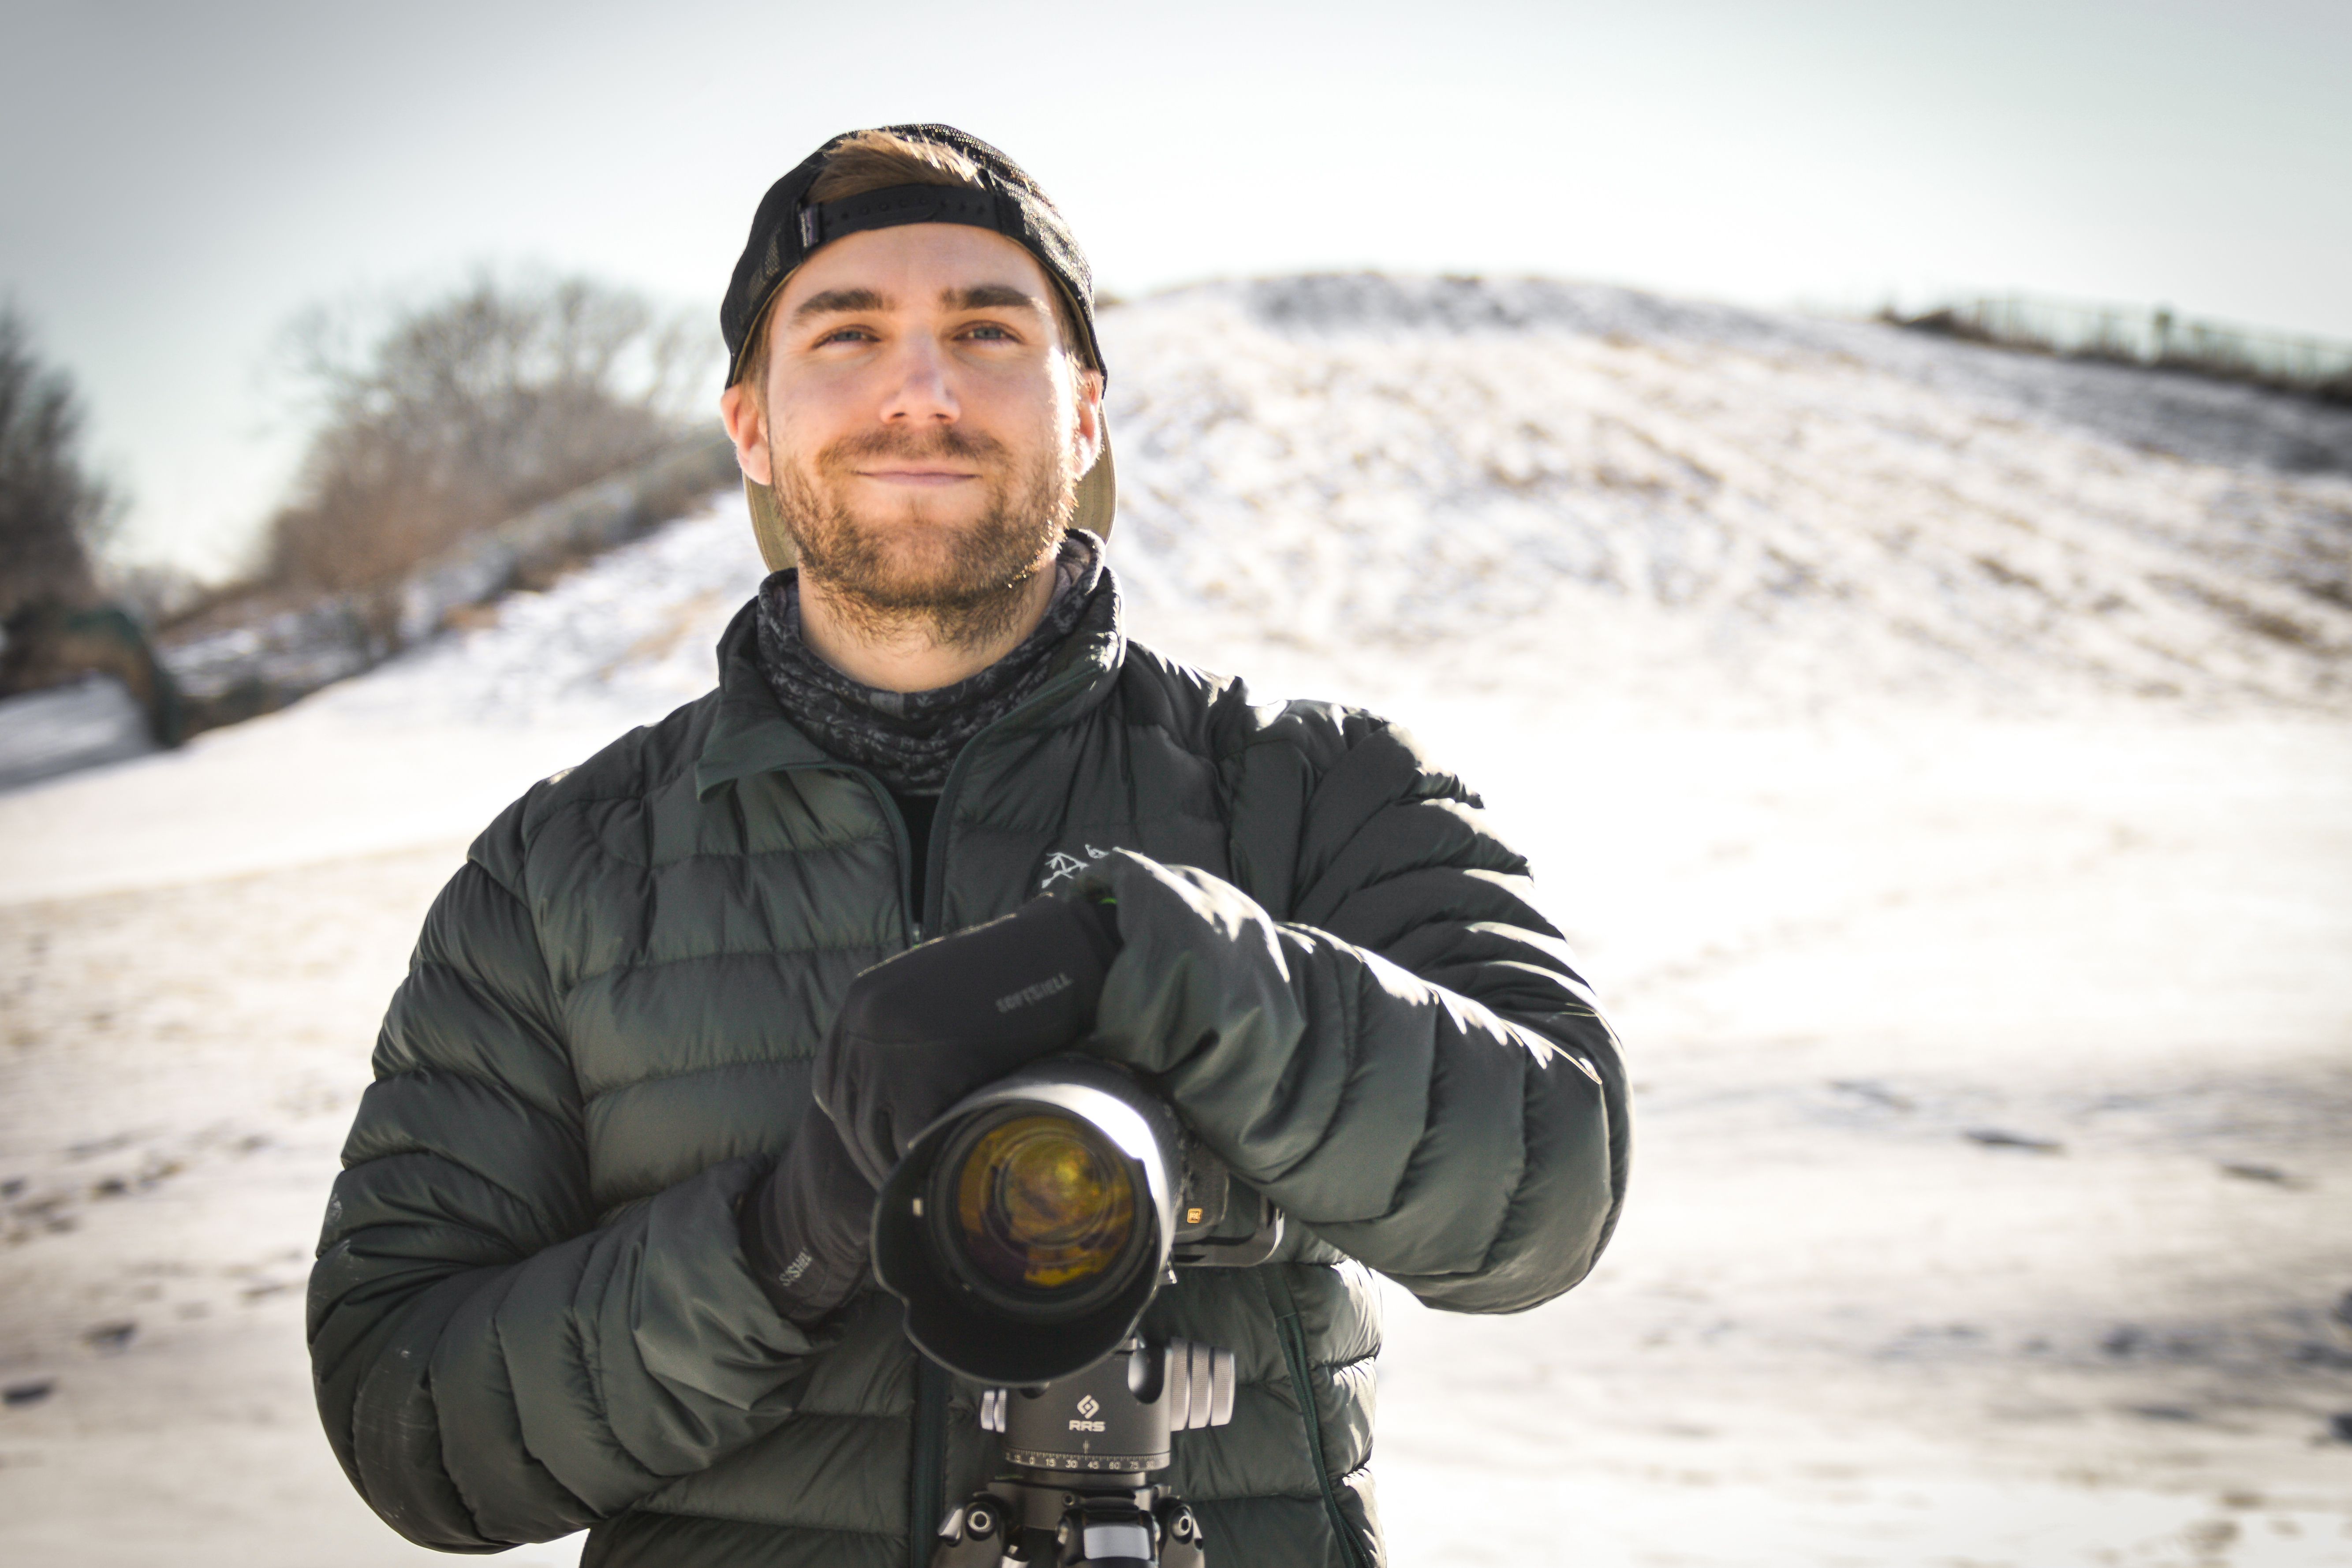
Matt Meisenheimer is a photographer based in Wisconsin. His artistry revolves around finding unique compositions and exploring locations that few have seen. He strives to capture those brief moments of dramatic light and weather, which make our grand landscapes so special. Matt loves the process of photography – from planning trips and scouting locations, taking the shot in-field, to post-processing the final image.
Matt is an active adventurer and wildlife enthusiast as well. He graduated with a degree in wildlife ecology and worked in Denali National Park and Mount Rainier National Park as a biologist. He also spent 6 months working in the deserts of Namibia before finding his path in photography. Matt’s passion for the wilderness has taken him to many beautiful places around the world.
As a former university teaching assistant, Matt is passionate about instruction. It is his goal to give his students the technical and creative knowledge they need to achieve their own photographic vision. He truly enjoys working with photographers on a personal level and helping them reach their goals.
You can see Matt’s work and portfolio on his webpage at www.meisphotography.com
SEARCH THE BLOG
clear


Join our free photo-travel community group on Facebook. A great place to swap stories & share images with fellow photographers!

Live events & webinars from the comfort of your own home. Free webinars on a variety of photography related topics – from photo editing to composition & more.

Check out the BCJ Trip Calendar for all of our upcoming Photography Tours, Workshops & Safaris!

FEATURED TRIP:
Brown Bears of Alaska: Beyond Brooks
Immerse yourself in the Alaskan wilderness and capture stunning images of Brown Bears!
Brown Bears of Alaska: Beyond Brooks
Immerse yourself in the Alaskan wilderness and capture stunning images of Brown Bears!


UPCOMING TRIPS WITH AVAILABILITY
[Block//Web Spots Left]
Price: [Block//Current Price]
Dates: [Block//Start Date %n/j/Y%+0] to [Block//End Date %n/j/Y%+0]
READ OUR NEWSLETTER FOR NEW TRIPS, ARTICLES, & PROMOS
BACKCOUNTRY JOURNEYS
"Backcountry Journeys offers guests the unique opportunity to explore our natural world from behind their own lens. We run a selection of hand-crafted Photo Tours, Workshops & Safaris connecting passionate people to exceptional experiences. Locations include Yosemite, Alaska, Yellowstone, Glacier National Park, Hawaii, Utah as well as Botswana & Costa Rica."
- Russ Nordstrand, Backcountry Journeys Founder & Director
- Russ Nordstrand, Backcountry Journeys Founder & Director
TRIP CATALOG
Download our Trip Catalog for detailed information on our many destinations for photography tours, workshops, and safaris.
All Images & Content are property of Backcountry Photography Tours, Workshops & Safaris LLCs - Copyright 2024
BACKCOUNTRY JOURNEYS
"Backcountry Journeys offers guests the unique opportunity to explore our natural world from behind their own lens. We run a selection of hand-crafted Photo Tours, Workshops & Safaris connecting passionate people to exceptional experiences. Locations include Yosemite, Alaska, Yellowstone, Glacier National Park, Hawaii, Utah as well as Botswana & Costa Rica."
All Images & Content are property of Backcountry Journeys Photography Tours, Workshops & Safaris LLC - Copyright 2024
TRIP CATALOG
Download our Trip Catalog for detailed information on our many destinations for photography tours, workshops, and safaris.