2025 Travelers' Choice

About Backcountry Journeys
Why Choose Backcountry Journeys
If you're considering a photography trip, hear why Backcountry Journeys delivers the best experience in the industry.Frequently Asked Questions
If you're new to photography trips, or new to BCJ, you can find our common travel questions here.Fitness Levels
Our trips vary on physical intensity, and by reviewing our fitness levels, you can find out which trips may be more challenging, or aligned more closely with your comfort level.Meet The Crew
We've built an amazing team of experienced guides, and dedicated office staff that elevate your travel experience. Get to know their backgrounds, and hear their stories.Loyalty Program
We reward our frequent photo adventurers with exclusive discounts on amazing photography trips.Contact Us
If you need to get in touch with our office staff, or have additional business inquiries, you can find our information here.Refer a Friend
Know someone perfect for one of our tours? Recommend them through this quick form.Stay Up To Date On All Things
Backcountry Journeys
Backcountry Journeys
Our Photography Community
Our Webinars
Our regularly hosted webinars provide photography instruction from our own guides on a wide range of topics.Our Education Portal
Explore our library of articles that cover everything from common questions, to in-depth guides on how to achieve that perfect shot.Community Testimonials
We're proud to foster an amazing group of photo travelers, and here you can find their stories from their past adventures.Resources For Photographers
About Our Company
Resources For Photographers
About Our Company
Northern Lights Photography: How to Capture Incredible Aurora Images
Published August 19, 2026
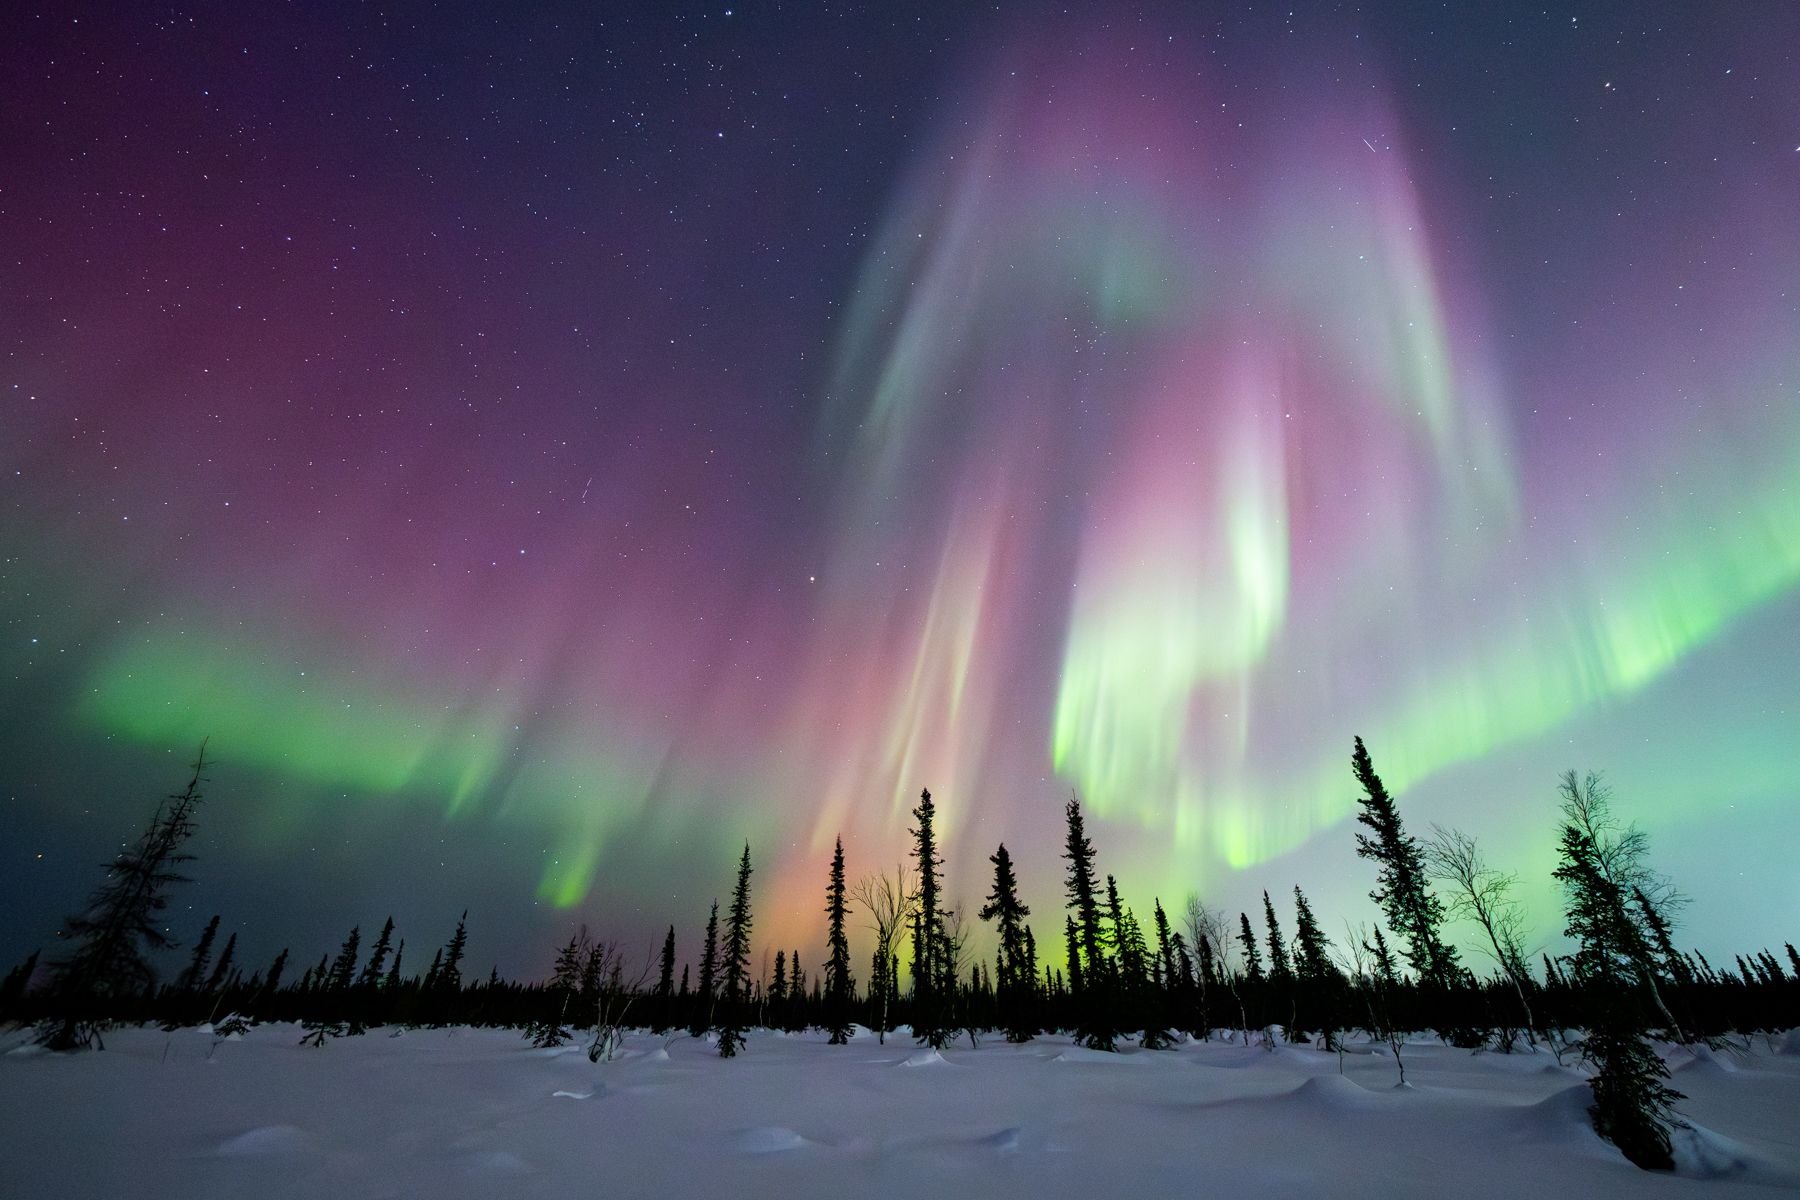
Few photography experiences compare to standing beneath a sky illuminated by the northern lights.
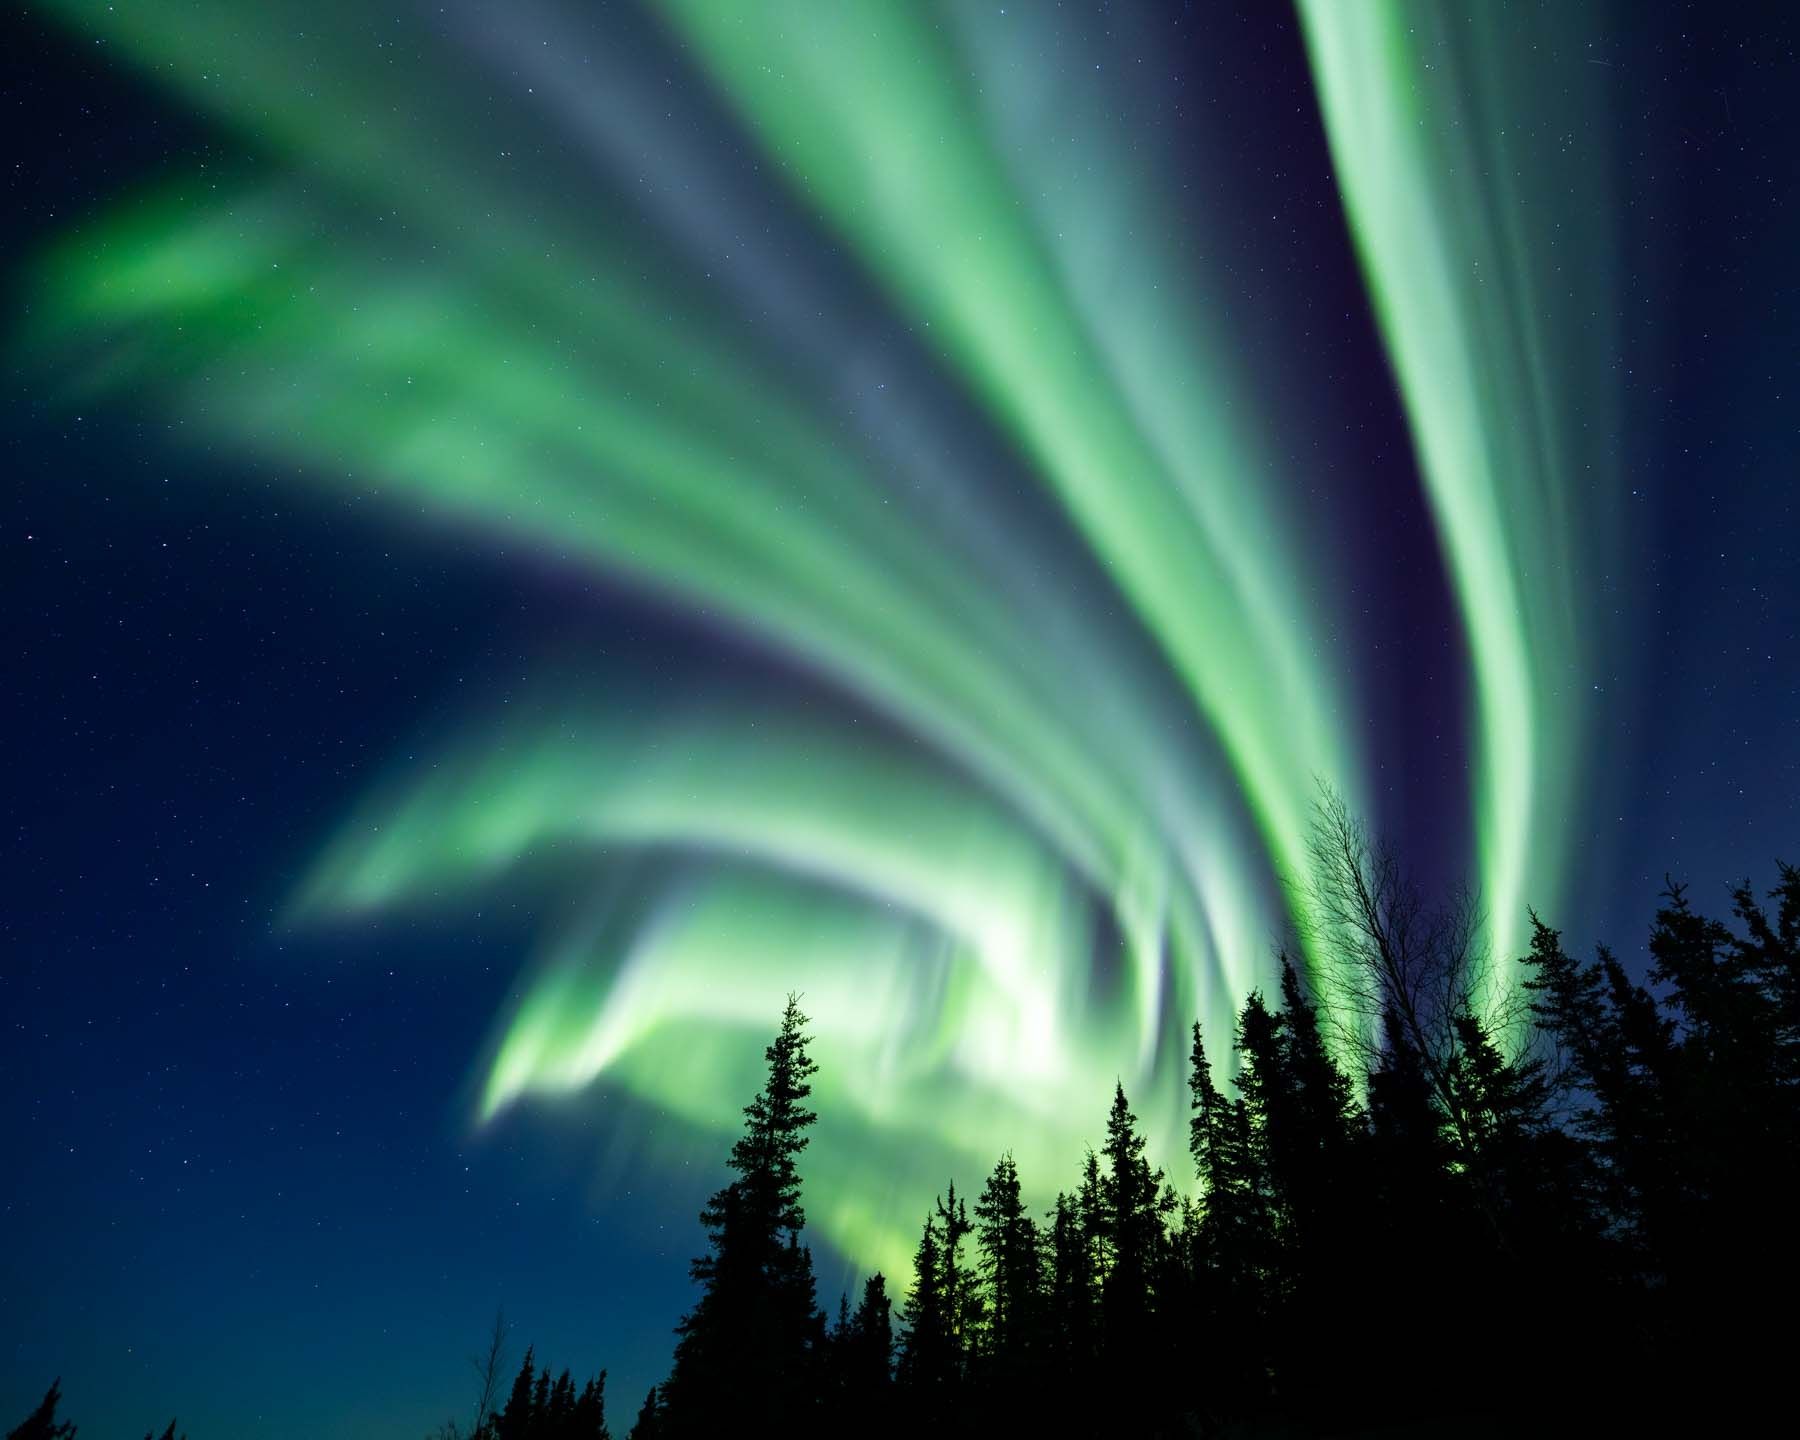
The colors shift above, while below the landscape transforms. And for a moment, the night sky becomes a constantly changing canvas of green, purple, and red lights twisting together amongst the stars, over the treetops dusted with snow.
But, as I am sure you’re aware, dear reader, photographing the aurora is very different from photographing in daylight!
The conditions are much more challenging. The environment is unpredictable. And knowing your camera settings before the lights appear can make the difference between coming home with a blurry memory and a photograph that captures the true magic of the moment.
A northern lights photography tour gives photographers the opportunity to experience this phenomenon with expert guidance, carefully selected locations, and the flexibility needed to make the most of changing conditions.
Whether you are photographing the aurora for the first time or looking to improve your night photography skills, understanding the right equipment and techniques is the first step.
Why Photographing the Northern Lights Is So Challenging
The northern lights are constantly moving and changing.
Unlike a mountain landscape that stays relatively consistent, the aurora can appear suddenly, disappear quickly, and shift intensity within minutes.
Photographers must balance several factors:
Limited available light
Moving subjects in the sky
Changing weather conditions
Cold temperatures affecting equipment
The desire to capture both the aurora and the surrounding landscape
Successful aurora photography requires preparation, forecasting and adaptability.
That is why many photographers choose a guided northern lights photography tour. Having an experienced guide who understands weather patterns, aurora forecasts, and ideal shooting locations allows photographers to spend less time troubleshooting and more time shooting images!
Essential Camera Gear for Northern Lights Photography
Photographing the northern lights does not require an enormous amount of equipment, but the gear you bring can make a significant difference. Low-light performance, a fast wide-angle lens, a sturdy tripod, and plenty of battery power are the foundation of a reliable aurora photography setup.
Camera Body
A camera with strong low-light performance and good image quality at higher ISO settings is ideal for northern lights photography.
Most modern mirrorless and DSLR cameras are more than capable of photographing the aurora. Rather than focusing on a specific model, look for a camera that gives you full manual control over:
ISO
Shutter speed
Aperture
Focus
You will frequently be working in darkness and adjusting these settings as the brightness and movement of the aurora changes.
Shooting in RAW format is highly recommended. A RAW file preserves substantially more of the information captured by your camera's sensor than a JPEG, giving you greater flexibility when processing the image later.
This is especially valuable when photographing the northern lights because you may want to fine-tune:
White balance
Exposure
Shadow and highlight detail
Noise reduction
Color and saturation
RAW files give you far more latitude to make those adjustments without degrading image quality.
You do not need the newest or most expensive camera body to photograph the northern lights successfully. If your camera offers manual exposure, manual focus, RAW capture, and solid high-ISO performance, it is probably more than capable.
Lenses to Consider
A wide-angle lens is one of the most important pieces of equipment for northern lights photography.
Auroras can stretch across an enormous portion of the night sky, so a wider field of view allows you to incorporate both the display overhead and the landscape beneath it.
A wide-angle lens is particularly useful for photographing:
Large aurora displays
Mountains beneath the aurora
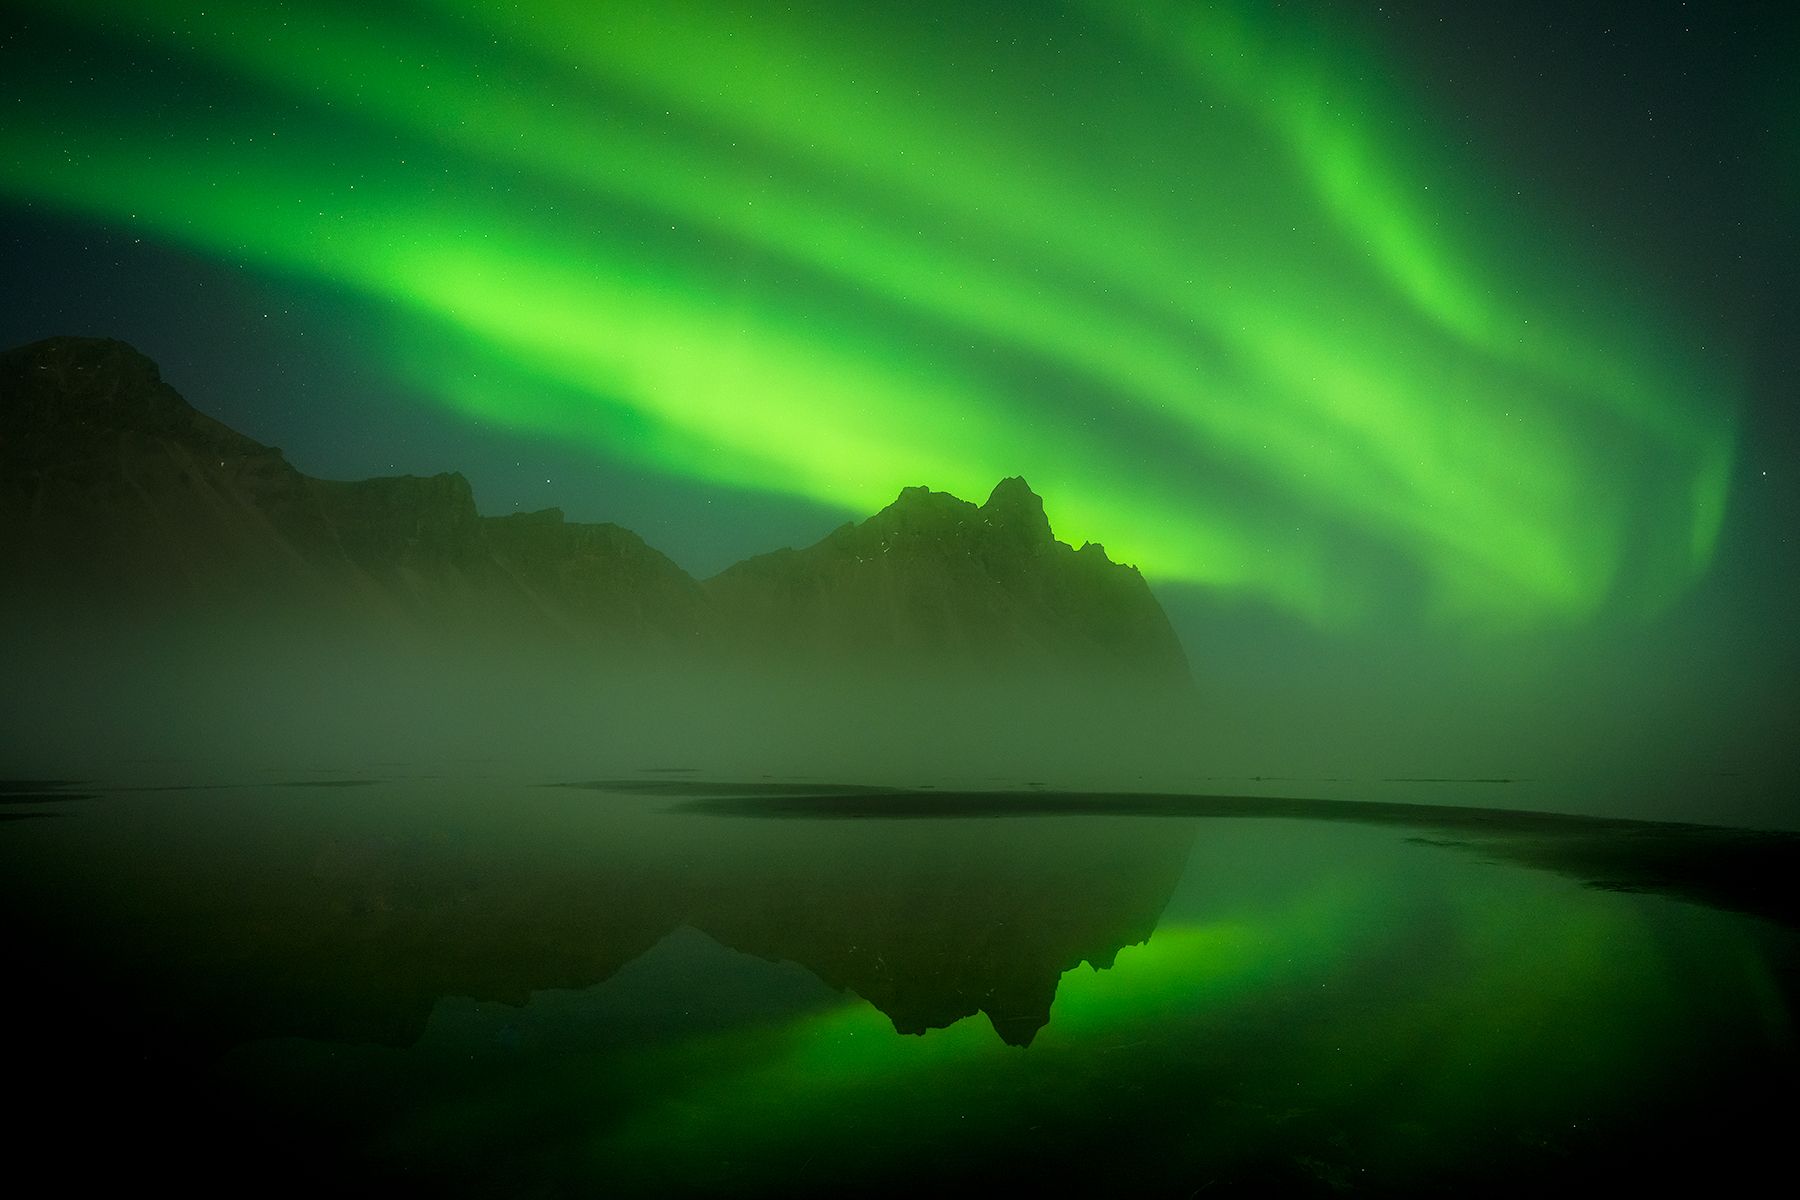
Reflections on lakes, rivers, or ocean water
Forests and Arctic landscapes
Foreground elements that add depth and scale
For a full-frame camera, focal lengths somewhere around 14–24mm are especially useful, although a 16–35mm zoom provides excellent versatility.
A fast maximum aperture is also extremely valuable. Lenses capable of shooting at f/1.4, f/1.8, f/2, or f/2.8 allow more light to reach the sensor, which can help you use shorter shutter speeds and capture more detail in a moving aurora.
A 24-70mm lens can also be useful for tighter compositions, distant mountains, and more intimate sections of an aurora display. You do not always need to photograph the entire sky.
Tripod
A sturdy tripod is essential for northern lights photography.
Aurora photography commonly requires exposures ranging from fractions of a second to several seconds. Even a small amount of camera movement during the exposure can reduce sharpness.
Your tripod should be stable enough to hold your camera securely in wind, snow, and uneven terrain. Make sure all tripod legs and adjustments are firmly locked before beginning an exposure.
A wired remote shutter release can also be useful because it allows you to trigger the camera without touching it. Wired remotes are particularly dependable in extremely cold conditions and do not rely on Bluetooth or wireless connectivity.
If you do not have a remote release, your camera's two-second self-timer can accomplish much the same thing for static compositions.
Extra Batteries, Memory Cards, and Cold-Weather Accessories
Cold temperatures can drain camera batteries surprisingly quickly, so redundancy is important.
Keep spare batteries somewhere warm, such as an interior jacket pocket, whenever possible. Rotating batteries between your camera and a warm pocket can sometimes extend their usable life considerably.
Temperature changes deserve consideration as well. Moving a freezing-cold camera directly into a warm, humid building can cause condensation to form on or inside the equipment. Before going indoors, placing your camera and lens inside a closed camera bag or sealed plastic bag allows them to warm gradually while reducing condensation.
The best aurora display of the night can develop remarkably quickly. Having batteries charged, memory cards cleared, and your camera ready to shoot means you can concentrate on photography when the sky begins to come alive.
One Thing to Leave Off Your Lens
Remove protective UV or clear filters when photographing the northern lights whenever possible.
Adding another piece of glass in front of the lens can increase the chance of unwanted reflections, ghosting, flare, or reduced contrast, particularly when bright stars, the moon, artificial lights, or intense aurora are within the frame.
For the cleanest possible image, photograph with the lens itself unobstructed and use a lens hood for protection instead.
Best Camera Settings for Northern Lights Photography
While every aurora display is different, these settings provide a strong starting point!
Manual Focus
Autofocus often struggles in dark conditions. Switching your lens over to manual focus, and adjusting your camera settings will help you achieve the best Northern Lights photos under even challenging circumstances.
Some settings to consider:
Firstly, your LCD screen may become your worst enemy if its brightness is set too high – I would lower this to the darkest setting your camera body allows. Otherwise, a perfect image may look over-exposed, with the whites completely blown out not according to your histogram, but according to your on-screen photo visuals.
Speaking of your Histogram, I would set this to RGB and continuously check your exposure while photographing.
Adjust your color balance to just about anything other than auto – this will help you avoid light bouncing from photograph to photograph – in auto mode, this can make your portfolio of images you walk away with look extremely varied.
Aperture
Use the widest aperture available on your lens.
Common settings:
f/1.4
f/1.8
f/2.8
A wider aperture allows more light to reach the sensor, helping capture brighter and more detailed aurora images against the dark night sky.
ISO
A typical starting range:
ISO 800–3200
Your ideal setting depends on how bright the aurora is and how much detail you want to capture.
Shutter Speed
Shutter speed is one of the most important decisions.
For faster-moving auroras:
1–5 seconds
For slower, softer displays:
10–20 seconds
Experimenting is key because the aurora changes constantly!
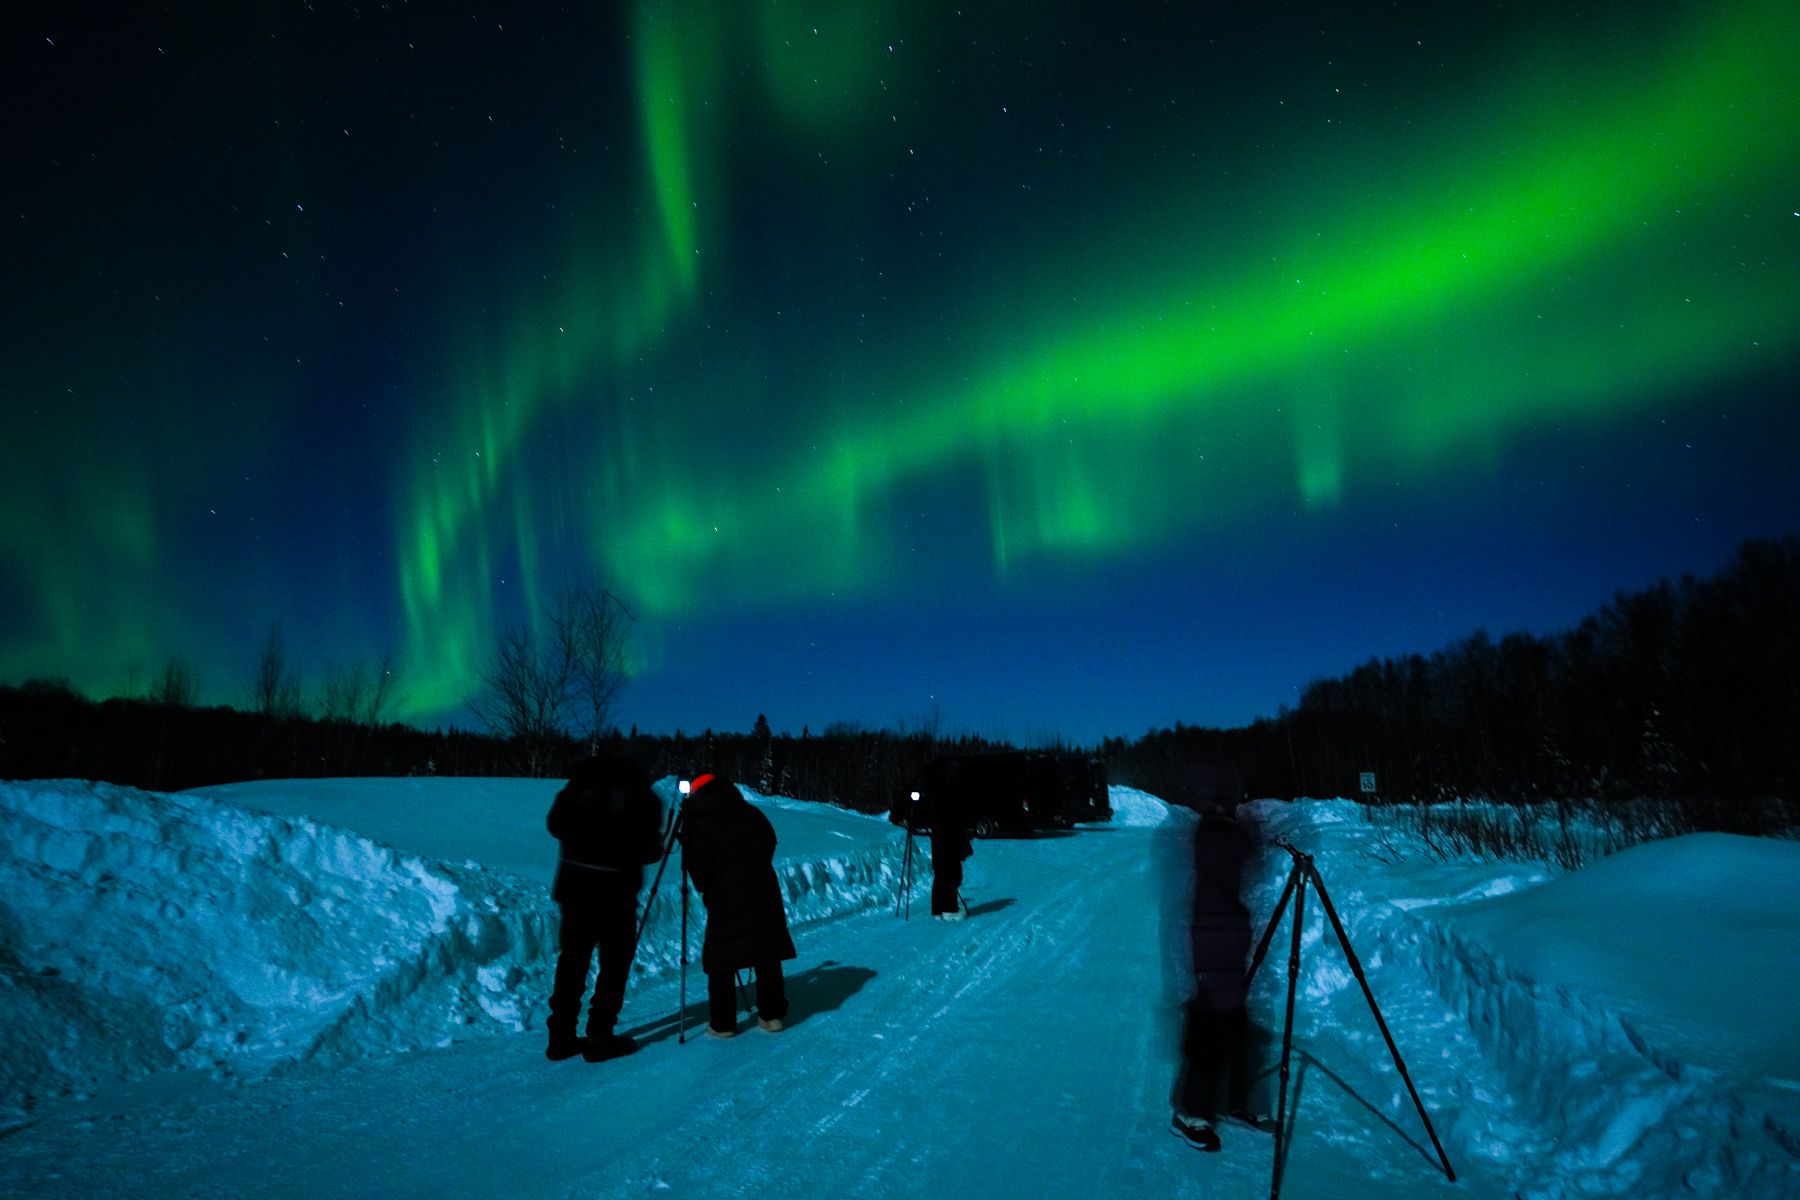
Why Join a Northern Lights Photography Tour?
Photographing the aurora independently can be rewarding, but it also comes with challenges.
Finding clear skies, understanding forecasts, navigating unfamiliar terrain, and choosing the best locations can take valuable time away from photography.
A guided northern lights photography tour removes many of those obstacles.
With Backcountry Journeys, photographers travel with experienced guides who understand how to maximize aurora opportunities. Small groups allow for more personalized instruction, better flexibility in the field, and a more immersive photography experience.
Instead of spending your evenings searching weather apps and wondering where to go, you can focus on capturing one of nature’s most incredible displays.
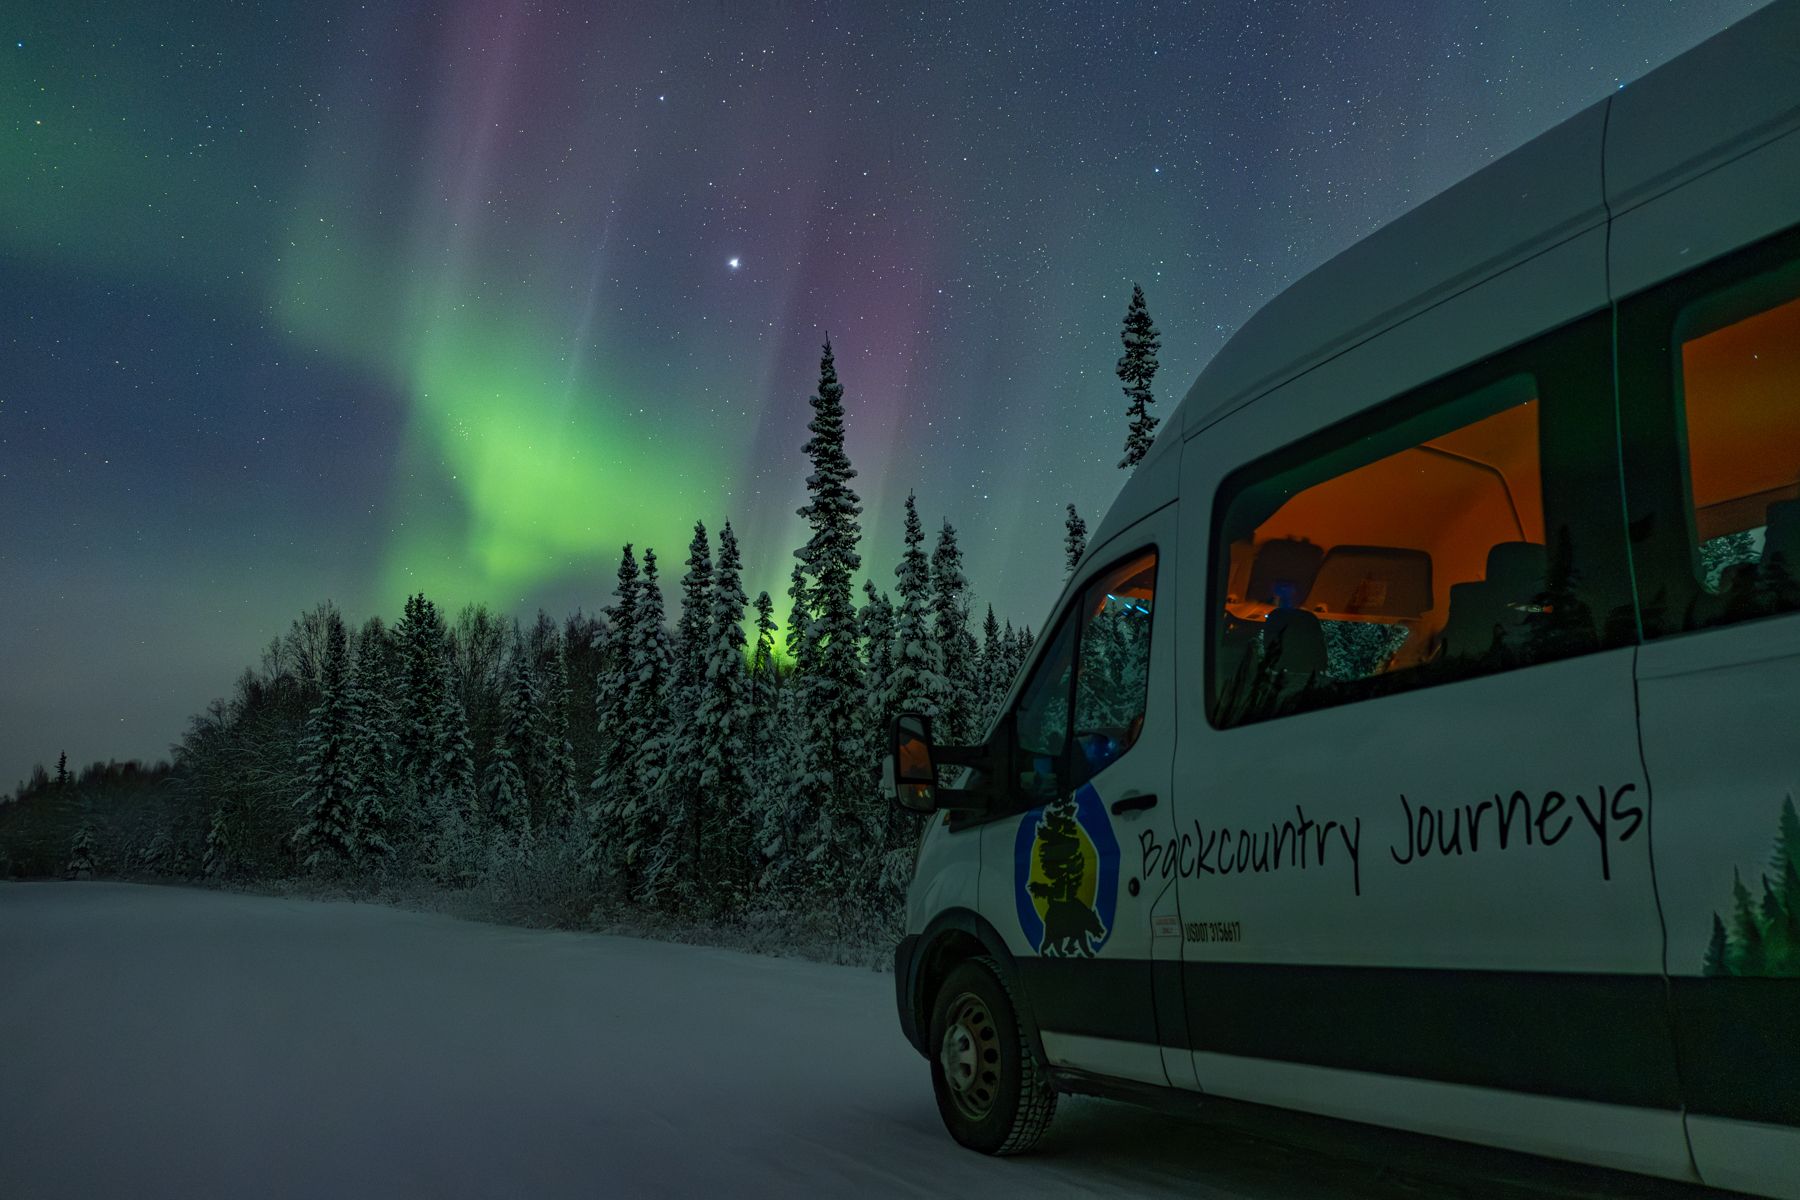
Prepare Your Camera. The Northern Lights Are Waiting.
The northern lights are unpredictable, but preparation creates opportunity.
With the right equipment, camera settings, and expert guidance, photographers can capture images that go far beyond a simple snapshot.
They can preserve the feeling of standing beneath an Arctic sky alive with color.
A northern lights photography tour is not just about seeing the aurora.
It is about learning how to photograph it!
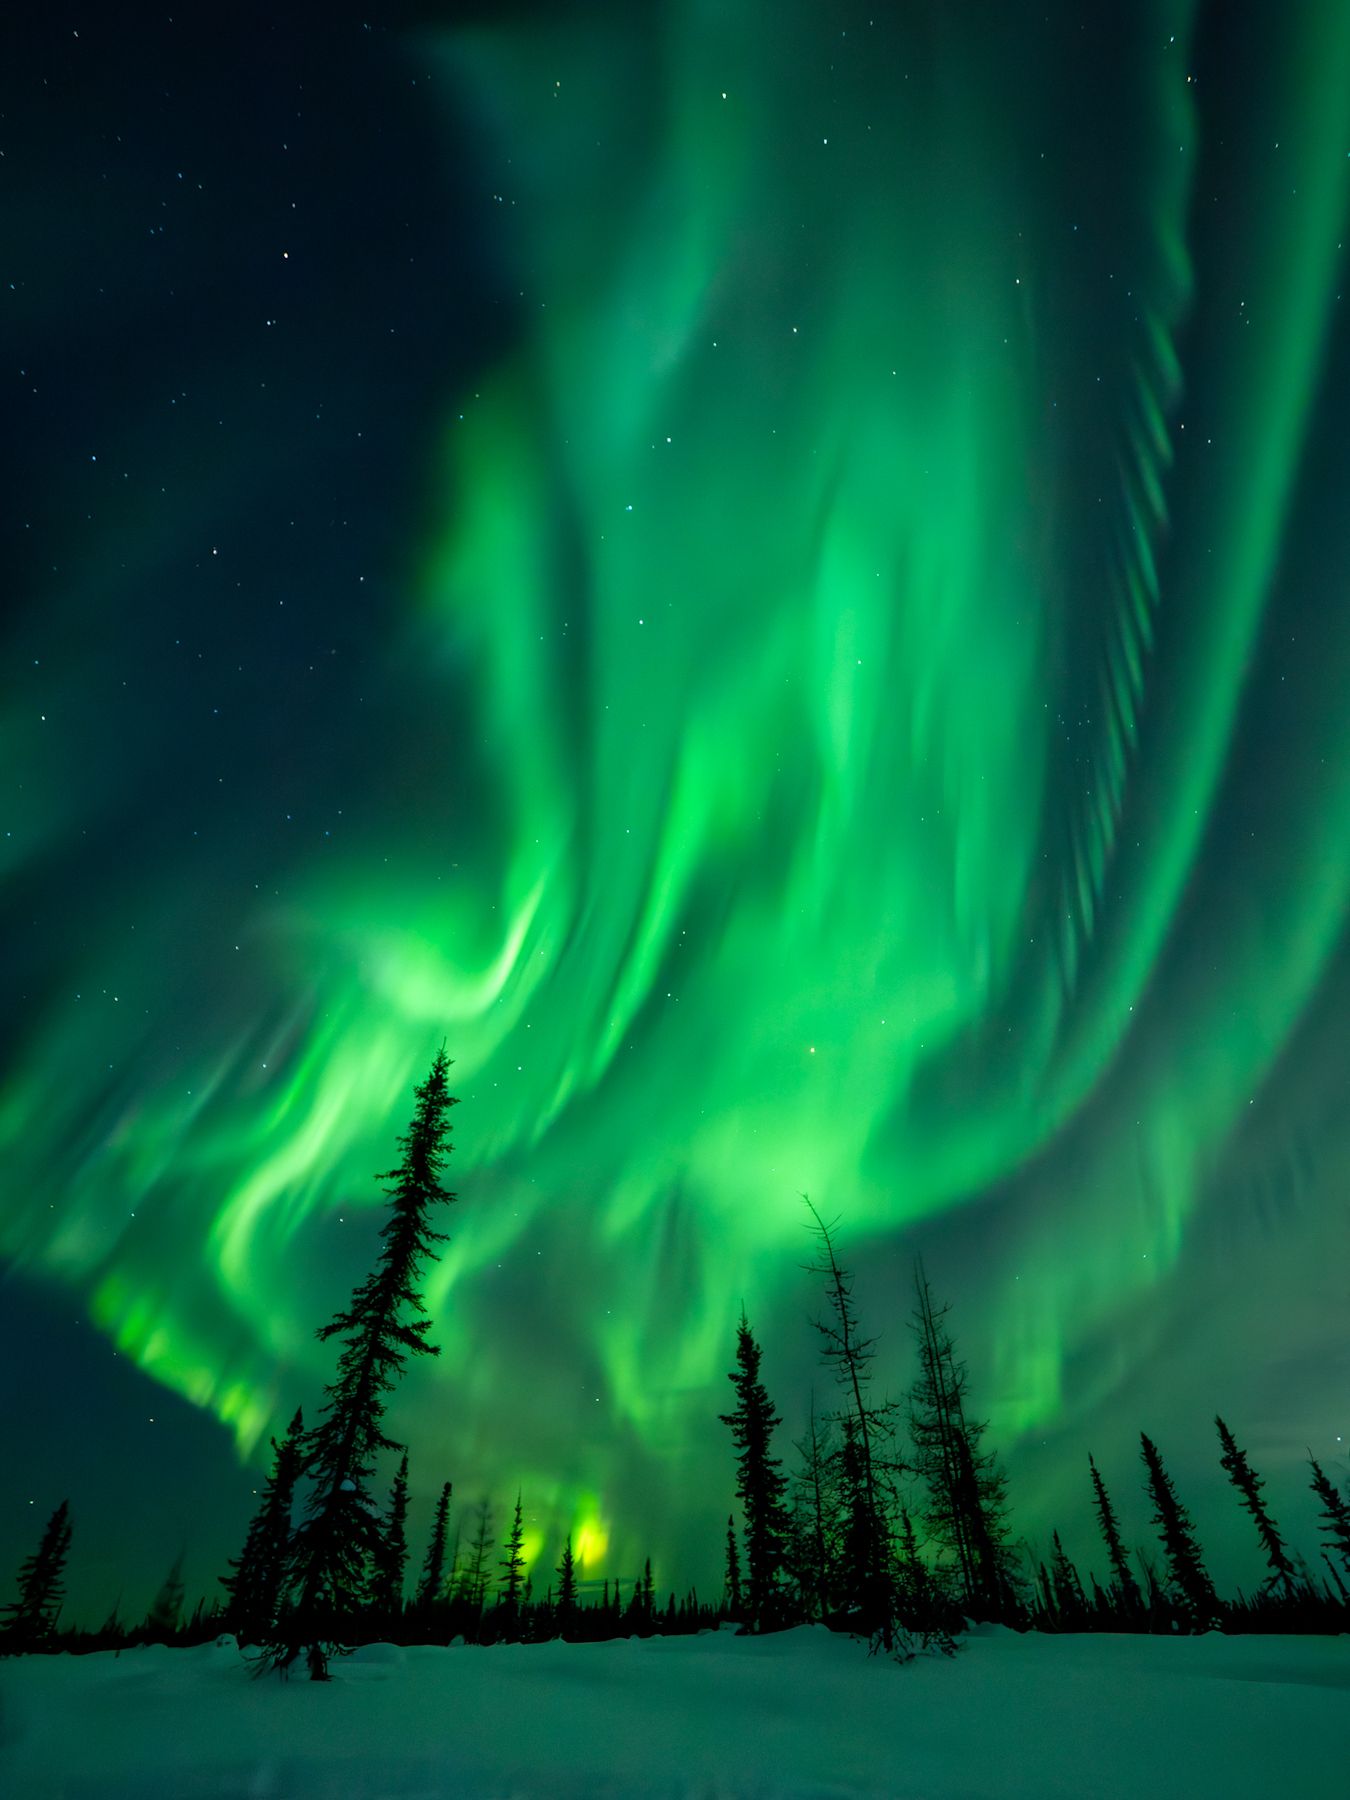
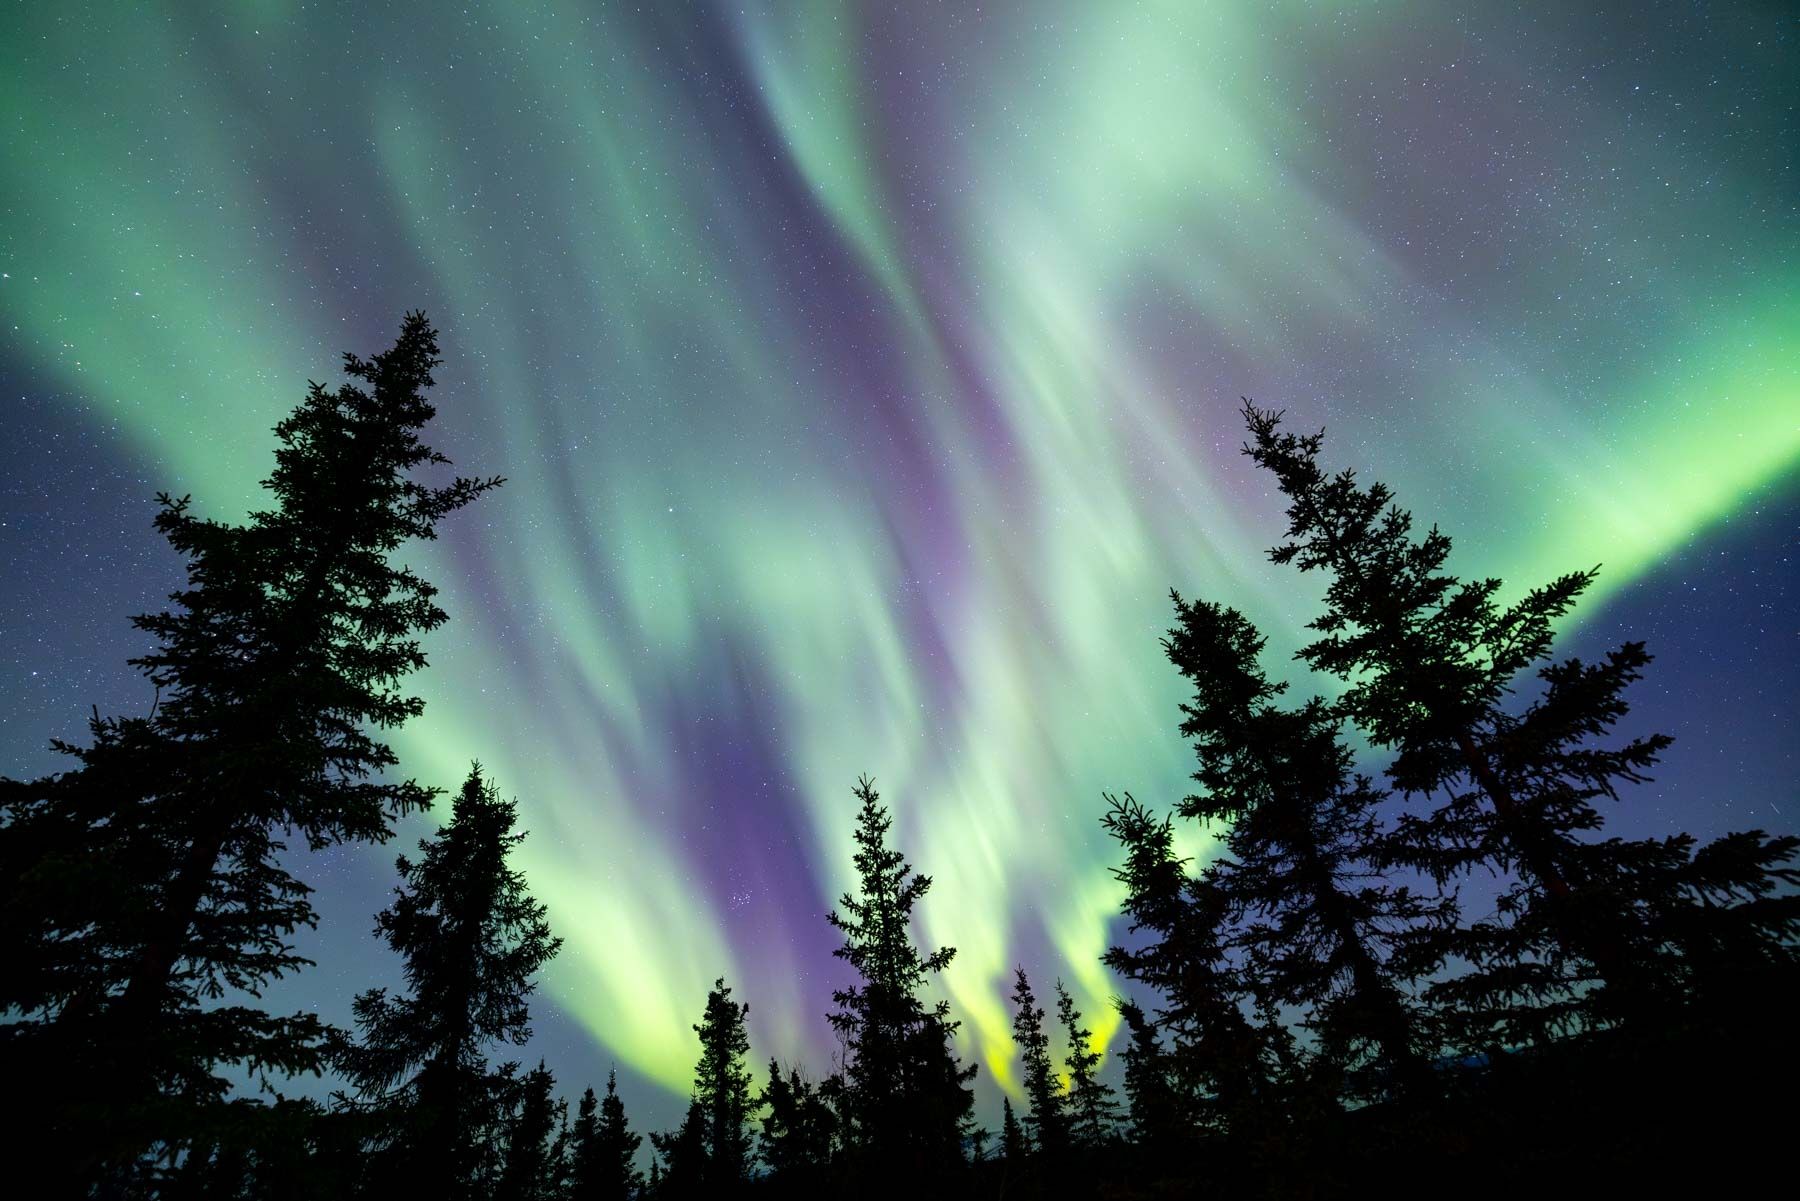
 Ultimate Northern Lights
 Lodge-Based Photo Workshop
From $5,995.00
Up To 7 Guests
Fitness Level 1 - What's This?
Wanna Get Away?
Starts
Current Price:$0.00
Start: Fairbanks, AK
Led By
Start: Fairbanks, AK
Led By

Backcountry Journeys
Connecting Passionate People To
Exceptional Experiences.
Exceptional Experiences.
Business Hours:
Mon-Fri, 8AM-4PM MT
928-478-1521
adventure@backcountryjourneys.com
Mon-Fri, 8AM-4PM MT
928-478-1521
adventure@backcountryjourneys.com
arrow_drop_down_circle
Divider Text
All Images & Content Are Property Of Backcountry Journeys Photography Tours, Workshops & Safaris LLC - Copyright 2026


About Us
Receive a Digital Trip Catalog
Find an upcoming photography tour with our interactive catalog.