Mon - Fri: 8 am - 4 pm MT

About Backcountry Journeys
Why Choose Backcountry Journeys
If you're considering a photography trip, hear why Backcountry Journeys delivers the best experience in the industry.Frequently Asked Questions
If you're new to photography trips, or new to BCJ, you can find our common travel questions here.Fitness Levels
Our trips vary on physical intensity, and by reviewing our fitness levels, you can find out which trips may be more challenging, or aligned more closely with your comfort level.Meet The Crew
We've built an amazing team of experienced guides, and dedicated office staff that elevate your travel experience. Get to know their backgrounds, and hear their stories.Loyalty Program
We reward our frequent photo adventurers with exclusive discounts on amazing photography trips.Contact Us
If you need to get in touch with our office staff, or have additional business inquiries, you can find our information here.Refer a Friend
Know someone perfect for one of our tours? Recommend them through this quick form.Stay Up To Date On All Things
Backcountry Journeys
Backcountry Journeys
Our Photography Community
Our Webinars
Our regularly hosted webinars provide photography instruction from our own guides on a wide range of topics.Our Education Portal
Explore our library of articles that cover everything from common questions, to in-depth guides on how to achieve that perfect shot.Community Testimonials
We're proud to foster an amazing group of photo travelers, and here you can find their stories from their past adventures.Resources For Photographers
About Our Company
Resources For Photographers
About Our Company
Understanding Aperture

Published January 29, 2019
Aperture is an often overwhelming concept for the budding photographer. Numbers, ratios, and mathematics can often complicate a fairly simple concept.
There’s an endless amount of conversation that can result in a lot of head scratching when trying to understand aperture, but hopefully I can shed some light on what it is that your aperture is doing, what effect it has on your images, and why it is crucial to creating powerful and compelling photographs.
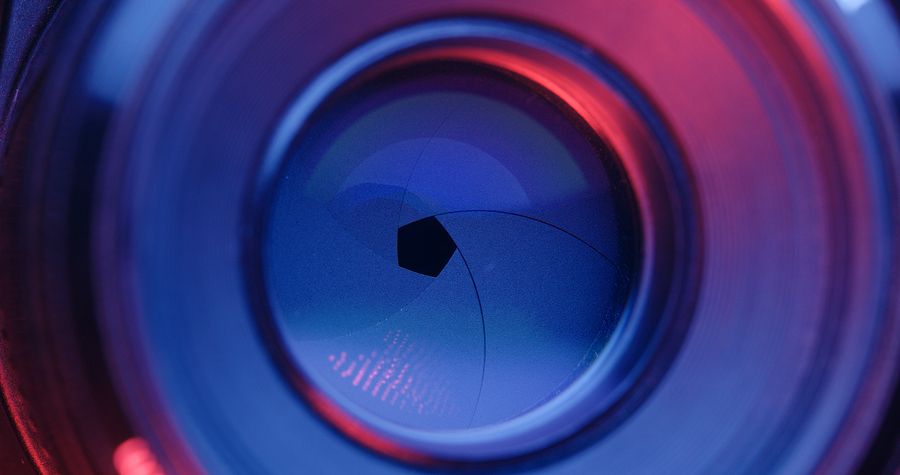
What is Aperture?
Webster’s dictionary defines aperture as “the opening in a photographic lens that admits the light.” This definition refers to aperture as a physical object, and is referring to a mechanical component inside each camera lens. Aperture can also be referred to as a setting in the camera, and as such is defined as “The diameter of the stop in an optical system that determines the diameter of the bundle of rays traversing the instrument.”
There’s an endless amount of conversation that can result in a lot of head scratching when trying to understand aperture, but hopefully I can shed some light on what it is that your aperture is doing, what effect it has on your images, and why it is crucial to creating powerful and compelling photographs.
What is Aperture?
Webster’s dictionary defines aperture as “the opening in a photographic lens that admits the light.” This definition refers to aperture as a physical object, and is referring to a mechanical component inside each camera lens. Aperture can also be referred to as a setting in the camera, and as such is defined as “The diameter of the stop in an optical system that determines the diameter of the bundle of rays traversing the instrument.”
Both definitions are accurate, but reference different things. One is simply referencing the mechanized opening in the lens, while the other is referencing the size of that opening. As we move forward, both definitions will be used interchangeably, but for the most part, we will be referencing the second definition, referring to the size of the opening in the lens as it relates to your camera’s settings and the effect had on an image.
In a lens, the aperture is responsible for managing the functional quantity of light emitted through the lens. Where ISO effects the camera’s sensor, and shutter speed effects how long that sensor is exposed to light, the aperture is entirely contained within the lens and is mechanism for adjusting light emitted through the lens. Aperture is also a value determined by focal length in relation to the diameter of the opening allowing light to hit the sensor, given as a ratio f/x. The “f” in your aperture value stands for Focal Length.
Your aperture value is determined by the lens’ focal length divided by the diameter of the aperture opening. Thus, a 100mm focal length lens with an aperture opening of 50mm would result in an aperture value of 2.
Going back to high school algebra, we can replace the focal length with a value “f” and know that as long as the aperture diameter is half the focal length, the given “f/” value is still 2. The result of this formula allows a 200mm lens to allow the same amount of light through at f/4 as a 50mm lens will at f/4. Since the 50mm lens is capturing light from a wider area, it receives more light initially, but the smaller aperture diameter will manage the volume of light so that the image isn’t blown out. A 200mm lens will have a smaller space that it is capturing light from, but the larger opening offsets this discrepancy and you can be sure both images will then receive the same effective quantity of light.
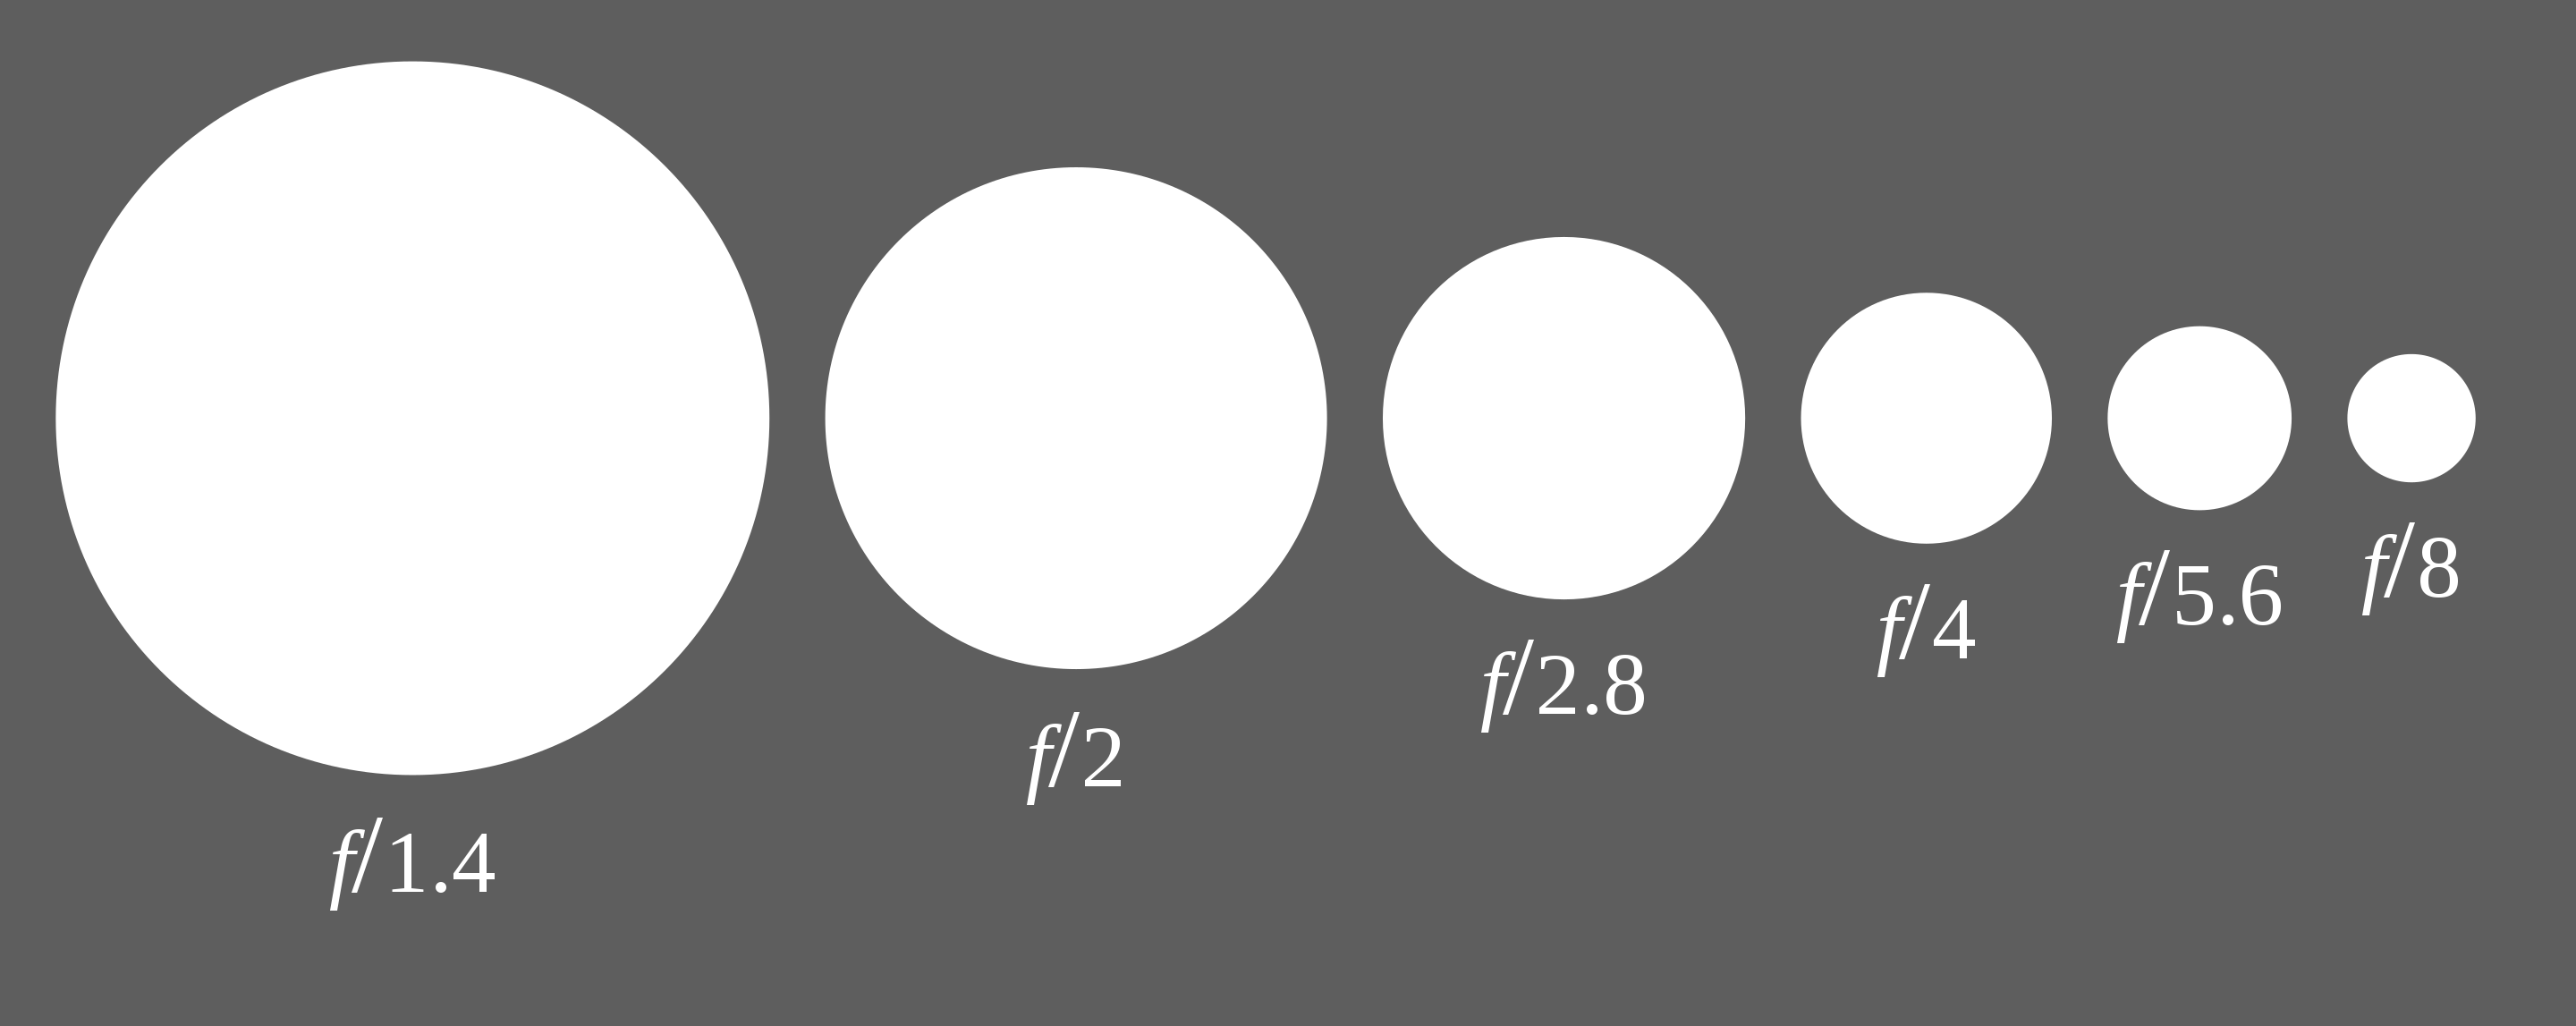
While this is certainly bound to confuse more than a few readers, the important thing to understand is that aperture diameter changes at different focal lengths in order to maintain the same aperture value (and thus the same effective quantity of light). Think of it as an equation with f representing your focal length in millimeters, over a set aperture value (ie 2.8), which will give you a set aperture diameter in millimeters, which correlates to light projection through an object. This sort of conceptual mathematics is also what should help you to understand that the lower the aperture value number (ie. f/2.8), the MORE light will be allowed through the lens, while a higher aperture value number (f/22) will let LESS light through the lens. This is due to the inverse nature of dividing the focal length by the size of the opening. As the opening shrinks (referred to as a narrower aperture) the resulting number gets larger.
If you’re thoroughly confused, talk to your high school math teacher, or just know that with aperture, smaller numbers equate to more light and wider openings, while higher numbers mean less light due to smaller openings. It’s backwards. And it’s math. But most importantly, know that it’s backwards. As far as I know, this is the only place in photography that this happens, and as such can be tough to wrap your head around, but once you get it, hopefully it will stick.
What is an F Stop?
While studying aperture and aperture values, you may have heard the term F stop thrown around from time to time, and may be wondering what that’s all about. While a “stop” change amounts to twice or half the amount of light, regardless of the mechanism used to make that change, the term “F stop” is referring to a stop of light as it relates to aperture, or effectively the difference in quantity of light when doubling the aperture value. As such, F stop and aperture value are often used interchangeably.
The term stop can be used when adjusting ISO, shutter speed or aperture, and as such can be a little misleading when only referring to a camera’s aperture value or “F stop.” It can get even more confusing because most modern cameras allow the user to change aperture values in increments of ⅓ stop values. Therefore, while f/2.8 to f/4 is considered one full stop (as the size of the aperture effectively doubles, thus doubling the amount of light), to change your F stop from f/4 to f/4.5 is not a full stop.
This can be a little misleading for folks when they start trying to change their F stop one stop. As a result, I typically use the term aperture value, and avoid using the term “stop” unless I mean to have someone actually double their exposure.

What can I do with aperture?
Now that you understand what an aperture is, and what’s happening inside your camera when you change it, you may be wondering what to do with this new knowledge. There are two main things that happen when changing your aperture. The first, mentioned above, is that you can change the amount of light hitting your camera’s sensor. This will help you to balance your use of the exposure triangle by giving you an additional tool for changing the overall exposure of your image. Similar to shutter speed and ISO, aperture allows you a technique for brightening or darkening an image in accordance with the varying values.
Now that you understand what an aperture is, and what’s happening inside your camera when you change it, you may be wondering what to do with this new knowledge. There are two main things that happen when changing your aperture. The first, mentioned above, is that you can change the amount of light hitting your camera’s sensor. This will help you to balance your use of the exposure triangle by giving you an additional tool for changing the overall exposure of your image. Similar to shutter speed and ISO, aperture allows you a technique for brightening or darkening an image in accordance with the varying values.
The other thing that happens as you change your aperture is you will begin to notice variations in your image’s depth of field. Depth of field is what allows the photographer to separate their subject from the foreground or background through the use of blur known as bokeh (pronounced Boh-kay).
By maximizing your depth of field, the photographer can present an image that is less distracting and emphasizes a given subject exclusively. This is done at low (or wide) aperture values, and is exaggerated at longer focal lengths. As the diameter of the aperture opening, and as a result, the aperture value change, the depth of field will change also due to the size of the space the light is moving through. Wide apertures have a shallower depth of field (meaning less of the frame is in focus) while narrow apertures (higher numbers) have a broader depth of field (more of the frame is in focus.
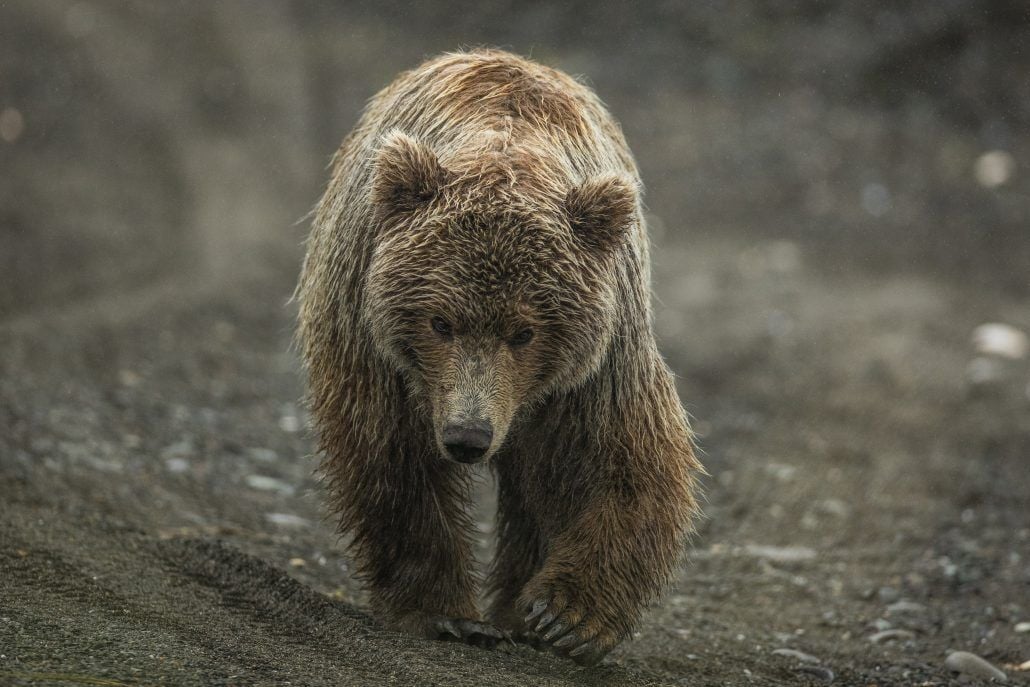
In landscape photography, typically it is better to use higher aperture values, to ensure more of your frame is in focus. When shooting wildlife or portraits however, it’s often better to use lower aperture values to help isolate the subject.
By maximizing your depth of field, the photographer can present an image that is less distracting and emphasizes a given subject exclusively. This is done at low (or wide) aperture values, and is exaggerated at longer focal lengths. As the diameter of the aperture opening, and as a result, the aperture value change, the depth of field will change also due to the size of the space the light is moving through. Wide apertures have a shallower depth of field (meaning less of the frame is in focus) while narrow apertures (higher numbers) have a broader depth of field (more of the frame is in focus.
In landscape photography, typically it is better to use higher aperture values, to ensure more of your frame is in focus. When shooting wildlife or portraits however, it’s often better to use lower aperture values to help isolate the subject.
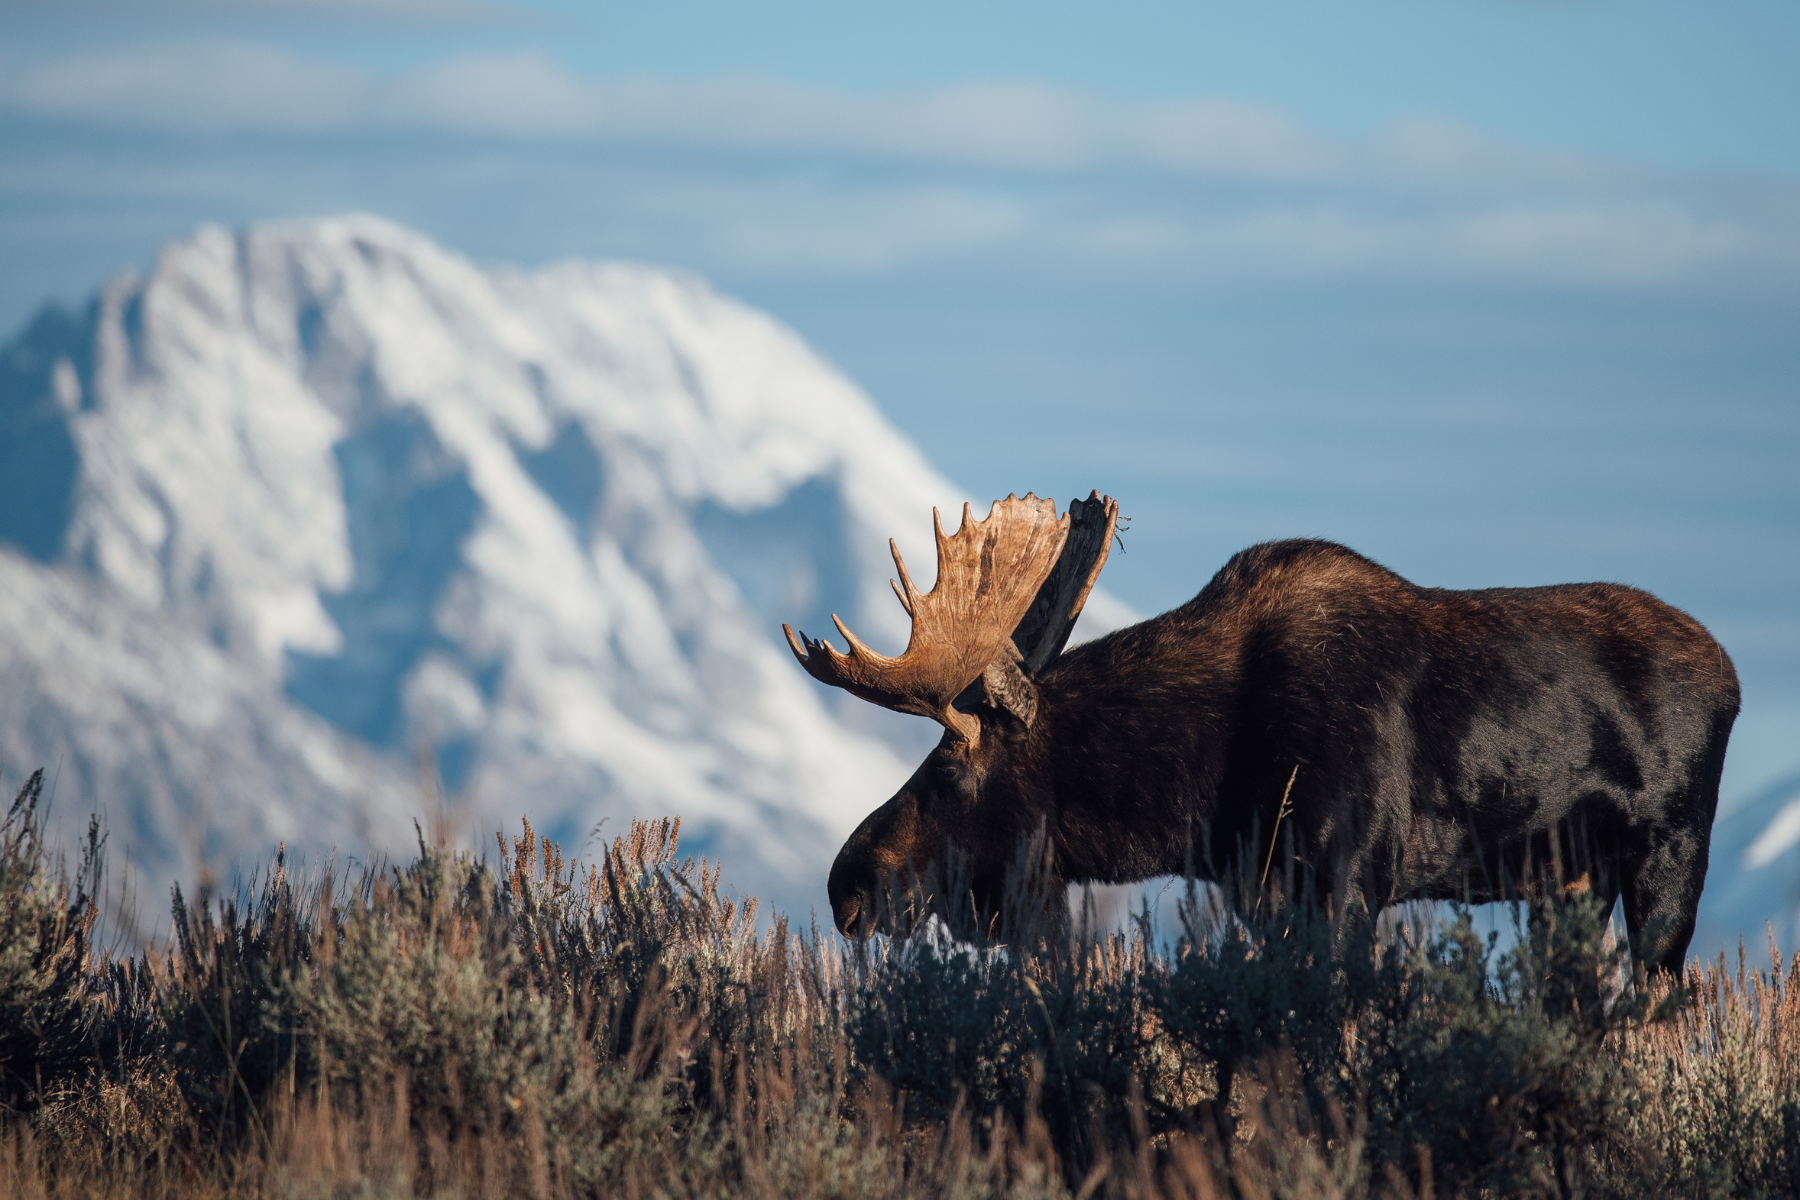
At any given aperture value, the separation between subject and background is also more prevalent at longer focal lengths. As you zoom in, the depth of field will get shallower (creating more separation), while maintaining the same f/ value because the camera is able to further isolate the subject, and because of the math mentioned above. When you look at high caliber animal portraits, you’ll often notice that there is great separation between subject and background, and this is due to the often high focal length and low aperture value used on the lens that the image was captured with. This is why we often encourage guests on our Yellowstone Wildlife Safari to bring as long of a lens as they can get their hands on, with as low of an aperture as possible.
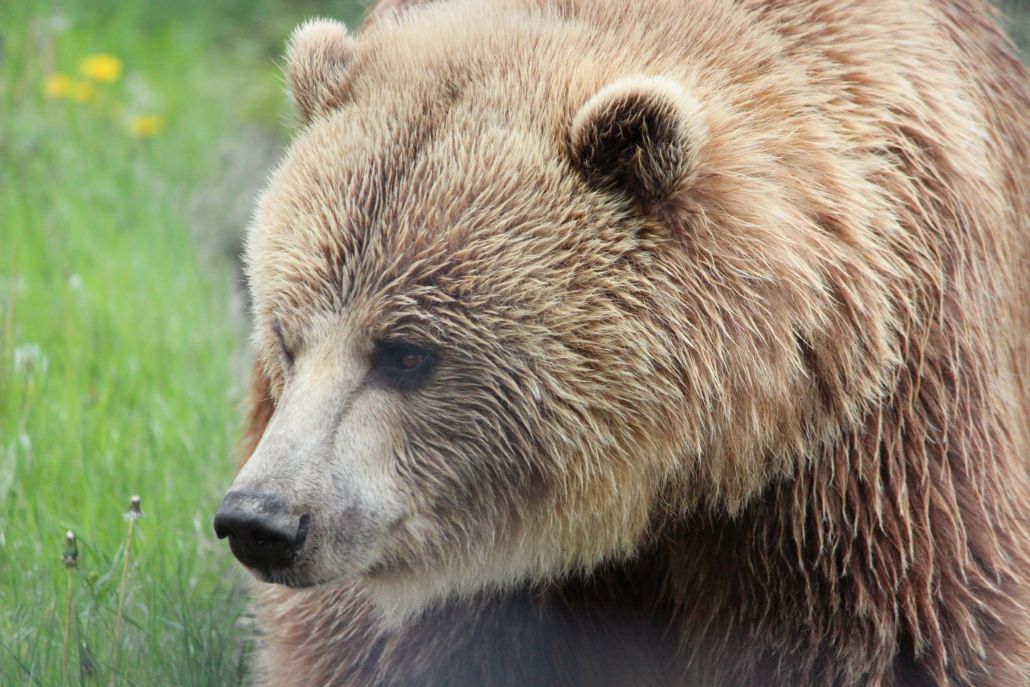
These lenses come at a price though, as the dramatically increased depth of field is worth a pretty penny, but know that they will make a huge difference when it comes to subject isolation and increased depth of field, not to mention the fact that a lower aperture will also allow you to shoot at higher shutter speeds to freeze all of the action.
Now that you have an idea of how to utilize your aperture, and why certain techniques are beneficial in various applications, it’s time to start making intentional moves towards more impactful imagery.
Now that you have an idea of how to utilize your aperture, and why certain techniques are beneficial in various applications, it’s time to start making intentional moves towards more impactful imagery.
Utilizing aperture in your photography is a great way to add an artistic touch to your images. Through the use of adjustments in depth of field, lighting and lens flares, a photographer can create imagery that is both compelling and thoughtful, showing an advanced use of lens and camera tools that go beyond a basic point and shoot.
Some of the most common photo styles that are heavily influenced by a carefully selected aperture are portrait photography, landscapes, and night photography.
Portrait Photography
The use of aperture is perhaps most prevalent in detailed portrait photography. This includes photos of people, animals and isolated subjects. While I am by no means an expert on high level macro photography, the principles are the same (focusing on utilizing a shallow depth of field to isolate a subject), so macro will be included here as well.
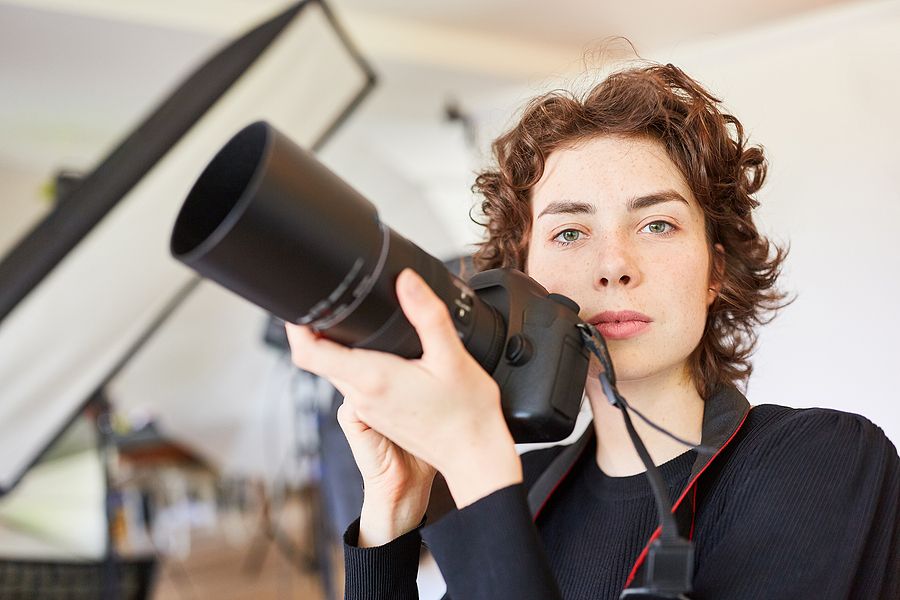
When shooting portraits, the goal is to isolate the subject. As a photographer it is key to eliminate any distractions in the foreground or background that could potentially draw the viewer’s eye to another portion of the frame. Using aperture as a way to highlight your subject is a great way to show intentionality in your portraiture. By selecting a wide aperture (low f/ number) the photographer ensures a shallow depth of field, which will help to reduce the clarity of background and foreground distractions.
The classic high level portrait photos with that oh so softly blurred background is what sets photographers apart from John Q. Tourist with the newest iPhone. And by using a fast lens, the photographer is able to increase the bokeh in the background to really add to the artistic quality of the photo. Think of it as a way to highlight both your subject, and your equipment. A delicate bokeh behind a tack sharp subject not only isolates the subject, but also provides contrast between the sharp and the soft.
When shooting portraits, it is crucial to get the subject’s eye in focus. If your subject doesn’t have an eye (examples include flowers or other macro scenes), focus on the point that you want the viewer to connect with the most. By capturing the eye in focus, the viewer is naturally drawn to the subject, making the human connection possible with an inanimate photograph. The next step after getting the eye in focus is to ensure a reasonable amount of the subject is still in focus. Depending on the scene, this may be the entire subject, or just the face, or maybe even only the eye. A common mistake I’ve seen in portrait photography is that oftentimes a photographer will select too wide of an aperture, which makes the depth of field too shallow. This can result in portions of the subject being out of focus and can detract from the overall sharpness of the photo. Be extra careful of this when using long lenses, as depth of field is exaggerated at longer focal lengths.
Landscape Photography
In landscape photography, often times the goal is to ensure clear, in focus exposure from front to back in your frame. This means having to increase your aperture value enough to get a clear shot, while avoiding the diffraction that occurs at higher apertures.
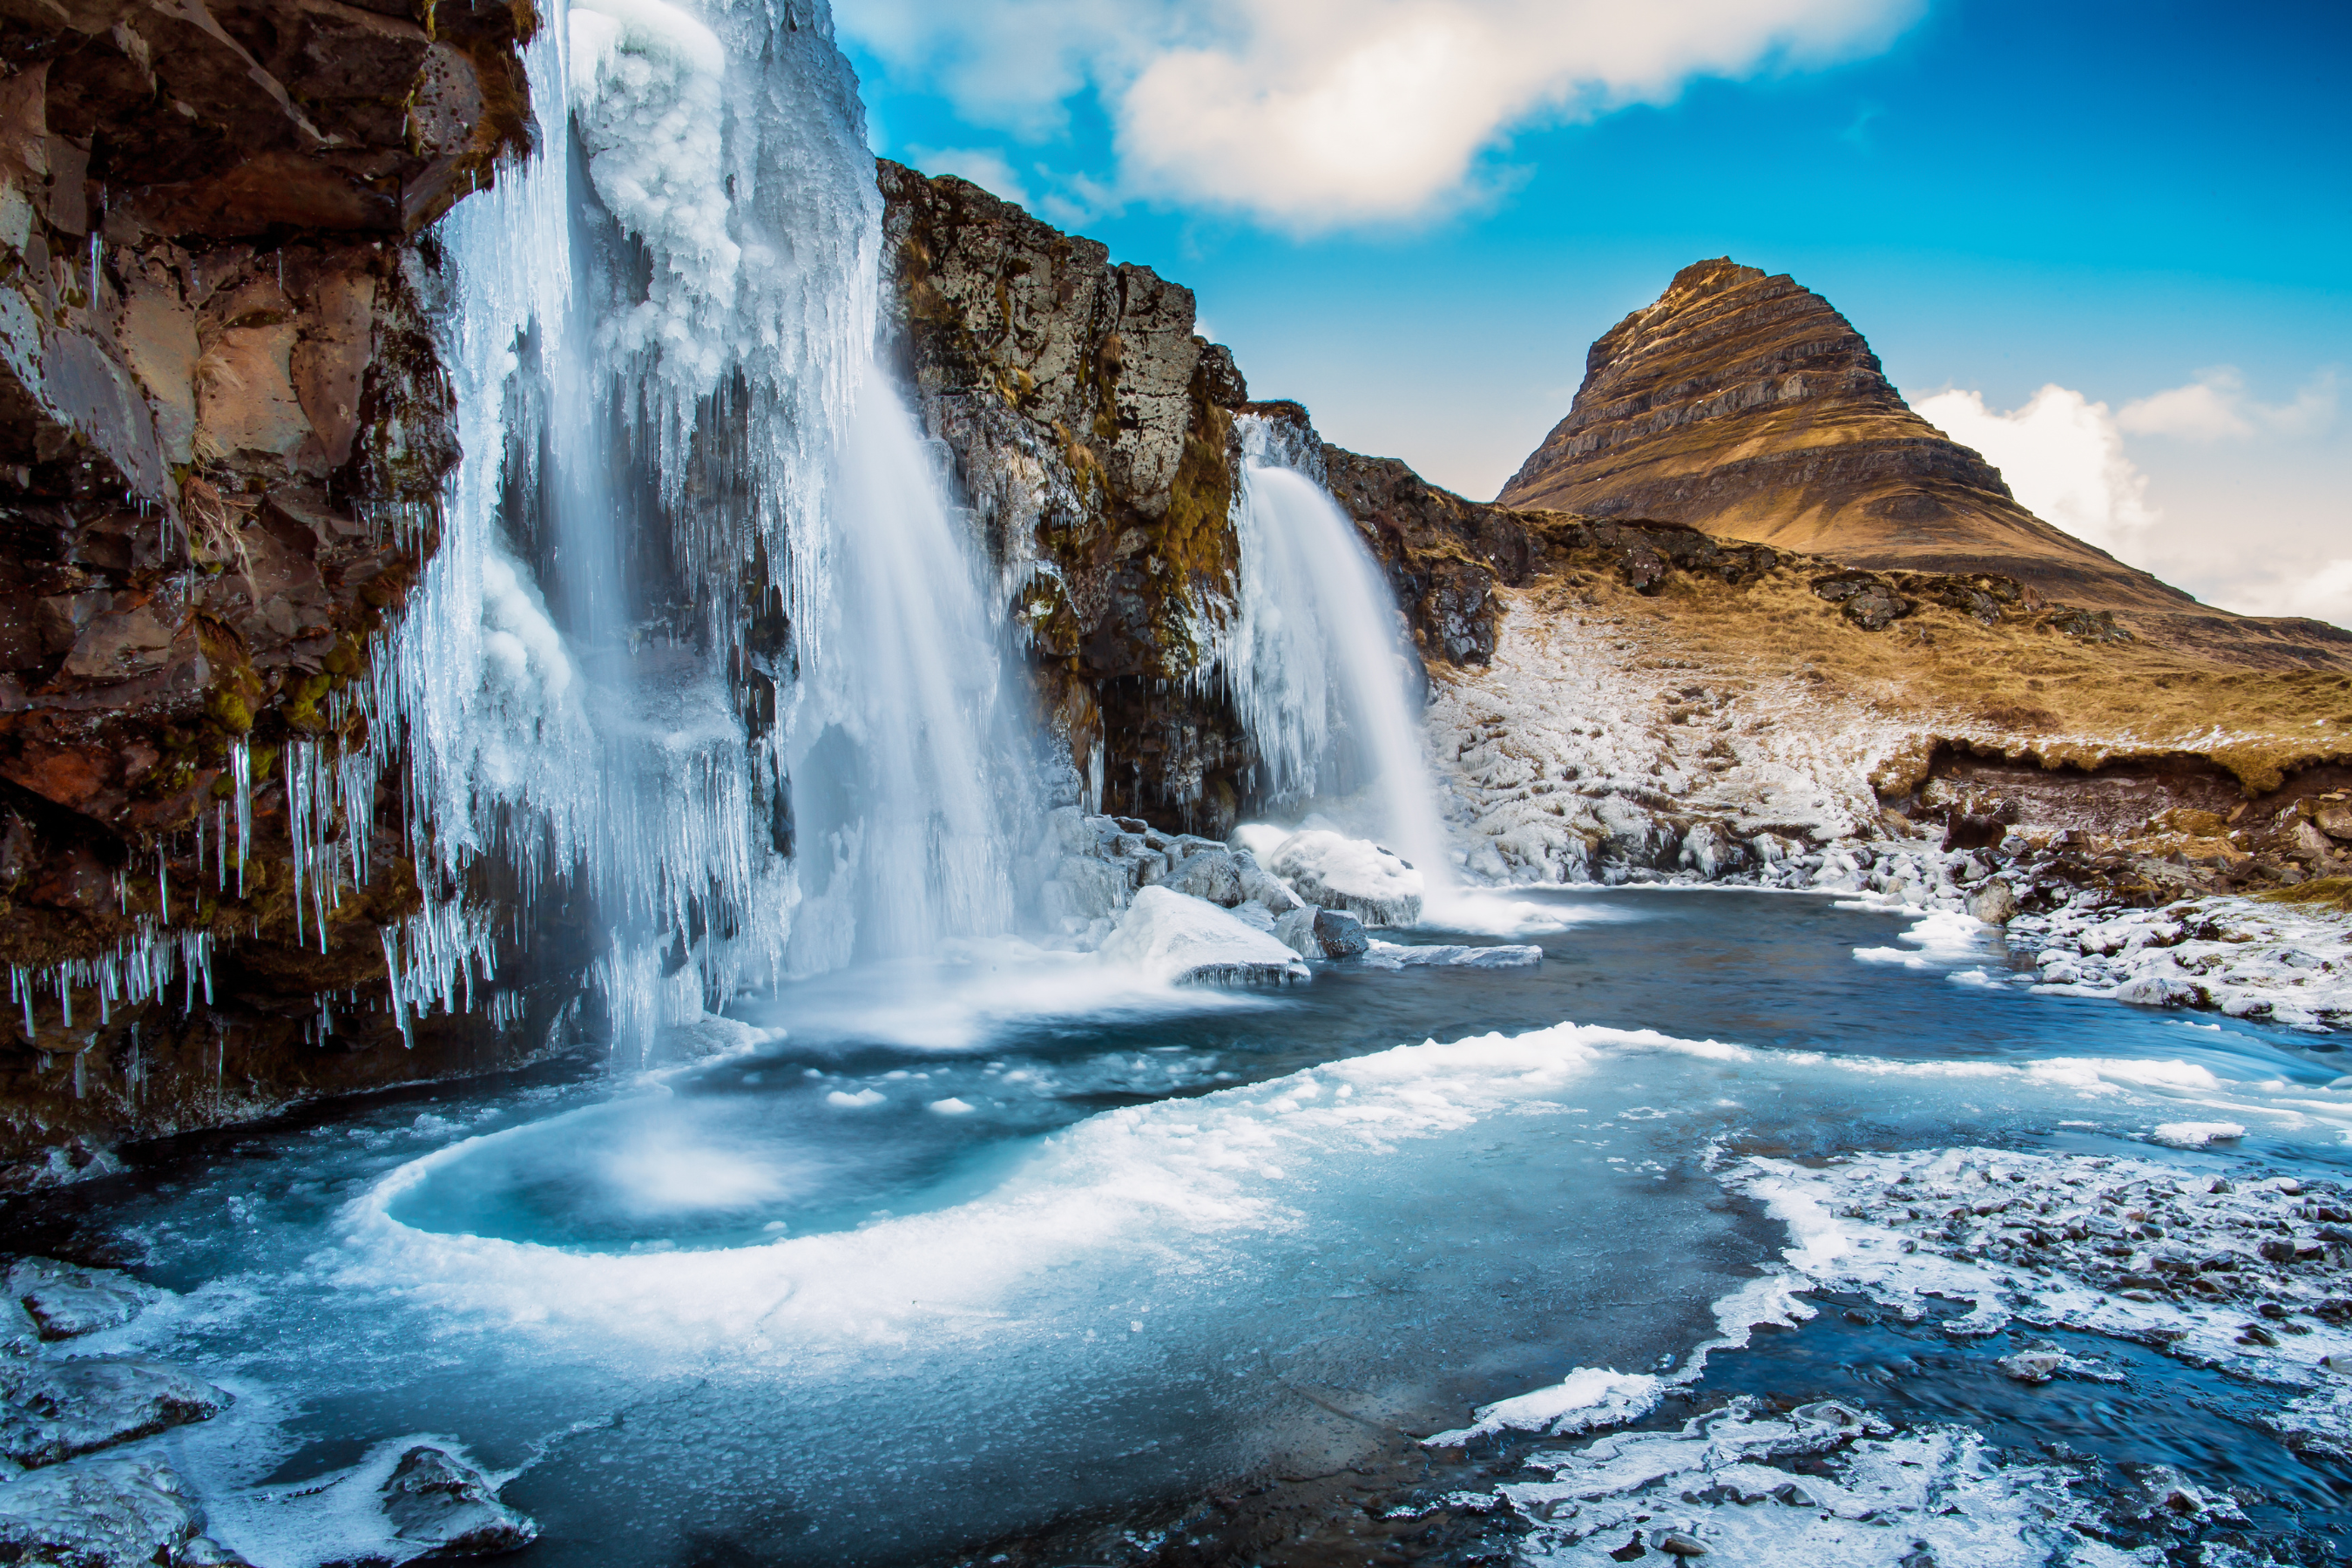
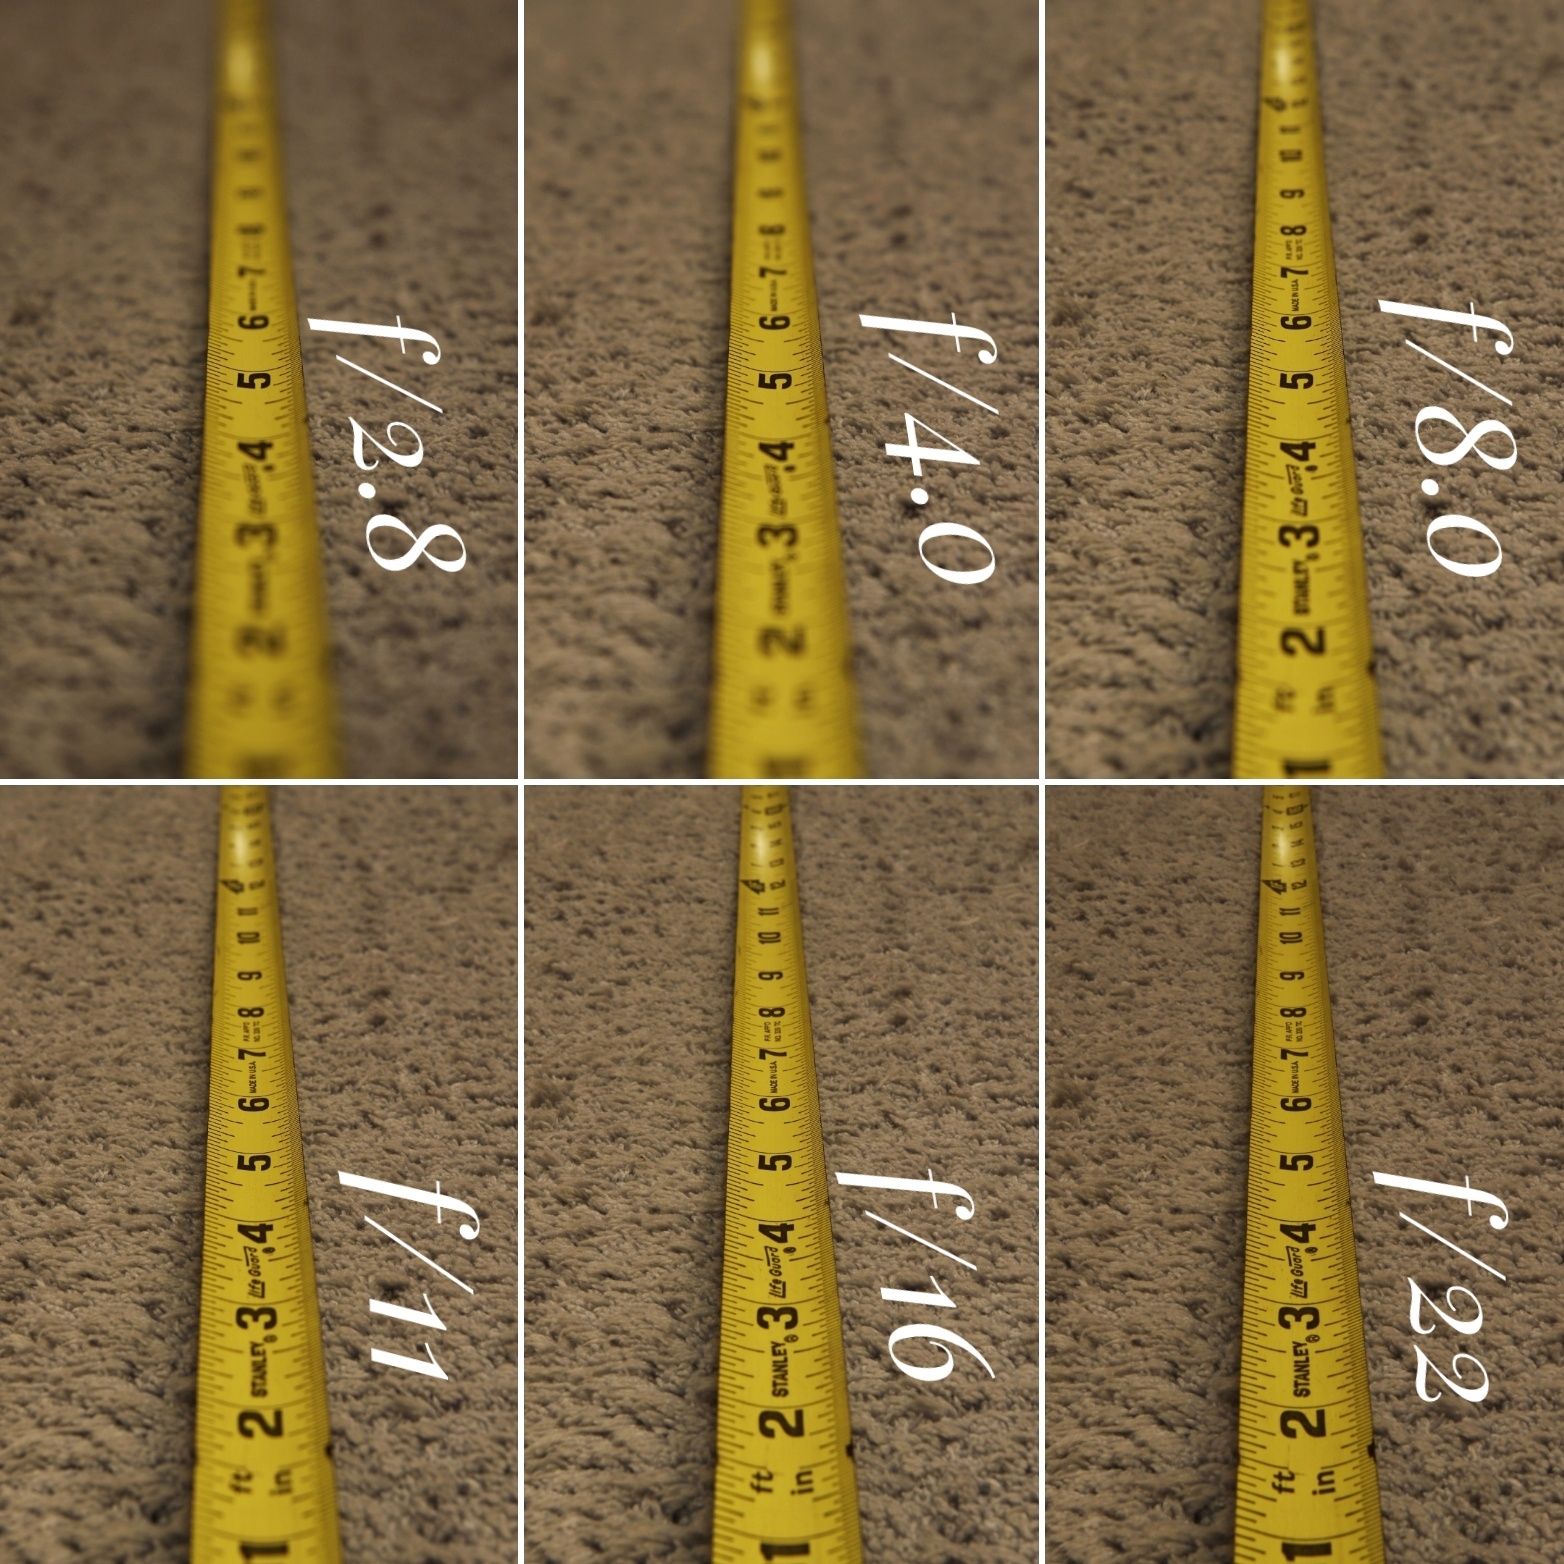
For this, in 90% of exposures, I recommend shooting at f/11. By shooting at f/11, you’re going to ensure enough of your exposure is in focus to provide a sound landscape focus profile, without getting diffraction that occurs at higher apertures. Diffraction is what happens when you force light through a very small opening (typically above about f/20 depending on the lens) and the light is forced to bend as it moves through that opening, and it can cause softening of your images. There are times when this diffraction is not big enough of a concern to worry about, and we’ll discuss those later in this post. But the important thing to remember here is that for optimum clarity in your landscape images, opt for aperture values between f/9 and f/16, depending on light and other settings in your image and how long your focal length is.
If you plan on utilizing focus stacking, however, understand that there is a “sweet spot” on every lens where it is its most crisp. Sometimes that can be a very low aperture, and you’ll be better off shooting at that lower setting and stacking your images.
Night Photography
When shooting nights, there are a ton of different factors that come into play. Whether you’re at home shooting star trails, in the desert chasing the milky way, or on one of our Ultimate Northern Lights tours, it’s important to know that your aperture will play a huge part in how crisp your stars will be, and how long you’ll need to keep your shutter open. To start, when not shooting star trails, opt for a very wide aperture.
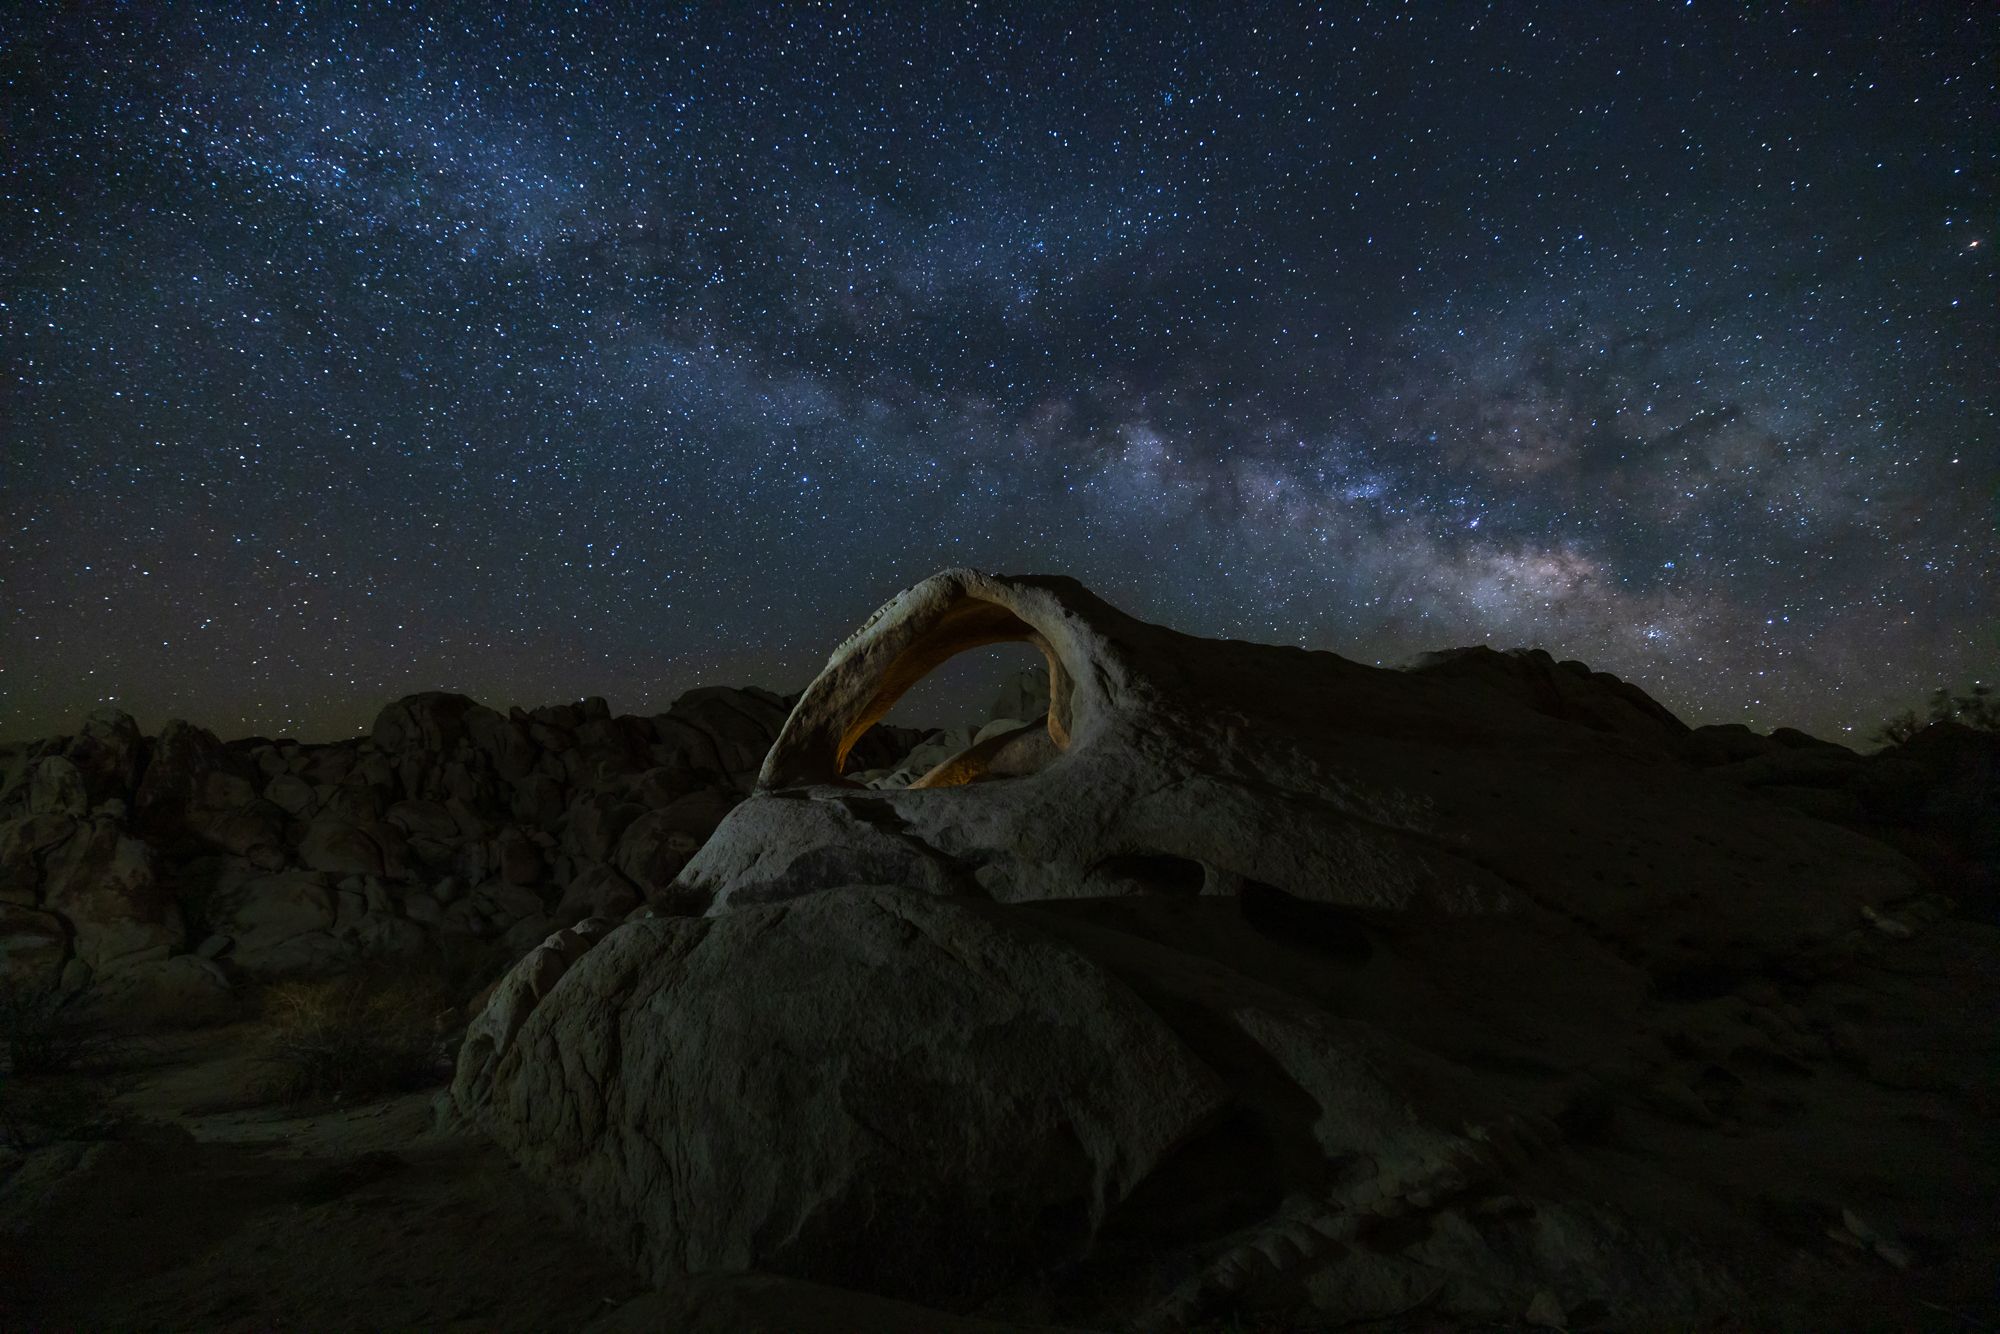
This will ensure you can maximize the amount of light getting through your lens, and also minimize the amount of time necessary to keep the shutter open in order to capture the stars. This is great for getting compelling foreground shots under a starry sky, or for photographing the milky way, as the less time the shutter is open, the less blurring you’ll get in your stars. However, know that the lower your aperture value, the more your stars will appear to move as you keep the shutter open, and as a result, the shorter your shutter speed must be to really freeze the stars in your image. By shooting through a narrower (higher number) aperture, you will actually be able to keep your shutter open longer as the camera will be viewing the stars through a smaller opening, and as such, they will appear to move less relative to the sensor. It sounds complex, but know that this really only makes a difference once you start adding in things like motorized star tracking tripod heads and other fancy toys like that. You’ll be able to achieve incredibly crisp and bright stars with very long shutter speeds at lower apertures as you increase the camera’s depth of field and capture more of the stars in the distance. I’ll be writing a full post on night photography in the coming weeks where we’ll discuss how to use aperture, shutter speed and a variety of tools and tricks to maximize your astrophotography.
Sunburst Photography
One of the coolest tricks to know about using your aperture is the use of sunbursts. These are the star shaped light patterns around the sun that you see in a lot of landscape photos taken where the sun is in the frame.
Sunburst Photography
One of the coolest tricks to know about using your aperture is the use of sunbursts. These are the star shaped light patterns around the sun that you see in a lot of landscape photos taken where the sun is in the frame.
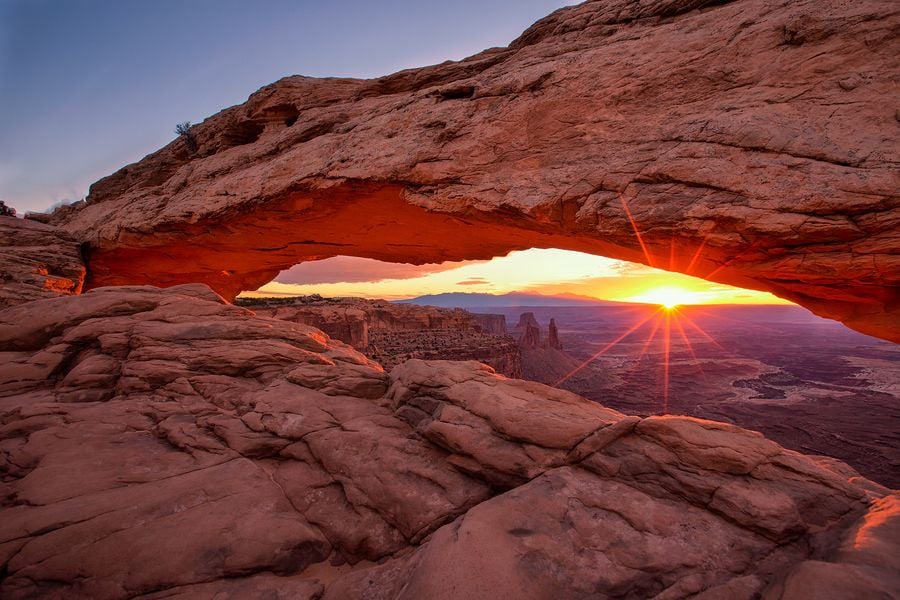
The sunburst is an effect that occurs as you shrink down your aperture opening (large f/ numbers) and cause the light to force its way through the small opening. There will be naturally occuring gaps in your lens’ aperture blades where faint amounts of light are able to squeeze through when pointing your lens directly at a bright light source. These gaps cause the flaring that occurs when shooting at the sun, as well as the flares that occur when shooting street lights or other bright artificial light sources. This can actually be used to your advantage when shooting landscapes as it adds a very compelling component to your imagery, and can actually give you additional options for shots long after sunrise. The sun does not need to be at the horizon, or even close, in order to grab a quality sun star. Just line up your subject, crank your aperture to f/18 or higher (I usually go for f/22 to really get crisp lines around the sun), make adjustments for your shutter speed and ISO to ensure correct exposure of your subject, and fire away.
It is important to note that your camera’s evaluative metering will show that your scene is over exposed, so I’ll often spot meter to my subject when attempting a sunburst, to make sure that my foreground isn’t too dark and shoot in manual rather than aperture priority so that my camera isn’t over compensating for the sun being an overly bright portion of the image (spoiler alert: the sun will be bright no matter what). Another thing to keep in mind is that the effect will be roughly the same at 1/1000 second exposure as it will at 1/30 second exposure, so don’t worry about losing your sunburst at lower shutter speeds. One more note about sunbursts is that the shape and definition of the light pattern is specific to the lens. Each lens has slightly different aperture blade shapes and as a result will give you a slightly different sunburst pattern as you change your aperture. There are actually a few high end lenses now that have a cult like following specifically for the clarity and definition of their sunburst capabilities.
Overall, I’ve found that most folks on our tours are often more intimidated by aperture than by any other component of the exposure triangle. It really is not necessary and can be a great tool to add to your photography tool box to help you get the most out of your images. There can be a ton of variety in the artistic nature of your images just by adjusting your aperture a few clicks one way or another. The most compelling images I’ve seen from our guests are often ones where folks just tried something new to experiment with their camera’s settings and came out with something great. That’s the beauty of digital.
Experiment with different settings and play with your camera, and it may surprise you by just what you can accomplish. Until next time, get out, see what you can come up with by modifying that aperture, but be intentional and I’m sure you’ll surprise yourself with a few new techniques. Happy shooting!

We offer world-class travel photography
experiences around the world.
Each tour is bundled with lodging, meals, and transportation between workshops included, allowing you to focus on photography instead of the stress of traveling.
experiences around the world.
Each tour is bundled with lodging, meals, and transportation between workshops included, allowing you to focus on photography instead of the stress of traveling.
Get Our Trip Catalog
Receive a trip catalog that highlights all of our upcoming photo tours and workshops.Schedule a Trip Consultation
Meet with a photo experience coordinator, and experience a personal touch to your booking experience.Landscape Guide
Receive a FREE Landscape Cheat Sheet Written By a Pro Photographer.Webinars
Our regularly hosted webinars provide photography instruction from our own guides on a wide range of topics.Education Portal
Explore our library of articles that cover everything from common questions, to in-depth guides on how to achieve that perfect shot.
Backcountry Journeys
Connecting Passionate People To
Exceptional Experiences.
Exceptional Experiences.
Business Hours:
Mon-Fri, 8AM-4PM MT
928-478-1521
adventure@backcountryjourneys.com
Mon-Fri, 8AM-4PM MT
928-478-1521
adventure@backcountryjourneys.com
arrow_drop_down_circle
Divider Text
All Images & Content Are Property Of Backcountry Journeys Photography Tours, Workshops & Safaris LLC - Copyright 2026
About Us
Receive a Digital Trip Catalog
Find an upcoming photography tour with our interactive catalog.