Mon - Fri: 8 am - 4 pm MT

About Backcountry Journeys
Why Choose Backcountry Journeys
If you're considering a photography trip, hear why Backcountry Journeys delivers the best experience in the industry.Frequently Asked Questions
If you're new to photography trips, or new to BCJ, you can find our common travel questions here.Fitness Levels
Our trips vary on physical intensity, and by reviewing our fitness levels, you can find out which trips may be more challenging, or aligned more closely with your comfort level.Meet The Crew
We've built an amazing team of experienced guides, and dedicated office staff that elevate your travel experience. Get to know their backgrounds, and hear their stories.Loyalty Program
We reward our frequent photo adventurers with exclusive discounts on amazing photography trips.Contact Us
If you need to get in touch with our office staff, or have additional business inquiries, you can find our information here.Refer a Friend
Know someone perfect for one of our tours? Recommend them through this quick form.Stay Up To Date On All Things
Backcountry Journeys
Backcountry Journeys
Our Photography Community
Our Webinars
Our regularly hosted webinars provide photography instruction from our own guides on a wide range of topics.Our Education Portal
Explore our library of articles that cover everything from common questions, to in-depth guides on how to achieve that perfect shot.Community Testimonials
We're proud to foster an amazing group of photo travelers, and here you can find their stories from their past adventures.Resources For Photographers
About Our Company
Resources For Photographers
About Our Company
Understanding Shutter Speed

Published January 24, 2019
As a photographer, one of the biggest components of nailing your shot is ensuring you have the correct shutter speed. This aspect of the exposure triangle is perhaps the most critical component of an image. Where ISO or aperture may influence the brightness or artistic nature of a photograph, a mistake when choosing a shutter speed can render an image completely useless. By managing shutter speed carefully, a photographer can create art, capture a fleeting moment, or simply depict a more accurate vision of the scene before them. There is a direct correlation between the sharpness of an image, and the shutter speed. To have an image with intentional blur (caused by a slower shutter speed), a photographer conveys motion. By speeding up the shutter, a photographer can capture an image that they may not even be capable of seeing with the naked eye. The opportunities for creativity are limitless, so let’s take a look at how to utilize the shutter speed to make the most of your images.
The shutter is the part of the camera that blocks or prevents the camera sensor or film from being exposed to light and capturing an image. The majority of digital cameras will have either an electronic or mechanical shutter, and some may have both. When the shutter is closed, the camera is incapable of capturing an image, as the sensor will be completely blocked from all light and unable to produce an image. While the shutter is open, the camera’s sensor (if shooting digital) will begin processing light on a photosensitive electronic processor, converting light rays into data points. These data points are what will eventually become your image.
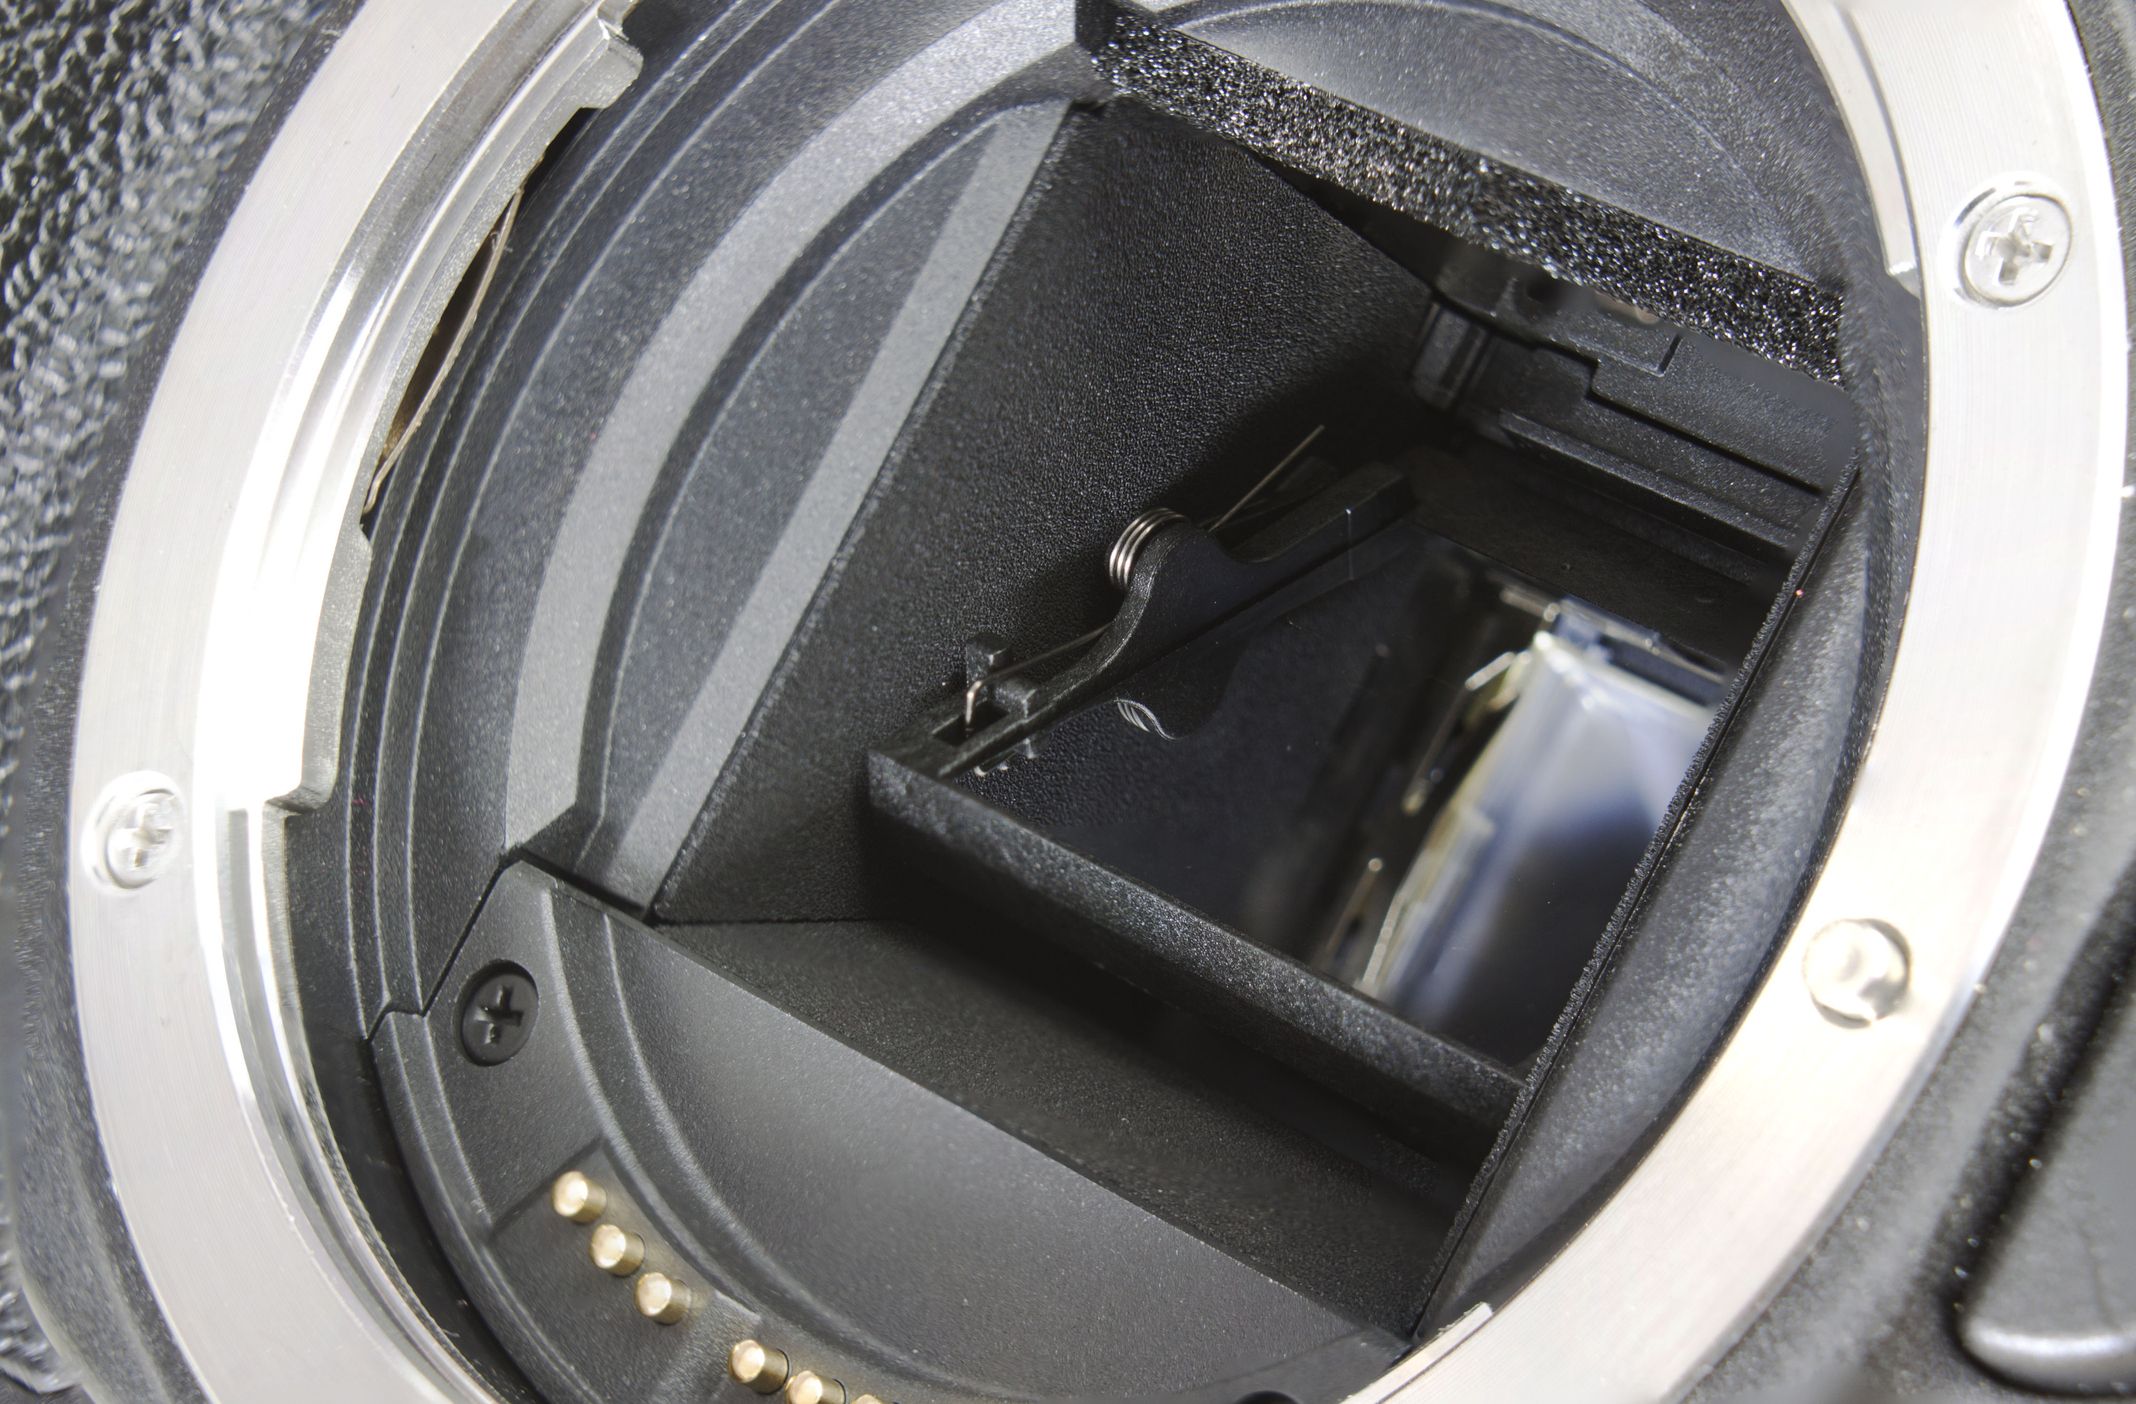
When taking a photo, pressing your camera’s shutter button will cause the shutter to open, and will expose the sensor to light for a set length of time. That time measurement is known as the shutter speed. The longer the sensor is exposed to light, the more light is picked up and the brighter an image becomes, ultimately leading to an all white light scene as the processor is overwhelmed with data.
You can select certain settings where the camera will make the decision regarding an appropriate shutter speed. When shooting in “Manual” however, it is the photographer’s job to adjust the shutter speed as lighting changes to ensure the data captured by the sensor is balanced enough to ensure a quality exposure. Shutter speed is displayed in camera typically as either a whole number or a fraction with 1 as the numerator (the number on top).
Examples of shutter speed indications on your camera would look like 250, 1000 or 1/30, 1/100. Once shutter speeds dip below about a half second, cameras will typically add a quotation mark to differentiate between full second and fraction of a second exposures, 2”, 0.5” or 10”.

There’s a wide array of benefits that come from manipulating your shutter speed to produce an image. The longer your shutter is open (referred to as a slower shutter speed) results in brighter images, and the ability to convey motion through the use of blur. Opening the shutter for a shorter length of time (faster shutter speeds) results in less light hitting the sensor, but also allow the photographer to freeze motion in the image, and can result in a more crisp image if all other variables are equal. Wildlife photographers are often having to walk the line between fast shutter speeds and dark imagery due to the need to freeze a bird or animal in the frame. By shooting at higher shutter speeds, the photographer will need to utilize other aspects of the exposure triangle to brighten an image while compensating for the darkness caused by a fast shutter speed.
So you may be asking yourself, “Self, all this talk about varying light and shutter speeds sounds well and good, but what do I do with all that information?” Well, that’s a great question. There’s a ton of ways to manipulate light and motion within your frame by adjusting your shutter speed to produce a variety of image styles.
So you may be asking yourself, “Self, all this talk about varying light and shutter speeds sounds well and good, but what do I do with all that information?” Well, that’s a great question. There’s a ton of ways to manipulate light and motion within your frame by adjusting your shutter speed to produce a variety of image styles.
Slow Shutter Speeds
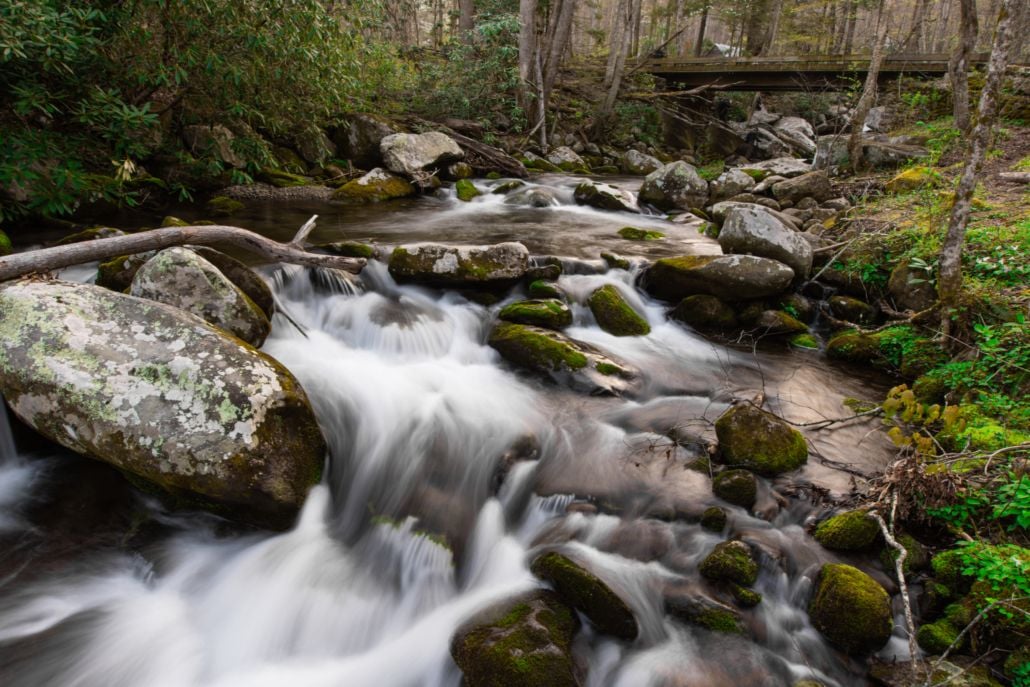
As a photographer, or even just as someone who appreciates photography, you may have seen photos like this one, depicting a blurred stream or water feature, while other parts of an image stay sharp. This effect is achieved by placing the camera on a tripod and reducing your shutter speed to at least ⅛ of a second or slower. I typically shoot for ½ second to 2 second exposures, based on how soft or blurry I want my water to be.
As a photographer, or even just as someone who appreciates photography, you may have seen photos like this one, depicting a blurred stream or water feature, while other parts of an image stay sharp. This effect is achieved by placing the camera on a tripod and reducing your shutter speed to at least ⅛ of a second or slower. I typically shoot for ½ second to 2 second exposures, based on how soft or blurry I want my water to be.
Faster shutter speeds will result in less blur, while longer shutter speeds can result in a softer, almost ghost-like appearance from the water. The resulting water blur has become iconic in shooting intimate nature scenes and depicting the natural movement of a waterfall in a single image. This is also a great tactic when shooting ocean scenes, to give a fog like effect along the shore from waves coming and going. To accomplish this, however, shutter speeds closer to 5-10 seconds may be necessary.
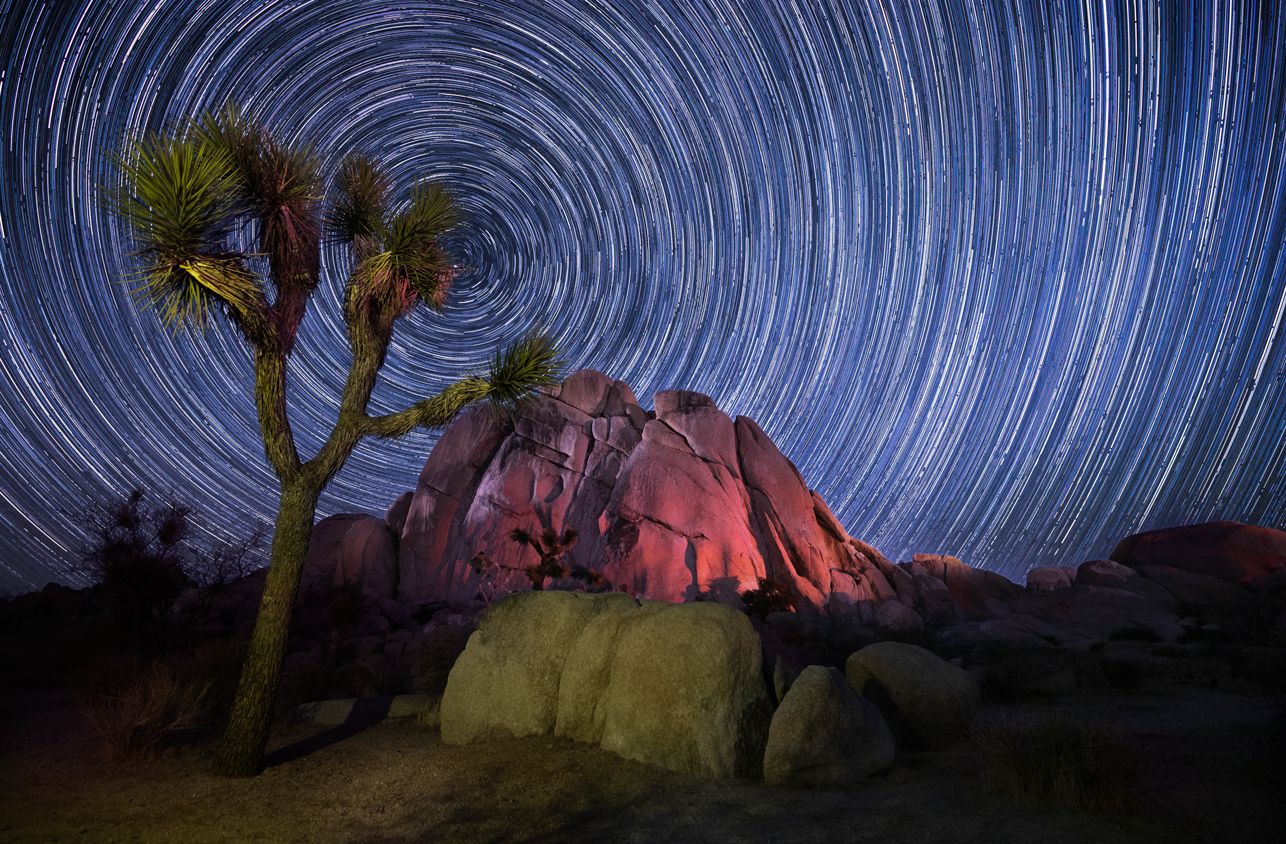
One of my favorite ways to play with long shutter speeds is with astrophotography. By switching your camera to “bulb” mode, you can use a remote shutter to keep your camera’s shutter open as long as you’d like, well beyond the pre-programmed 30 second limit on most cameras.
One of my favorite ways to play with long shutter speeds is with astrophotography. By switching your camera to “bulb” mode, you can use a remote shutter to keep your camera’s shutter open as long as you’d like, well beyond the pre-programmed 30 second limit on most cameras.

High Shutter Speeds
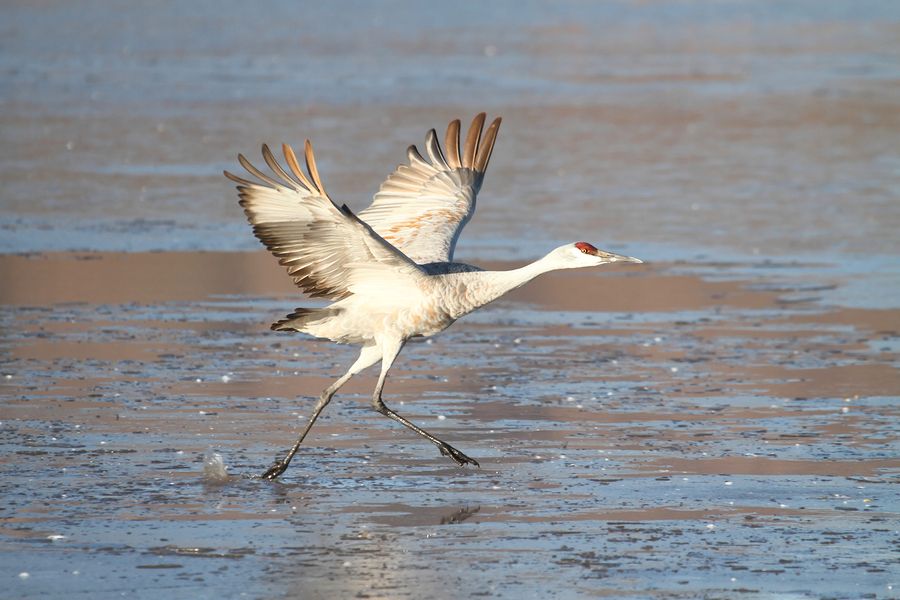
Where a slow shutter speed can be used to create a more intimate, artistic scene, high shutter speeds can be utilized for freezing action in a way that may not be able to be seen without the use of a camera. Things like a bird diving into a river, a bison running from a predator, or a fish jumping out of the water can all be frozen in an often impressive manner that creates a bolder impact. Fast moving subjects need to be shot at very high shutter speeds to ensure a sharp, well frozen image.
Where a slow shutter speed can be used to create a more intimate, artistic scene, high shutter speeds can be utilized for freezing action in a way that may not be able to be seen without the use of a camera. Things like a bird diving into a river, a bison running from a predator, or a fish jumping out of the water can all be frozen in an often impressive manner that creates a bolder impact. Fast moving subjects need to be shot at very high shutter speeds to ensure a sharp, well frozen image.
When shooting birds of prey, I like to ramp up my shutter speed to over 1/2000, and if the light affords me the luxury, sometimes as high as 1/4000.
While most fast moving animals don’t need to be shot at 1/4000, birds of prey have extremely long wingspans, resulting in incredibly fast moving feathers at the wing tips. Where smaller songbirds can often be shot at around 1/1000, the fast moving outer feathers of a larger winged bird can often come out blurry even at shutter speeds as high as 1/1500. By shooting at 1/2500 or 1/3000, you can often ensure that each individual feather will be suspended in air in a crisp display of the raw power of the bird.
But what about all of the other times when you don’t need to shoot at an incredibly high or low shutter speed? How do you decide what shutter speed to use then? My advice here is to first ask yourself a few questions… Are you shooting on a tripod? Is anything in the frame potentially moving? What is your focal length? These questions will help to make it very clear what a rough starting point may be for a shutter speed. If shooting on a tripod, there is limited potential for camera movement or shake, and thus, a lower shutter speed is just fine, allowing for lower ISO and a sharper aperture.
If you are not shooting on a tripod, you’ll need to decide what’s more important, between higher detail from a low ISO (and therefore lower shutter speed) and thus higher potential for camera shake/blur, and less shake from higher shutter speeds, combated by higher ISO or wider aperture. Typically, in order to keep your exposure the same, moving ISO up means moving shutter speed up.
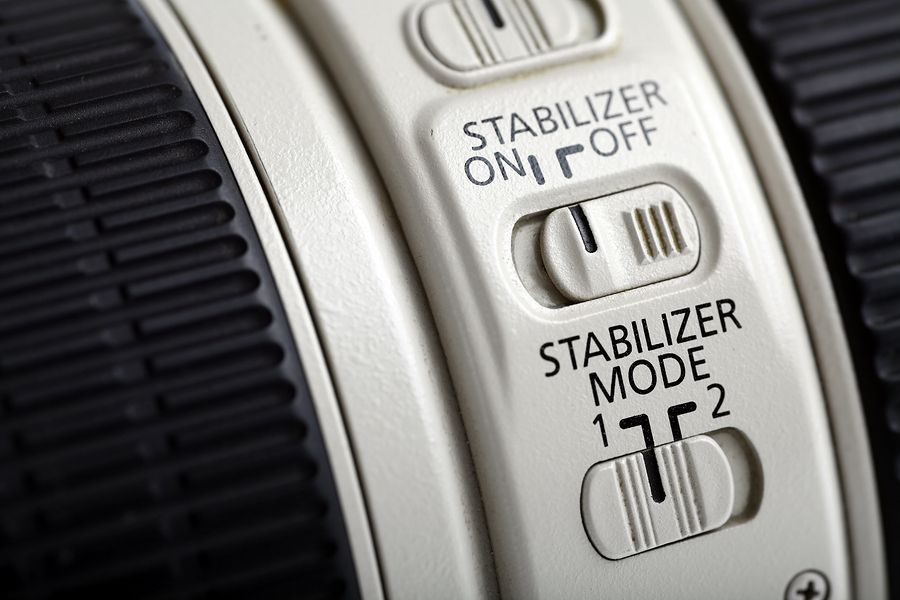
Another concept to understand is that at certain focal lengths (zoom for the new folks) the camera shake from shooting handheld is exaggerated. The more zoomed in you get, the more pronounced the camera shake can be, and thus blur your images when shooting hand held. To combat this, a good rule of thumb is what is known as the hand holding rule. When shooting hand held, try to keep your shutter speed higher than your focal length (as measured by the 35mm standard). For example, if shooting a full frame camera at 100mm, ensure your shutter speed is over 1/100. If shooting at 250mm, make sure your handheld shutter speed is at least 1/250. You get the idea. Take note that this is the full frame or 35mm sensor equivalent, so be sure to adjust for the crop factor of your camera. If your lens has a built in image stabilization (or vibration reduction for you Nikon folks) this guideline is not as important, but can still be helpful in ensuring the fact that you’re shooting handheld isn’t impacting your shot. The hand holding rule is useful is minimizing blur from camera shake, but will not have an effect on the blur caused by a moving subject.
The best thing you can do for your photography is be intentional. If a blur looks intentional it is seen as art. If a blurred subject looks unintentional, it’s a bad photo. It’s up to you, the photographer to use these tools to convey a subject that is intentionally blurred or intentionally sharp. But whatever your choice, make sure it’s done in a way that shows you’ve thought carefully about your image and I’m sure you’ll walk away happy with what you’ve got.
Now get out, practice modifying your shutter speed, and see what you can come up with! Happy shooting!

We offer world-class travel photography
experiences around the world.
Each tour is bundled with lodging, meals, and transportation between workshops included, allowing you to focus on photography instead of the stress of traveling.
experiences around the world.
Each tour is bundled with lodging, meals, and transportation between workshops included, allowing you to focus on photography instead of the stress of traveling.
Get Our Trip Catalog
Receive a trip catalog that highlights all of our upcoming photo tours and workshops.Schedule a Trip Consultation
Meet with a photo experience coordinator, and experience a personal touch to your booking experience.Landscape Guide
Receive a FREE Landscape Cheat Sheet Written By a Pro Photographer.Webinars
Our regularly hosted webinars provide photography instruction from our own guides on a wide range of topics.Education Portal
Explore our library of articles that cover everything from common questions, to in-depth guides on how to achieve that perfect shot.
Backcountry Journeys
Connecting Passionate People To
Exceptional Experiences.
Exceptional Experiences.
Business Hours:
Mon-Fri, 8AM-4PM MT
928-478-1521
adventure@backcountryjourneys.com
Mon-Fri, 8AM-4PM MT
928-478-1521
adventure@backcountryjourneys.com
arrow_drop_down_circle
Divider Text
All Images & Content Are Property Of Backcountry Journeys Photography Tours, Workshops & Safaris LLC - Copyright 2026
About Us
Receive a Digital Trip Catalog
Find an upcoming photography tour with our interactive catalog.