Voted Travelers' Choice 2023

Find Your Next Adventure
Where Will You Go Next?
Find Your Next Adventure
Where Will You Go Next?
Resources For Photographers
About Our Company
JOIN OUR FREE FACEBOOK GROUP - THE BCJ TRIBE
Aperture Priority for Wildlife Photography?
by Matt Meisenheimer
Today, I make the case for Aperture Priority as the best shooting mode to use for wildlife photography.
Shooting modes are definitely subjective – the ‘best’ mode can vary and depends on the shooting scenario. Modes are just a tool for capturing the best exposure. For some, they feel most comfortable using Manual mode, others Shutter Priority, and so on.
I use Manual Mode 99% of the time for landscape photography, but for wildlife, I’ve found Aperture Priority mode paired with some other shooting settings works phenomenal.
Why Aperture Priority?
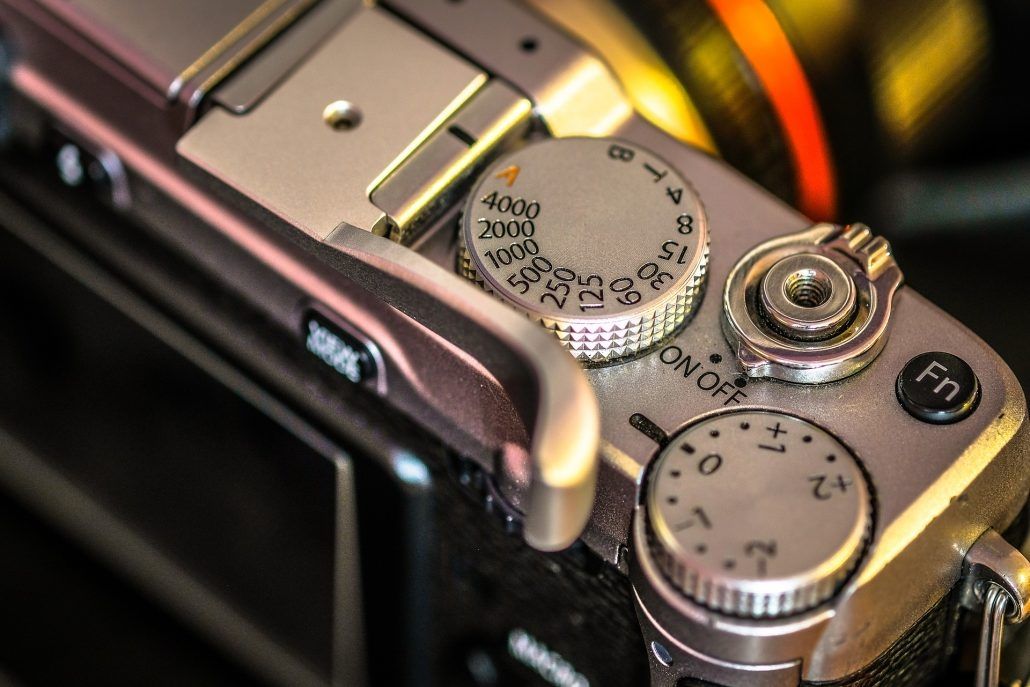
To review, in Aperture Priority mode, the user sets the Aperture and ISO, and the camera uses internal metering to set the appropriate shutter speed. The user can then adjust exposure compensation, which will brighten or darken the exposure.
It can be argued that aperture offers the greatest creative control over wildlife imagery. Aperture has a very important function – determining depth of field.
Shooting modes are definitely subjective – the ‘best’ mode can vary and depends on the shooting scenario. Modes are just a tool for capturing the best exposure. For some, they feel most comfortable using Manual mode, others Shutter Priority, and so on.
I use Manual Mode 99% of the time for landscape photography, but for wildlife, I’ve found Aperture Priority mode paired with some other shooting settings works phenomenal.
Why Aperture Priority?
To review, in Aperture Priority mode, the user sets the Aperture and ISO, and the camera uses internal metering to set the appropriate shutter speed. The user can then adjust exposure compensation, which will brighten or darken the exposure.
It can be argued that aperture offers the greatest creative control over wildlife imagery. Aperture has a very important function – determining depth of field.

Ben Blankenship
At a wide-open aperture, like f/2.8 or f/4, depth of field is very shallow. Thus, only a small range around where you focus will be sharp, think the face and eyes of an animal. The rest of the background and perhaps animal, will be blurred. We call that blur ‘bokeh’.
At a narrow aperture, like f/11 or f/16, depth of field is large. Thus, even if you focus on the eye of an animal, the entire animal and even the background may be sharp and in focus as well.
So, changing the aperture value can have a big impact on the story you want to tell with your wildlife imagery. Do you want that blurred background? Or, do you want the animal/bird and background in focus? Now, sometimes it’s impossible to also get the background in focus, but a narrower aperture will definitely render more detail in the background.

Ben Blankenship
A narrow aperture can also be very useful when you’re trying to capture multiple subjects in a frame. For instance, mama bear with three cubs. Shooting wide open at f/4 might only render mama bear sharp, but if you stop down a bit to say f/8 – f/11, you’re able to get mama and her little ones sharp.
I really like be able to control aperture since it has such a big impact on your images. Like I said, if you want a nice blurred background, shoot wide open (smaller aperture number); if you need more detail, stop down a bit (larger f number).
It is also nice shooting in a semi-automatic mode because you can choose your aperture and your camera will pick the shutter speed based on lighting conditions.
Stay tuned for some tips further down that really make Aperture Priority shine…
Why Not Shutter Speed Priority?
Shutter speed is obviously extremely important for wildlife photography. Shutter speed needs to be fast enough to freeze motion and capture detail (unless you’re creatively using a slow shutter speed).
In Shutter Speed Priority, you set a preferred shutter speed and ISO, and your camera will use internal metering to determine the proper aperture. Now, the problem with that is there is a limited range for aperture values and those values are based on the respective lens.
For instance, if you set your shutter speed as 1/500s, your camera will choose the best aperture for a correctly exposed image. Your camera’s metering system might determine that with the given lighting, the ideal aperture if f/1.8. Now, if your lens only goes to f/4, your camera will choose that aperture and the result will be an underexposed, dark image.
Since a lot of wildlife encounters occur during low light periods, it is very easy to underexpose images while in Shutter Speed Priority mode. To counter, you need to constantly be adjusting your ISO to ensure that your images are exposed properly.

Matt Meisenheimer
The Secret Sauce – Aperture Priority & Auto ISO
My ideal setup for wildlife photography is Aperture Priority and Auto ISO. These two features in unison work so well for wildlife. It’s almost like shooting on fully automatic and you get ideal settings for every exposure.
The downside of Aperture Priority mode for wildlife photography is low-light scenarios. For instance, you might have your camera set to f/4, but light might be so low that the camera is selecting a slow shutter speed to achieve an optimal exposure.
And if your shutter speed gets slow enough (like less than 1/x, where ‘x’ is your focal length), there’s a good chance your images will be blurry because shutter speed is too slow.
This is where Auto ISO comes into play. On most cameras, you can adjust the Auto ISO settings within the menu system. You can actually designate a minimum shutter speed and a maximum ISO – super useful!

Let’s say you’re shooting birds in flight. You’re in Aperture Priority mode and you’re set to f/5.6. Birds move fast so you want to ensure you at least hitting 1/2000s for your shutter speed. You can turn on Auto ISO and then go into the menu settings for Auto ISO and designate the minimum shutter speed as 1/2000s. So, if you’re set to f/5.6, your camera will adjust ISO until it s able to achieve a proper exposure with a minimum shutter speed of 1/2000s (or faster!). You can also designate a max ISO. For instance, while using a Sony A9 II, I set the max ISO to 6400. The camera will not choose an ISO higher than that. And honestly, if you’re in situations where your camera needs to tap into a super high ISO, the photos that result will be so noisy that they will be unusable anyways.

Here’s another scenario. I’m at Katmai photographing bears with my 100-400mm lens. I set the aperture in Aperture Priority and then I turn on Auto ISO. To ensure a sharp image, I go by the 2x rule where shutter speed is at least 1/2x, where ‘x’ is the focal length. So, I assume I’ll be zoomed in to 400mm for most shots, so I want a minimum shutter speed of 1/800s. I go into my Auto ISO settings, designate 1/800s as the minimum shutter speed and set the maximum ISO to 6400.
Some cameras even have an Auto ISO setting where you can have the camera set your minimum shutter speed based on what focal length you’re at – an amazing feature!
Some cameras even have an Auto ISO setting where you can have the camera set your minimum shutter speed based on what focal length you’re at – an amazing feature!

Conclusion
I love the Aperture Priority and Auto ISO setup. I can have total creative control over aperture (blurred v. more in focus), while still ensuring that the camera is choosing shutter speeds that are fast enough to freeze motion.
Now, I’ll be honest, I still do use Manual mode a lot for wildlife. Sometimes I just want complete control. But, this Aperture Priority/Auto ISO combo really does work. If you haven’t tired it before, I recommend going to a local park or natural area. Try the settings out and see if they work for you.
The biggest thing for me is this combo just makes shooting simple. Simple is good. It allows for you to focus more on the important things, like capturing the perfect moment or lining up a great composition. It’s why these new AF systems are so welcomed – we get to focus less on the technical aspects and more on the creative aspects that go towards creating great images.

arrow_drop_down_circle
Divider Text
AUTHOR
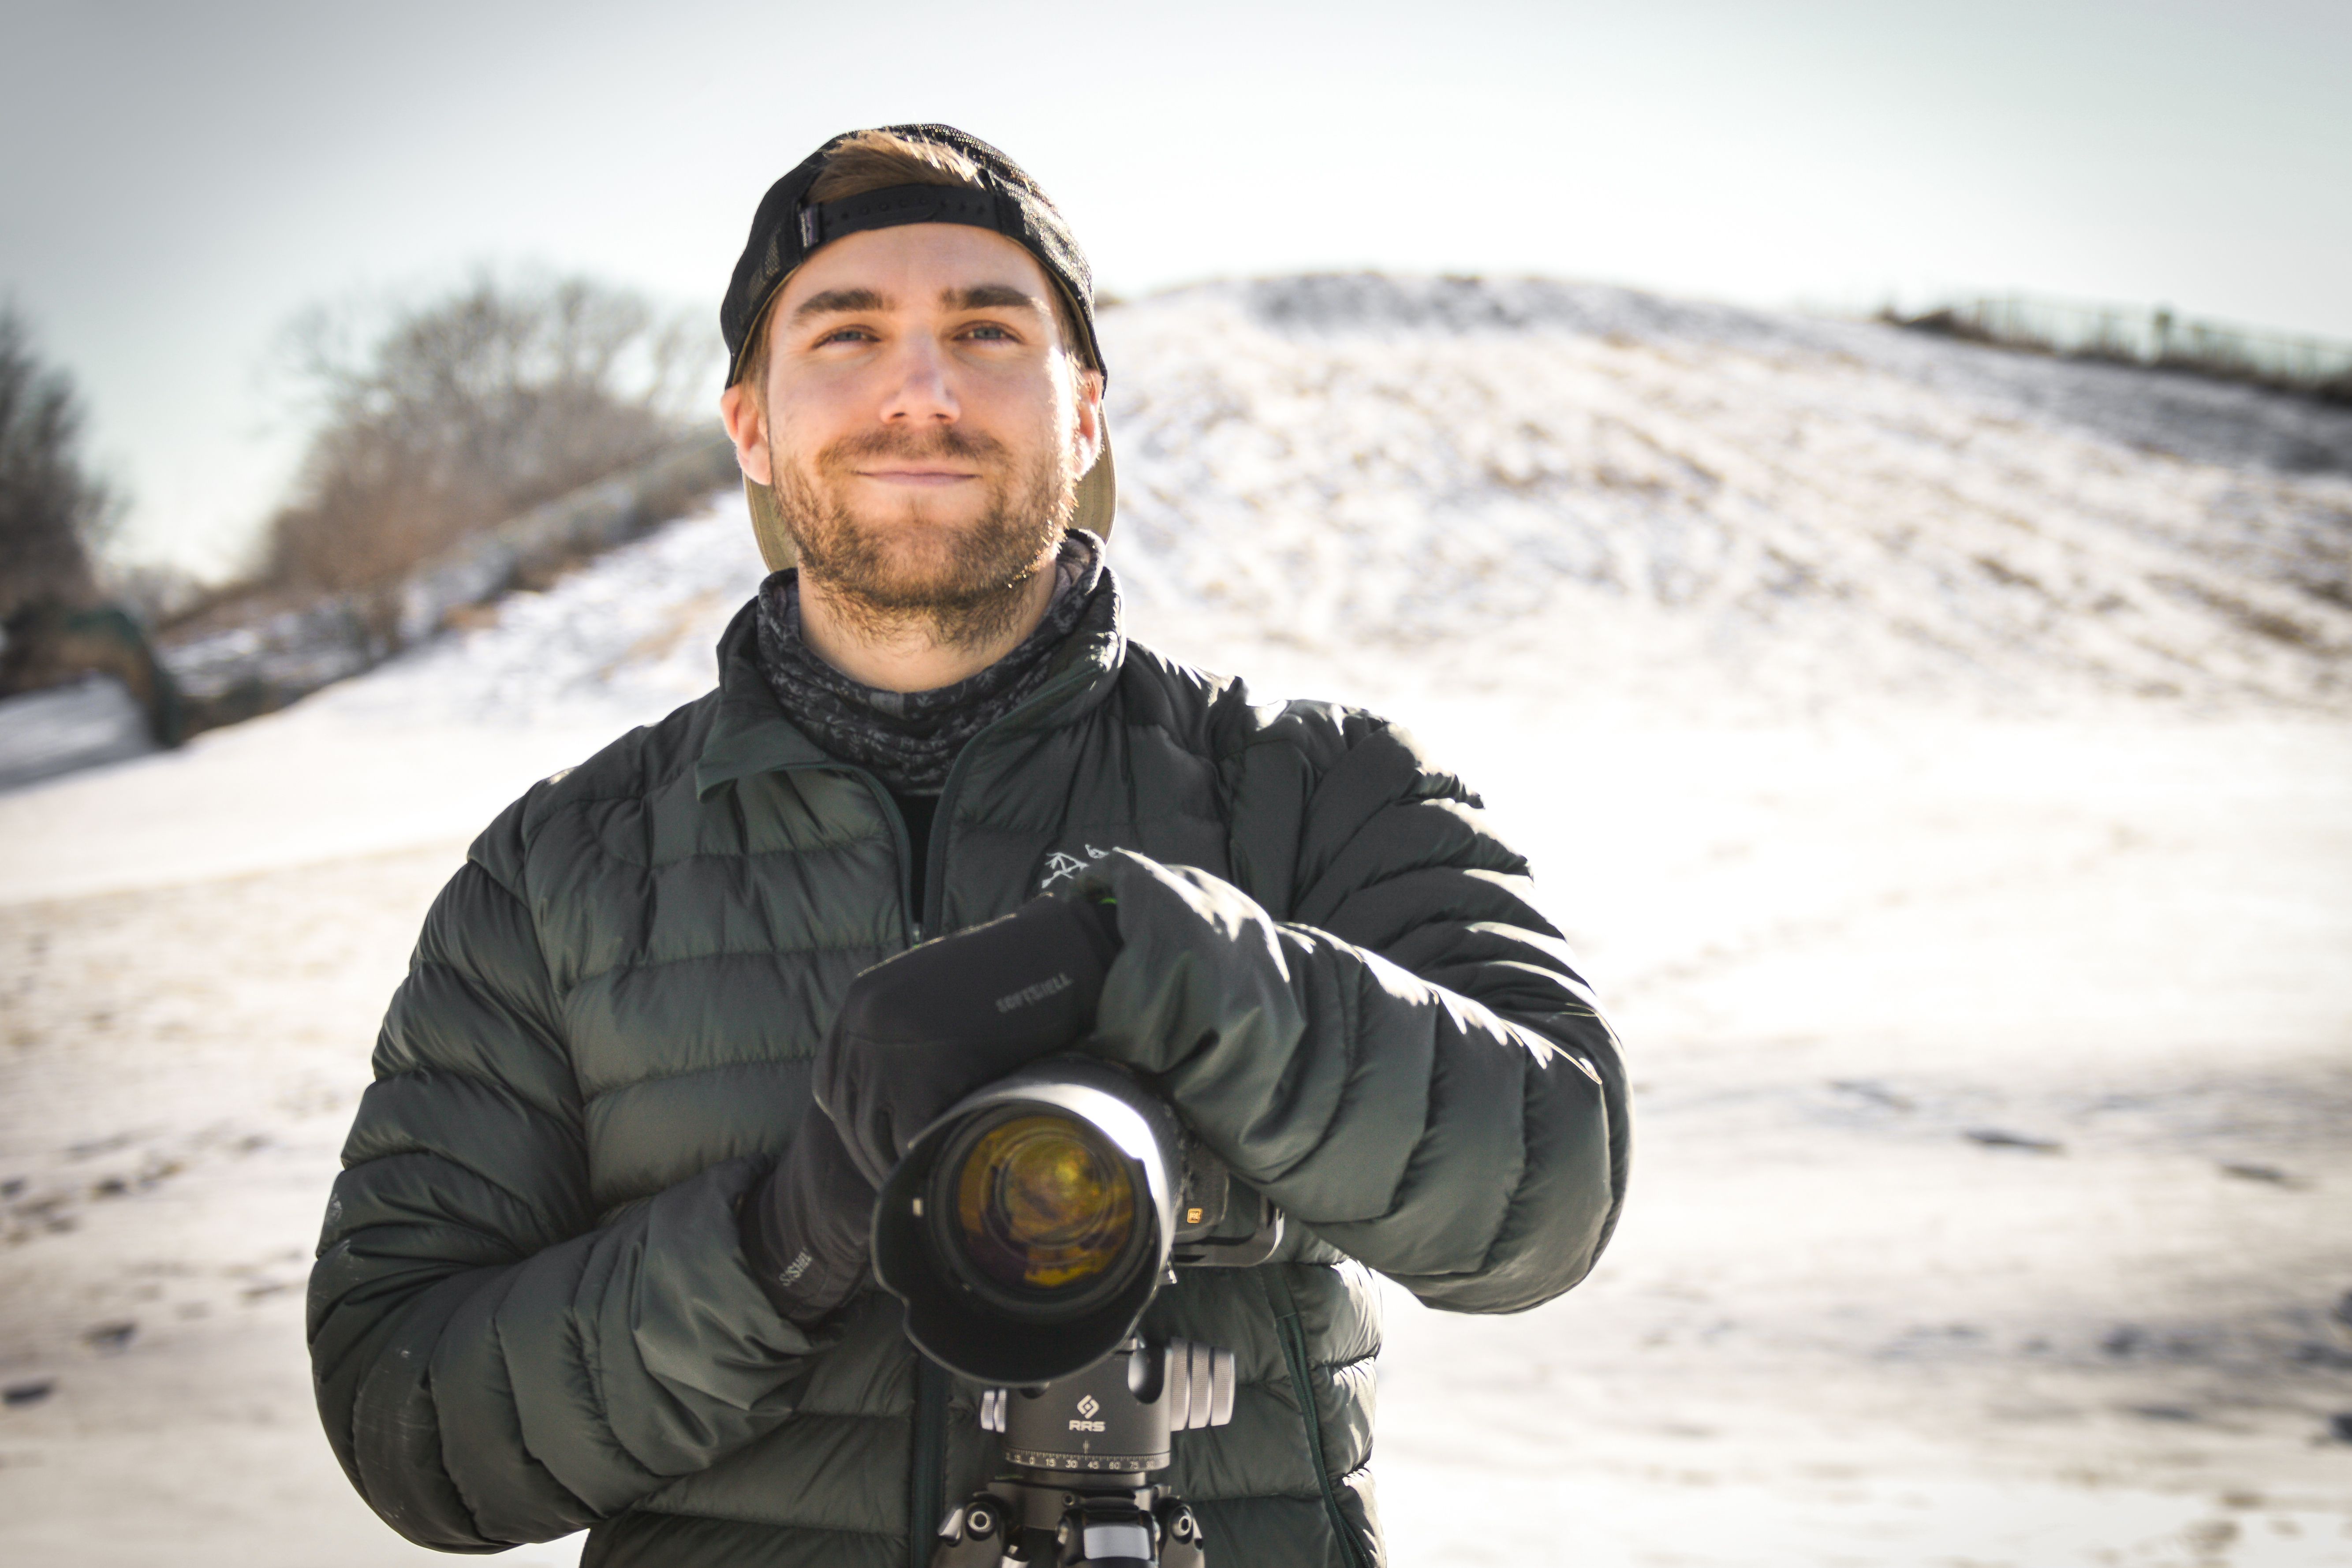
Matt Meisenheimer is a photographer based in Wisconsin. His artistry revolves around finding unique compositions and exploring locations that few have seen. He strives to capture those brief moments of dramatic light and weather, which make our grand landscapes so special. Matt loves the process of photography – from planning trips and scouting locations, taking the shot in-field, to post-processing the final image.
Matt is an active adventurer and wildlife enthusiast as well. He graduated with a degree in wildlife ecology and worked in Denali National Park and Mount Rainier National Park as a biologist. He also spent 6 months working in the deserts of Namibia before finding his path in photography. Matt’s passion for the wilderness has taken him to many beautiful places around the world.
As a former university teaching assistant, Matt is passionate about instruction. It is his goal to give his students the technical and creative knowledge they need to achieve their own photographic vision. He truly enjoys working with photographers on a personal level and helping them reach their goals.
You can see Matt’s work and portfolio on his webpage at www.meisphotography.com
SEARCH THE BLOG
clear


Join our free photo-travel community group on Facebook. A great place to swap stories & share images with fellow photographers!

Live events & webinars from the comfort of your own home. Free webinars on a variety of photography related topics – from photo editing to composition & more.

Check out the BCJ Trip Calendar for all of our upcoming Photography Tours, Workshops & Safaris!

FEATURED TRIP:
Brown Bears of Alaska: Beyond Brooks
Immerse yourself in the Alaskan wilderness and capture stunning images of Brown Bears!
Brown Bears of Alaska: Beyond Brooks
Immerse yourself in the Alaskan wilderness and capture stunning images of Brown Bears!


UPCOMING TRIPS WITH AVAILABILITY
[Block//Web Spots Left]
Price: [Block//Current Price]
Dates: [Block//Start Date %n/j/Y%+0] to [Block//End Date %n/j/Y%+0]
READ OUR NEWSLETTER FOR NEW TRIPS, ARTICLES, & PROMOS
BACKCOUNTRY JOURNEYS
"Backcountry Journeys offers guests the unique opportunity to explore our natural world from behind their own lens. We run a selection of hand-crafted Photo Tours, Workshops & Safaris connecting passionate people to exceptional experiences. Locations include Yosemite, Alaska, Yellowstone, Glacier National Park, Hawaii, Utah as well as Botswana & Costa Rica."
- Russ Nordstrand, Backcountry Journeys Founder & Director
- Russ Nordstrand, Backcountry Journeys Founder & Director
TRIP CATALOG
Download our Trip Catalog for detailed information on our many destinations for photography tours, workshops, and safaris.
All Images & Content are property of Backcountry Photography Tours, Workshops & Safaris LLCs - Copyright 2024
BACKCOUNTRY JOURNEYS
"Backcountry Journeys offers guests the unique opportunity to explore our natural world from behind their own lens. We run a selection of hand-crafted Photo Tours, Workshops & Safaris connecting passionate people to exceptional experiences. Locations include Yosemite, Alaska, Yellowstone, Glacier National Park, Hawaii, Utah as well as Botswana & Costa Rica."
All Images & Content are property of Backcountry Journeys Photography Tours, Workshops & Safaris LLC - Copyright 2024
TRIP CATALOG
Download our Trip Catalog for detailed information on our many destinations for photography tours, workshops, and safaris.