Mon - Fri: 8 am - 4 pm MT

About Backcountry Journeys
Why Choose Backcountry Journeys
If you're considering a photography trip, hear why Backcountry Journeys delivers the best experience in the industry.Frequently Asked Questions
If you're new to photography trips, or new to BCJ, you can find our common travel questions here.Fitness Levels
Our trips vary on physical intensity, and by reviewing our fitness levels, you can find out which trips may be more challenging, or aligned more closely with your comfort level.Meet The Crew
We've built an amazing team of experienced guides, and dedicated office staff that elevate your travel experience. Get to know their backgrounds, and hear their stories.Loyalty Program
We reward our frequent photo adventurers with exclusive discounts on amazing photography trips.Contact Us
If you need to get in touch with our office staff, or have additional business inquiries, you can find our information here.Refer a Friend
Know someone perfect for one of our tours? Recommend them through this quick form.Stay Up To Date On All Things
Backcountry Journeys
Backcountry Journeys
Our Photography Community
Our Webinars
Our regularly hosted webinars provide photography instruction from our own guides on a wide range of topics.Our Education Portal
Explore our library of articles that cover everything from common questions, to in-depth guides on how to achieve that perfect shot.Community Testimonials
We're proud to foster an amazing group of photo travelers, and here you can find their stories from their past adventures.Resources For Photographers
About Our Company
Resources For Photographers
About Our Company
5 Extremely Helpful Lightroom Tips and Tricks
Published October 16, 2023
Adobe Lightroom is by far the most popular and widely used photo editing application out there. This relatively easy-to-use software can completely transform your photography and bring your images to a whole new level.
I use Lightroom religiously and this is my go-to tool for all photo editing. I’ve been using it for years through many updates and iterations and I’m constantly amazed by just how powerful and capable this application is.
That being said I find that I am constantly learning new things about Lightroom and learning tips and tricks to make my workflow better and more efficient. On top of that, this application has a lot of moving parts and can be quite complicated and difficult to navigate, especially when first getting started.
In a previous article, I discussed 10 powerful Lightroom tips and tricks that will transform your photo editing capabilities. Definitely check that article out if you haven’t already. Today I’m going to continue the story with 5 additional tips and tricks that I didn’t include in that original article.
Here are 5 extremely helpful Lightroom tips and tricks:
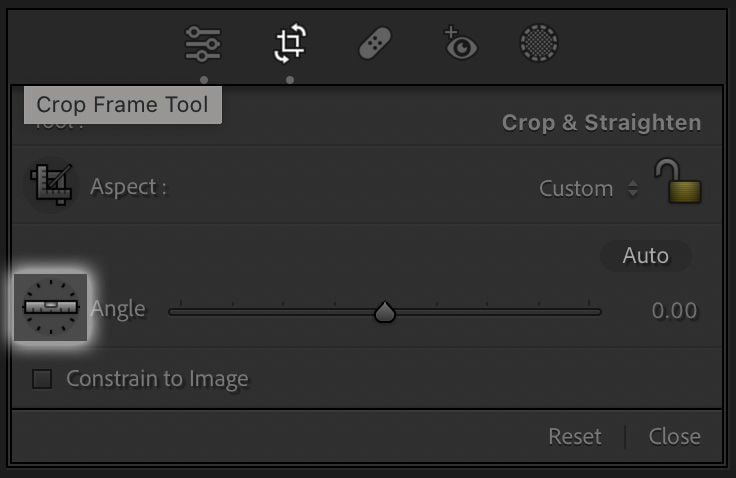
The Straighten Tool
This is an excellent way to make sure that your images aren’t crooked and that they’re perfectly straight every time. I’m sure many of us have used the “Crop Overlay” tool before to either crop our images or to manually attempt to straighten them. For those who are newer to Lightroom, this tool is located directly beneath the histogram in the “Develop” module. It’s the second option from your left and has a cropped square in the middle with two curved arrows around it. When you open this tool you can now crop your image however you’d like and you can also rotate it to make an image more straight.
This is an excellent way to make sure that your images aren’t crooked and that they’re perfectly straight every time. I’m sure many of us have used the “Crop Overlay” tool before to either crop our images or to manually attempt to straighten them. For those who are newer to Lightroom, this tool is located directly beneath the histogram in the “Develop” module. It’s the second option from your left and has a cropped square in the middle with two curved arrows around it. When you open this tool you can now crop your image however you’d like and you can also rotate it to make an image more straight.
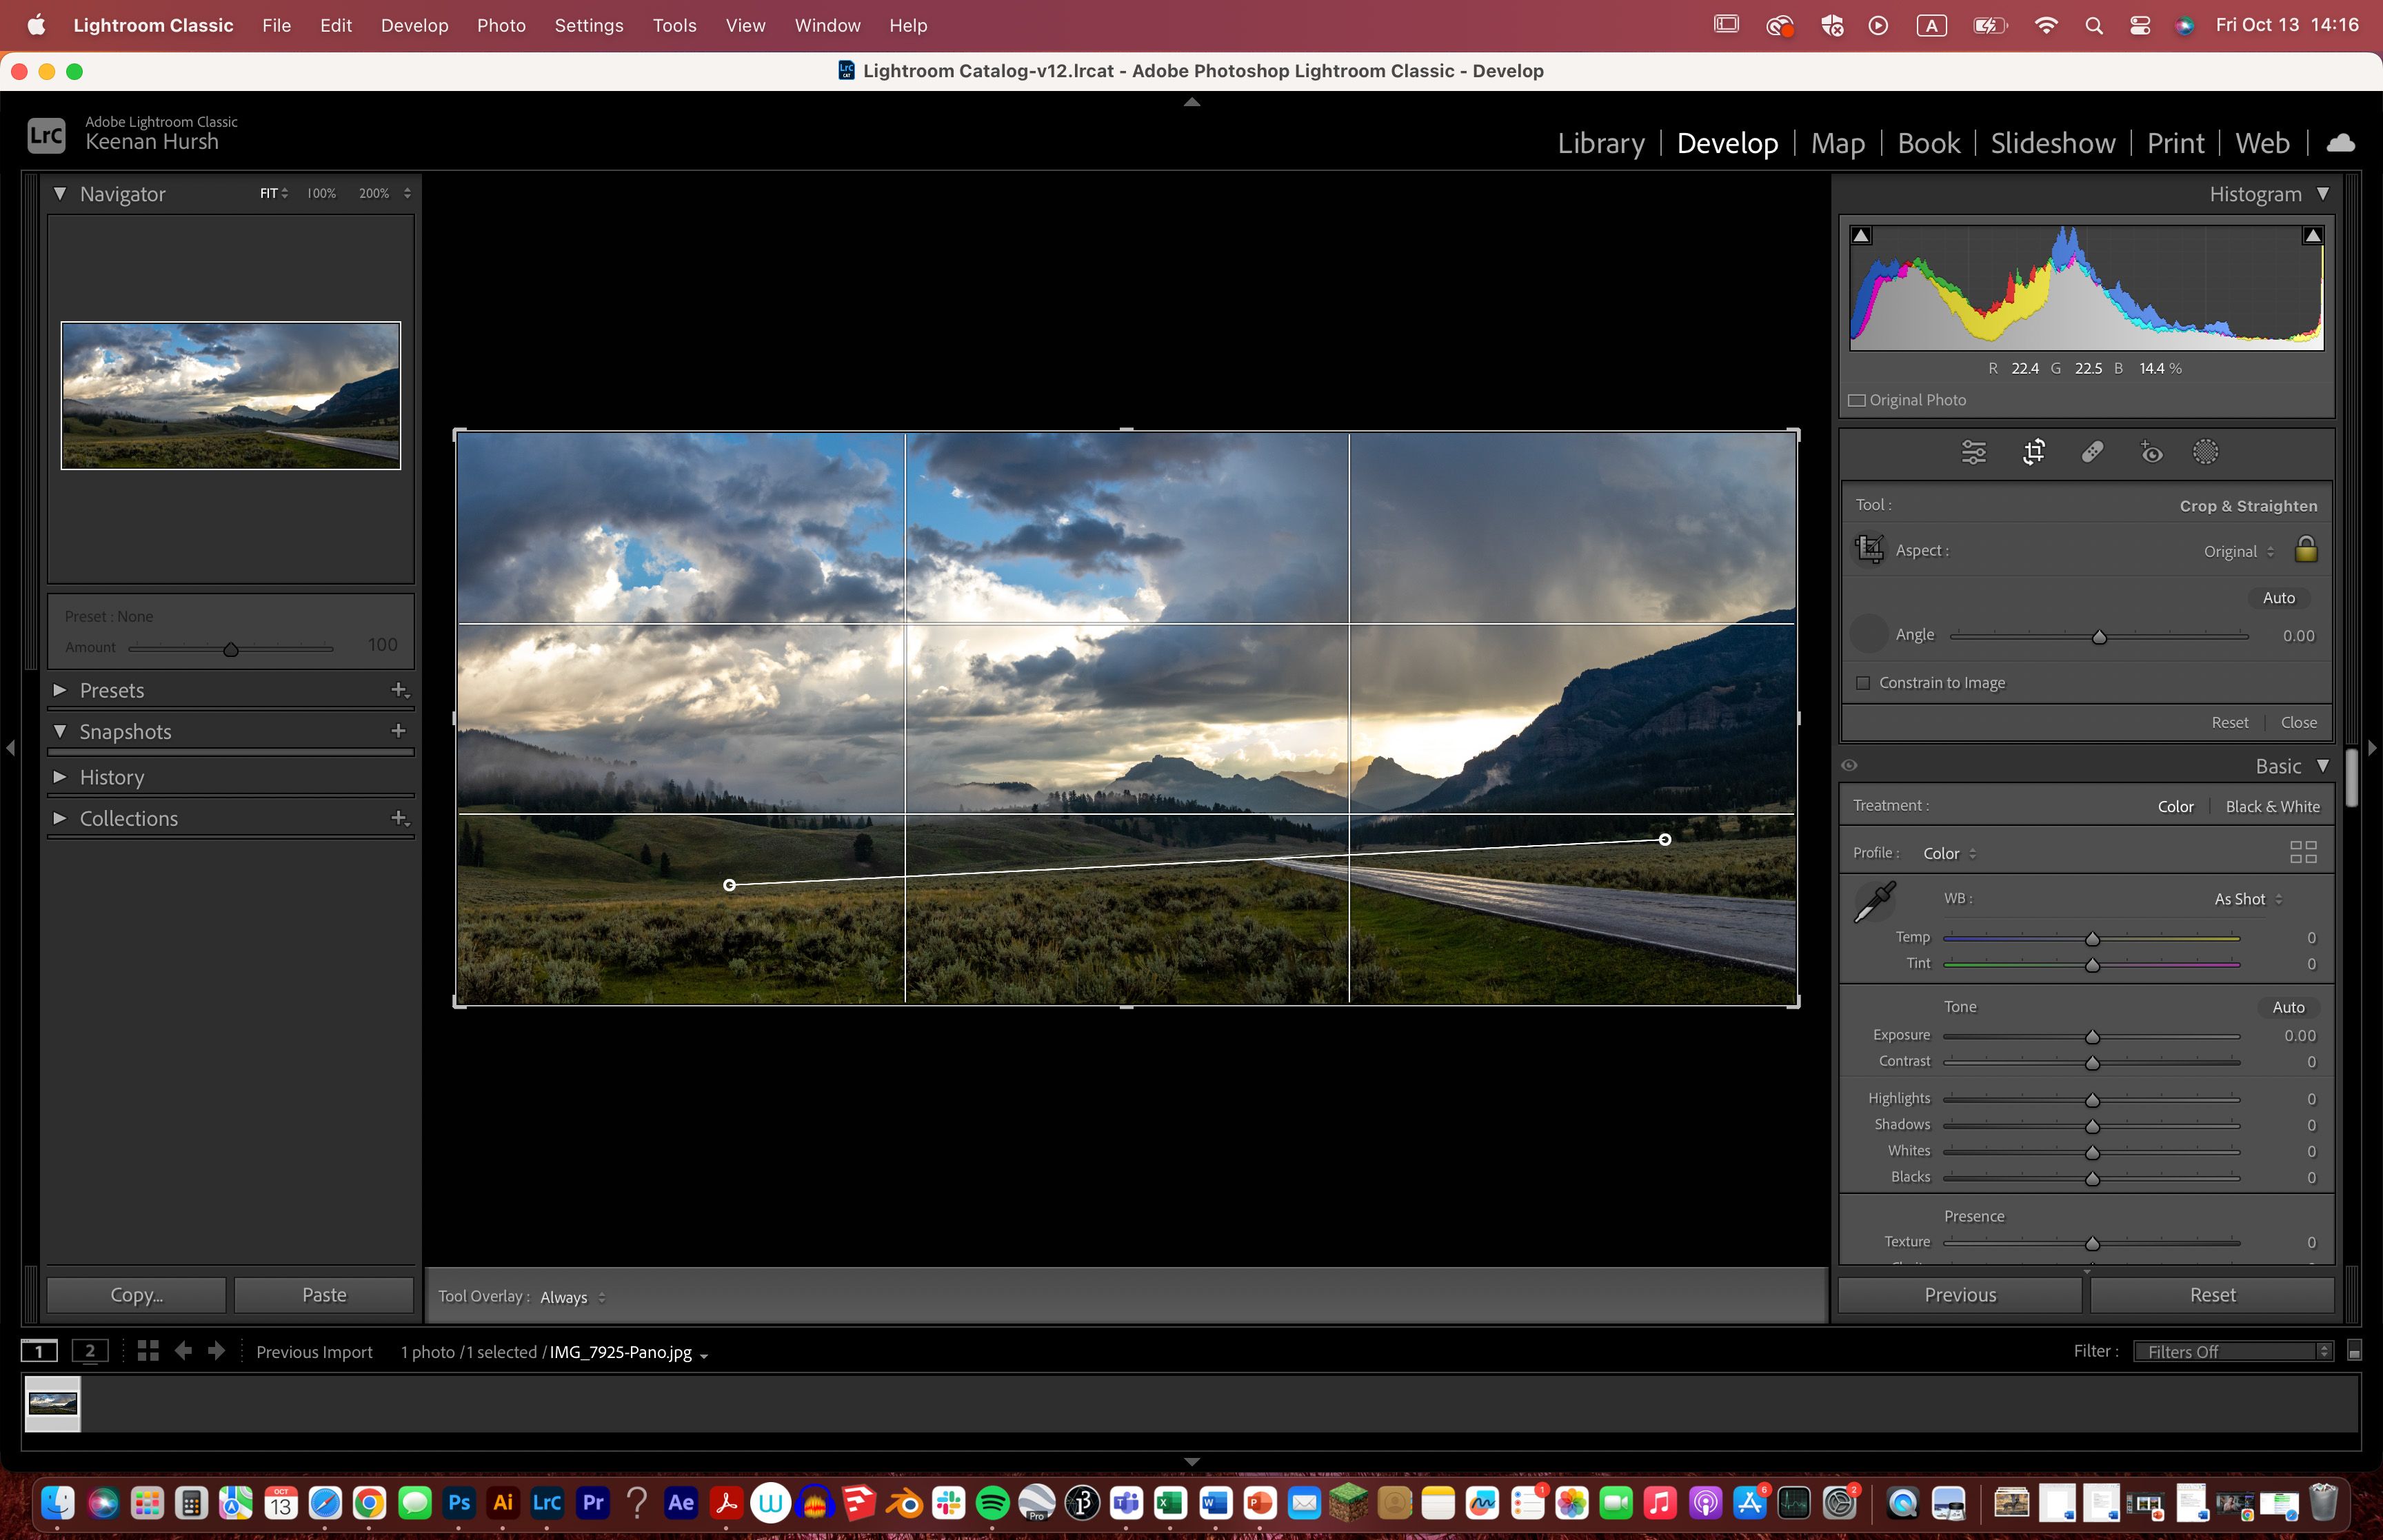
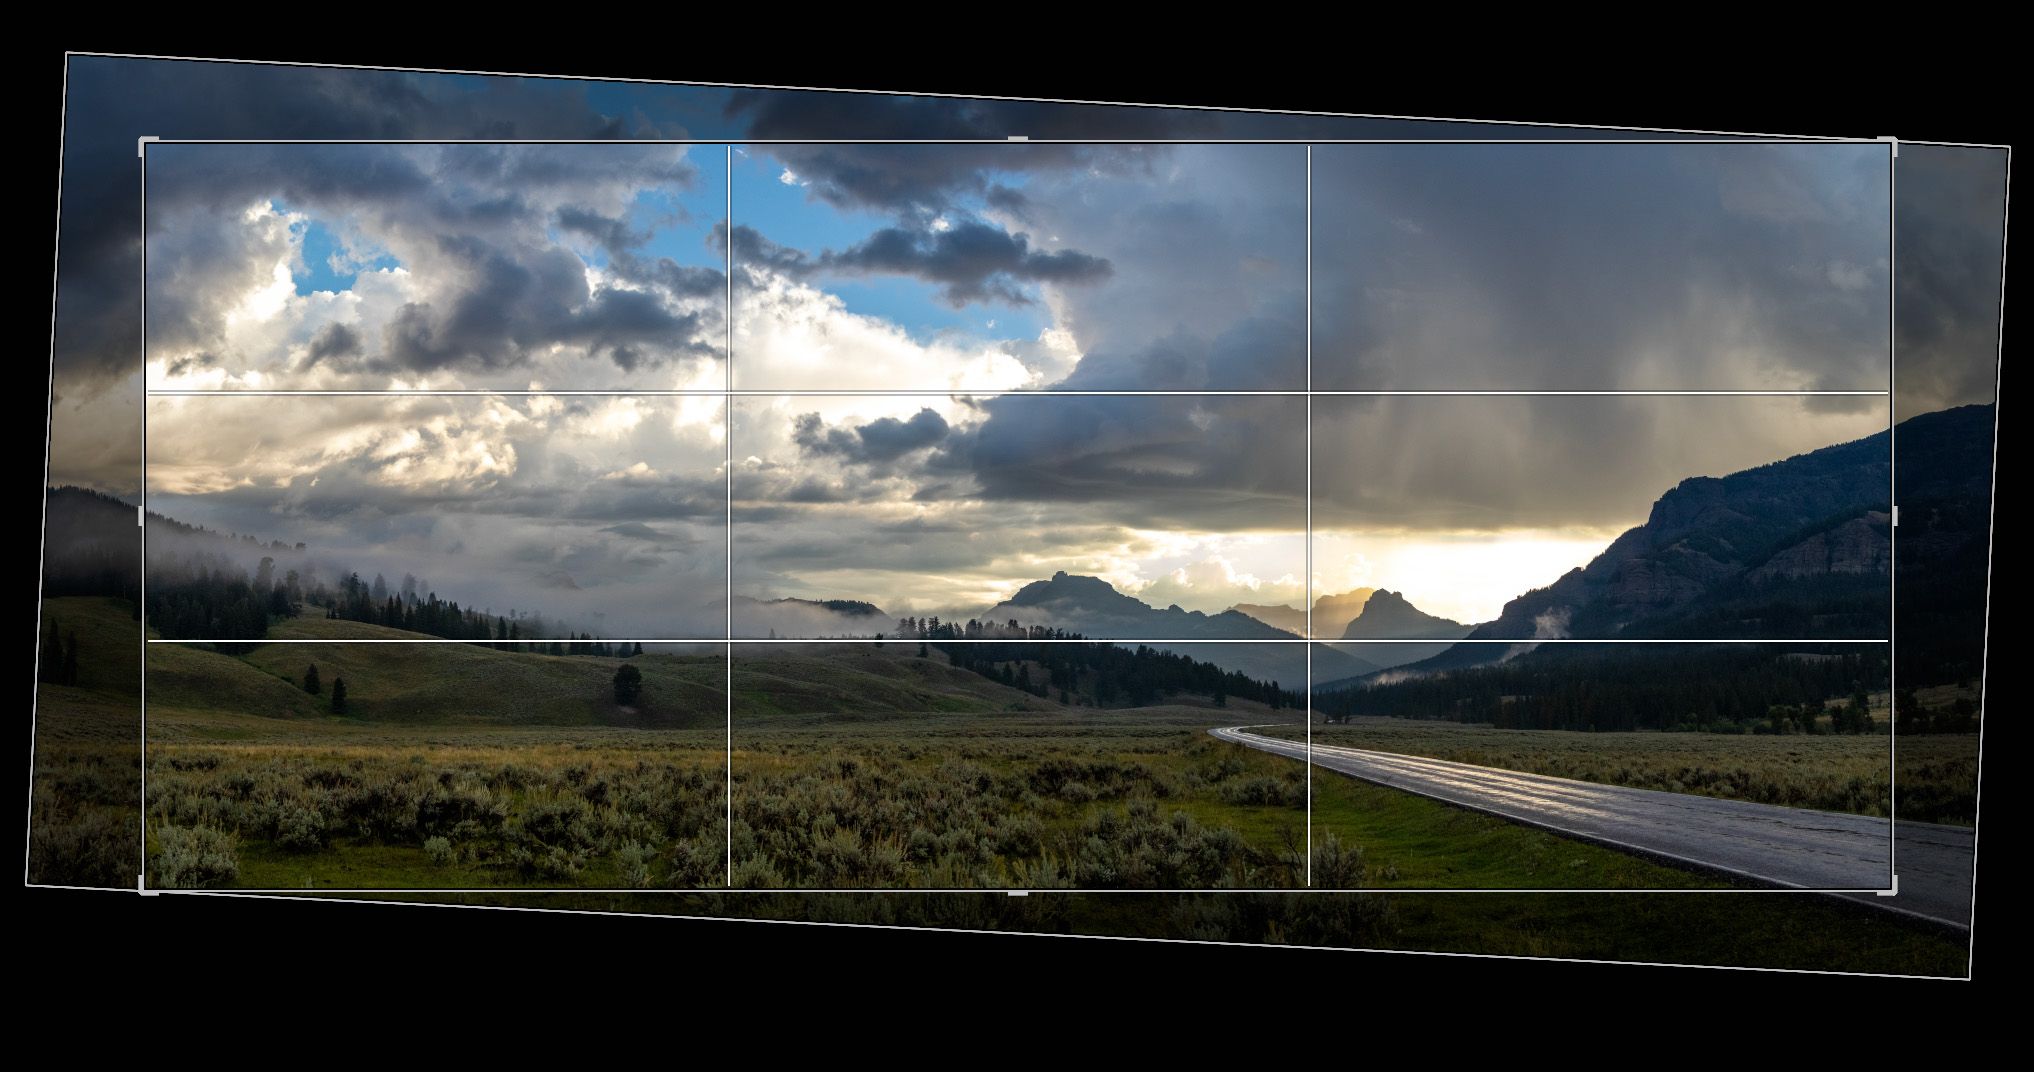
But a neat little trick, that I didn’t know about for the longest time, is that you can actually just quickly draw a line and Lightroom will rotate the photo based on that. This is much quicker and simpler than painstakingly rotating an image until you think it’s spot on. To do this simply click the ruler icon to the left of the “Angle” slider. Then you simply need to click on a section of your image and drag a line across it while holding down your mouse. Once you have drawn this line you can release the mouse and Lightroom will automatically rotate your image based on the line. You can draw a line that either horizontally or vertically lines up with your composition and Lightroom will do the rest.
Widen your Editing Panel
This is a very simple and basic tip but it can make a world of difference when editing your images. Anyone who has used Lightroom, even for 5 minutes, will know that when editing images you spend a great deal of time moving sliders back and forth. This is how you change the values for different effects. To be honest, these sliders are very small and it can often be very difficult to make minute and fine adjustments. A great way to work around this and give yourself more editing control is to simply widen the editing column to the right of your image which will make all of your sliders wider. This makes it much easier to finely control your edits. I especially recommend this tip if you have a larger screen or monitor to work with.
This is a very simple and basic tip but it can make a world of difference when editing your images. Anyone who has used Lightroom, even for 5 minutes, will know that when editing images you spend a great deal of time moving sliders back and forth. This is how you change the values for different effects. To be honest, these sliders are very small and it can often be very difficult to make minute and fine adjustments. A great way to work around this and give yourself more editing control is to simply widen the editing column to the right of your image which will make all of your sliders wider. This makes it much easier to finely control your edits. I especially recommend this tip if you have a larger screen or monitor to work with.
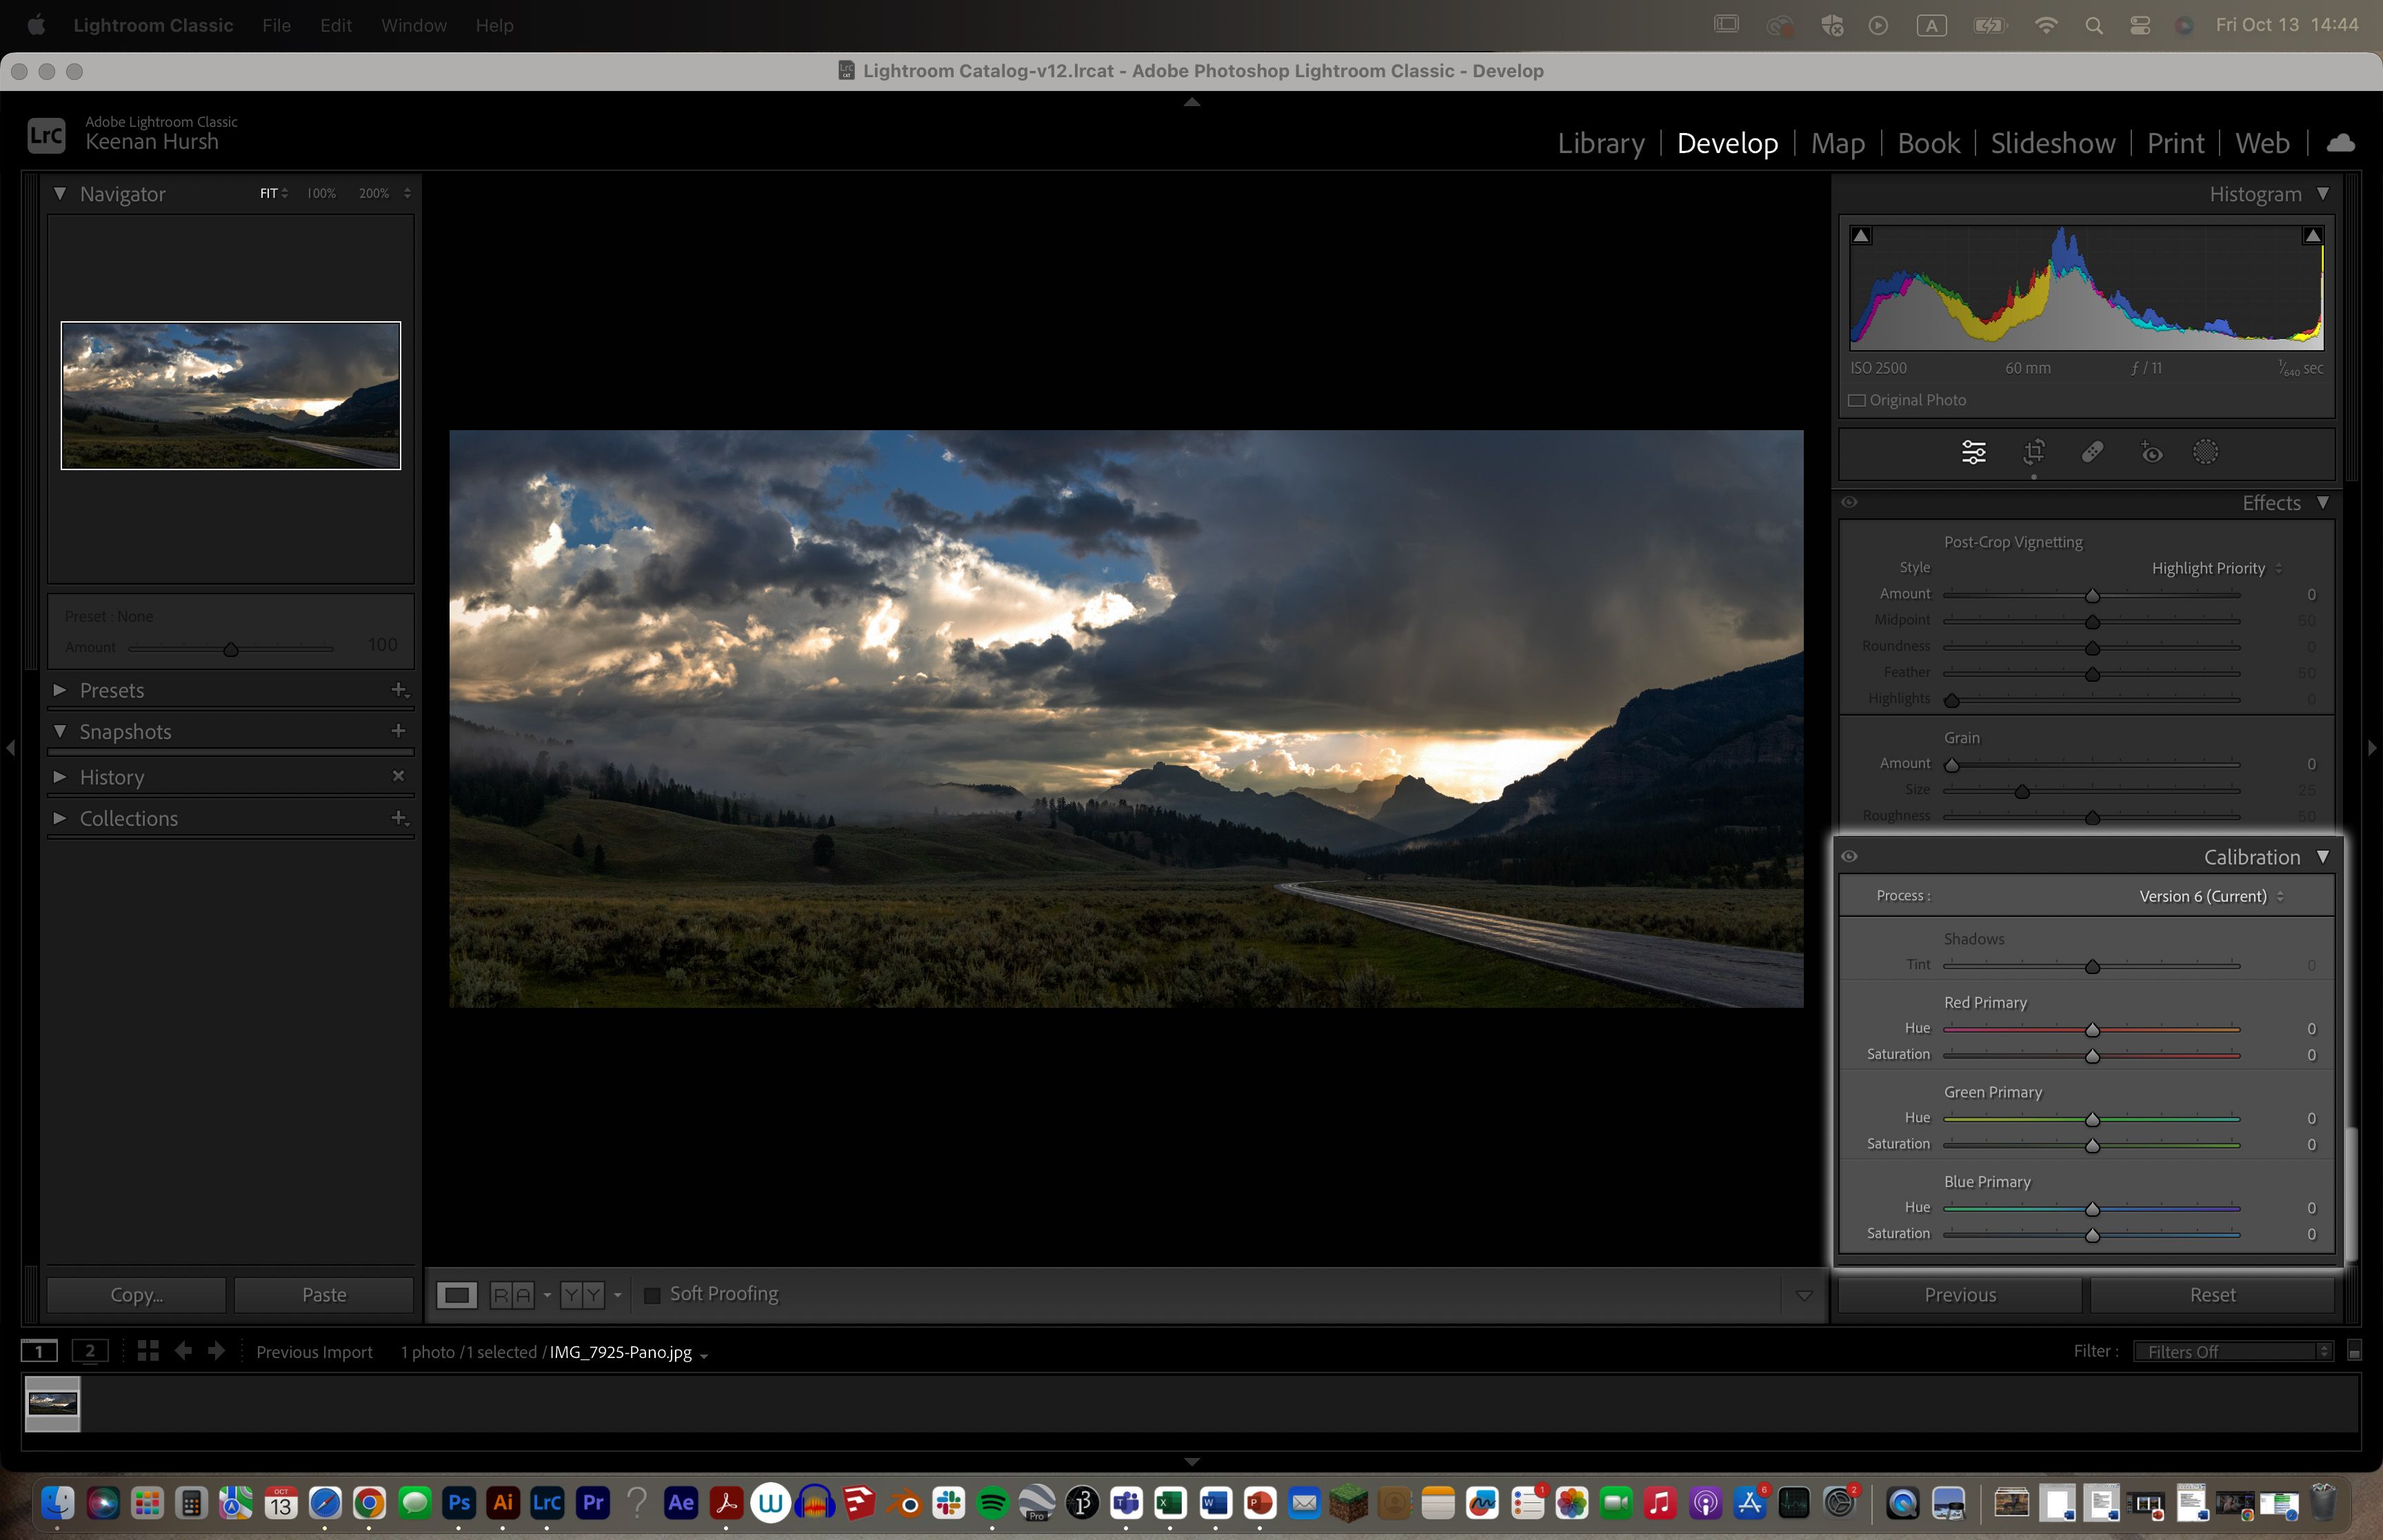
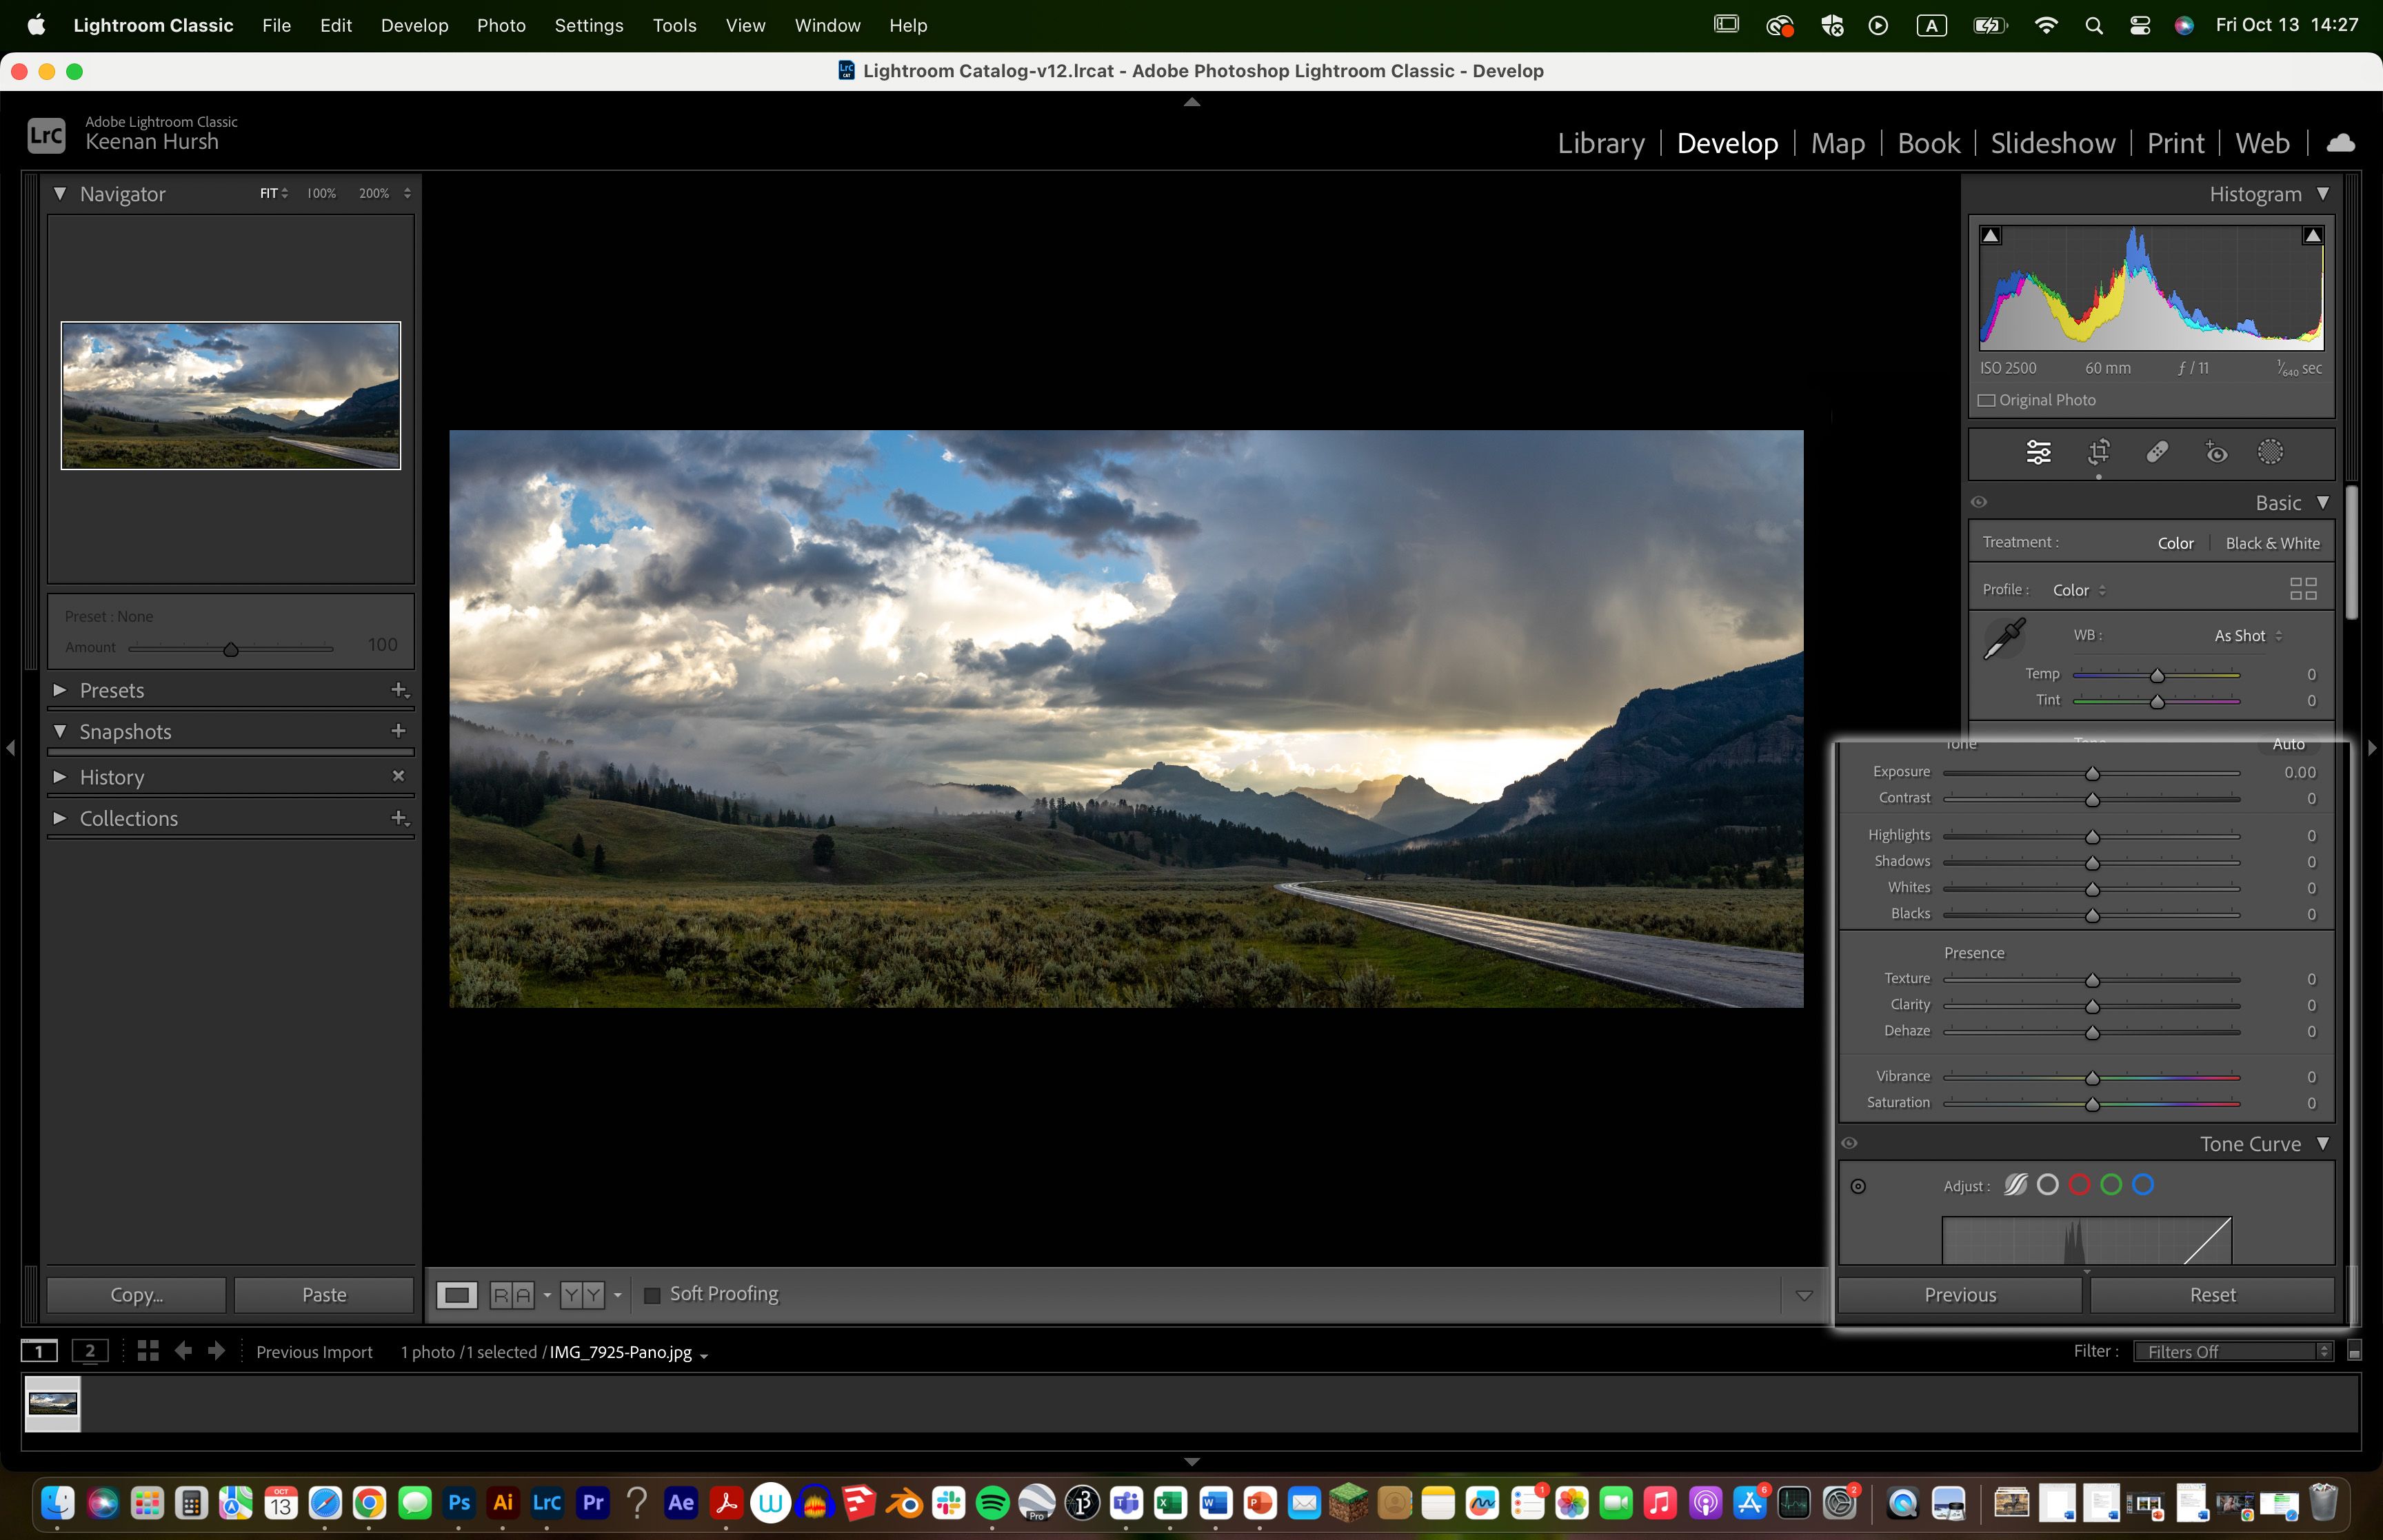
Use the Calibration Panel
This is another relatively simple tip, or really more of a recommendation, but a great way to quickly edit the look and feel of an image is to use the “Calibration” section of the Develop module. I never used to use this and did all of my color correcting and editing either in the “Basic” section or the “HSL/Color” section. It’s totally okay to fine-tune the colors in your image this way but by using the “Calibration” section, which is down at the very bottom of the Develop module, you can quickly and effectively change the colors in your image all in one place rather than going back and forth. I will oftentimes do all or most of my global editing and then mess around with some of the sliders in this section to explore alternatives.
This is another relatively simple tip, or really more of a recommendation, but a great way to quickly edit the look and feel of an image is to use the “Calibration” section of the Develop module. I never used to use this and did all of my color correcting and editing either in the “Basic” section or the “HSL/Color” section. It’s totally okay to fine-tune the colors in your image this way but by using the “Calibration” section, which is down at the very bottom of the Develop module, you can quickly and effectively change the colors in your image all in one place rather than going back and forth. I will oftentimes do all or most of my global editing and then mess around with some of the sliders in this section to explore alternatives.
Resetting Sliders
This is probably the simplest tip in this article but it’s one that I use all the time and one that I didn’t know about for a while. Let’s say you’ve spent quite a bit of time making many edits to an image and you want to divert one slider or one effect back to the original starting point. Of course, there is the large “Reset” button at the bottom right-hand corner of the develop module but this will reset all of the sliders and settings back to zero. You can also, of course, manually slide an individual slider back to zero or even double-click the number to the right and type zero in. All of these options work but by far the fastest and simplest way to reset a slider to zero is to simply double click on the word to the left of it. This will instantly reset that effect or slider back to its starting point.
This is probably the simplest tip in this article but it’s one that I use all the time and one that I didn’t know about for a while. Let’s say you’ve spent quite a bit of time making many edits to an image and you want to divert one slider or one effect back to the original starting point. Of course, there is the large “Reset” button at the bottom right-hand corner of the develop module but this will reset all of the sliders and settings back to zero. You can also, of course, manually slide an individual slider back to zero or even double-click the number to the right and type zero in. All of these options work but by far the fastest and simplest way to reset a slider to zero is to simply double click on the word to the left of it. This will instantly reset that effect or slider back to its starting point.
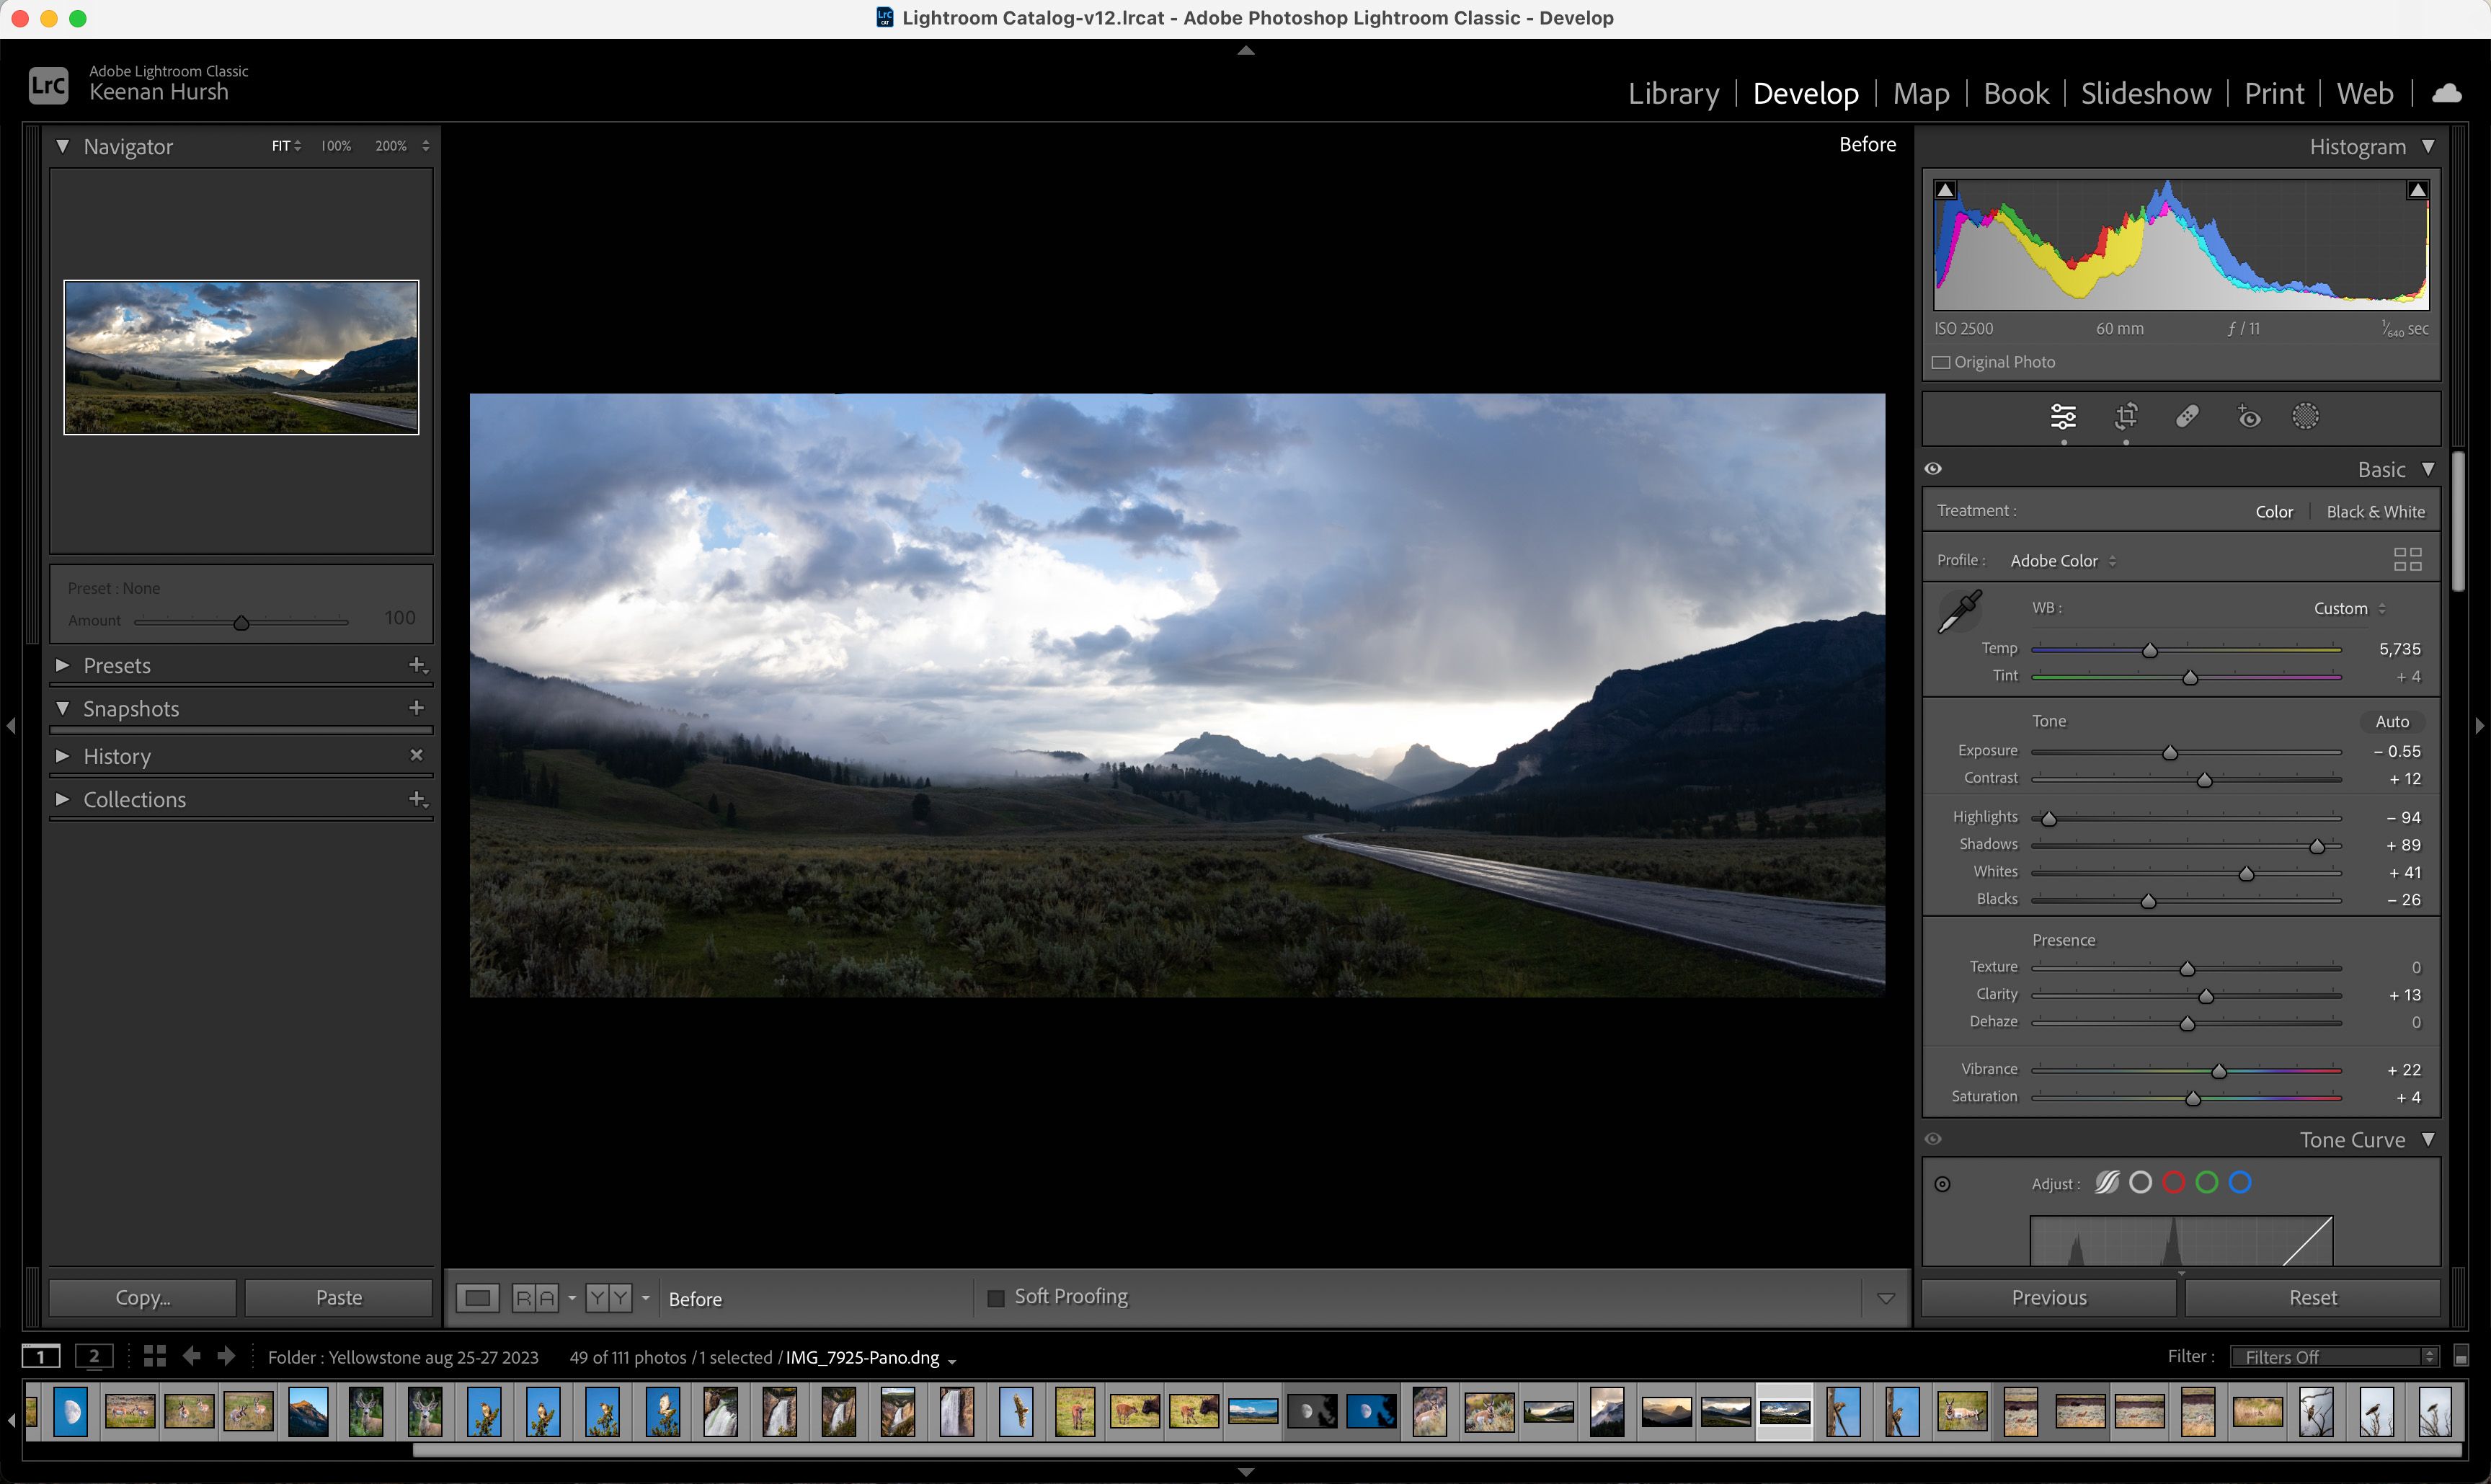
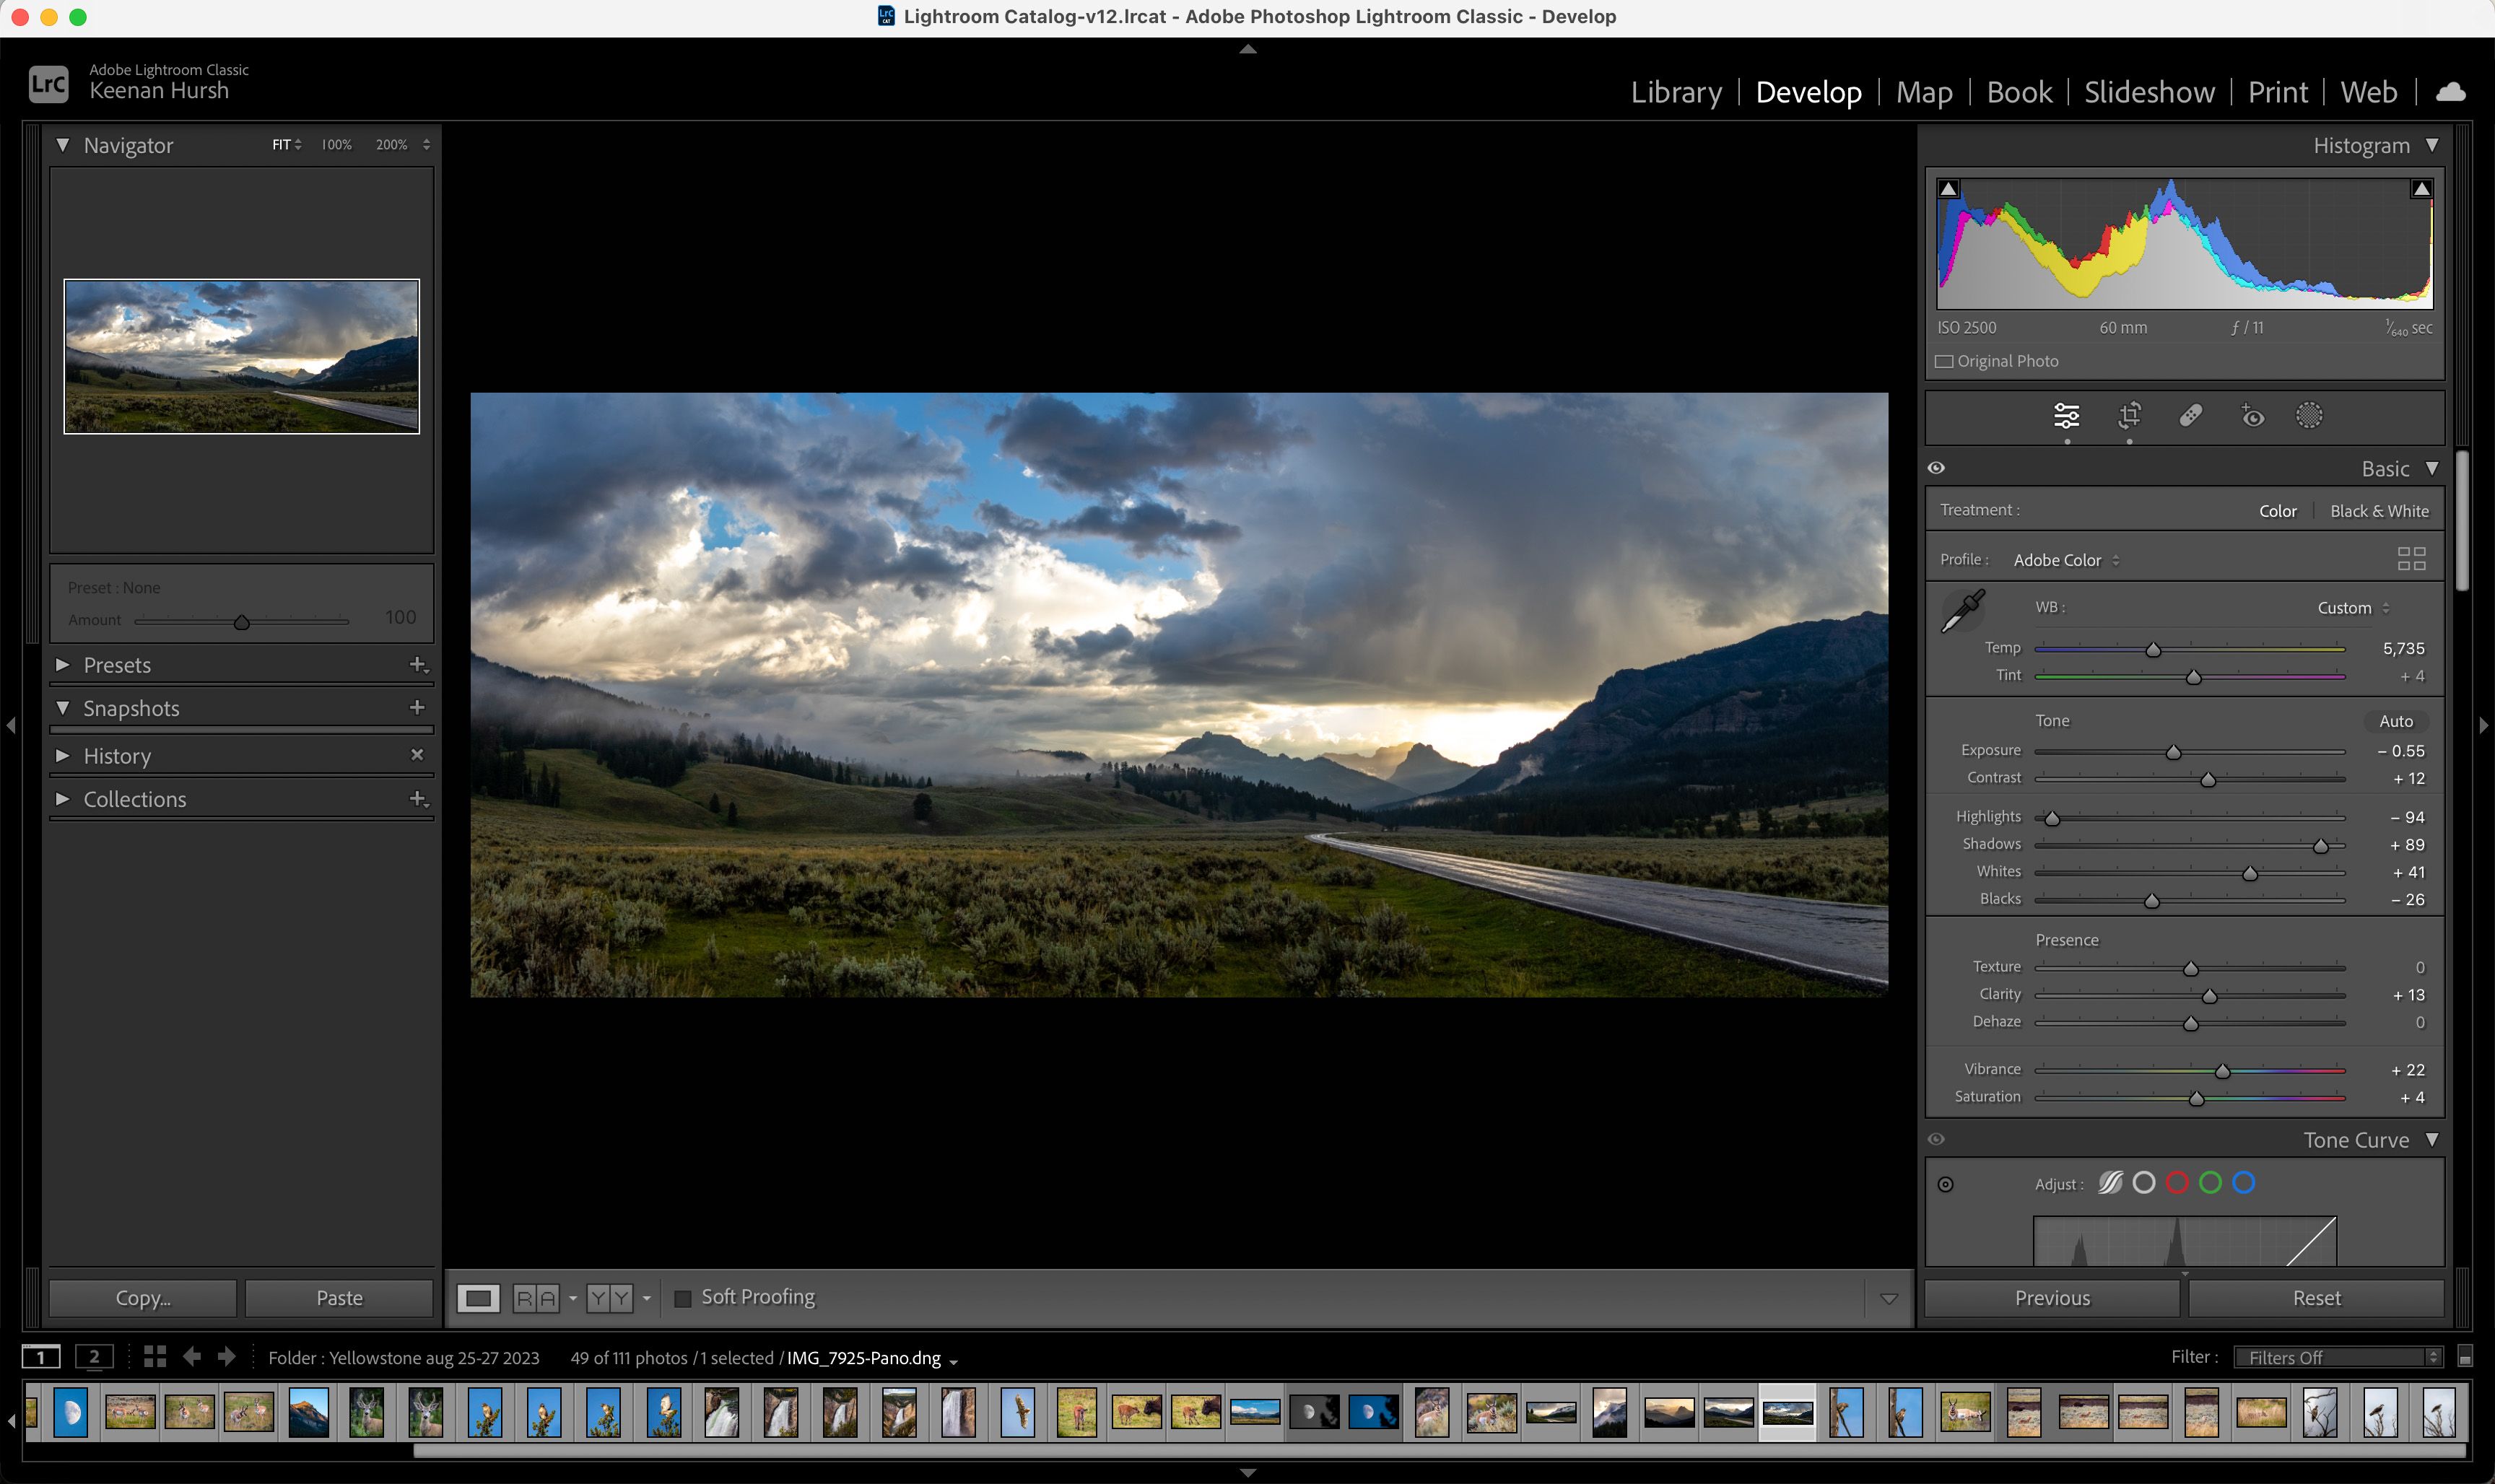
Slash Key Before/After
My fifth and final tip in today’s article is another incredibly simple but incredibly helpful one. I find that it can often be quite easy to over-edit an image and take things a step too far. Of course, this is different for everyone and really depends on personal tastes and preferences but I never think it’s a bad idea to compare your edit to the original image.
There are several ways of doing this and one of the most helpful is a direct side-by-side comparison. You can do this by clicking on the icons in the bottom left corner of the main image window. You can compare two images to one another or compare an edit to the original image in multiple ways. This is useful but another very useful, quick, and easy way to accomplish the same thing is to simply switch back and forth between the original image and the edited version with the click of one key. All you need to do is press and hold the “backslash” key to reveal the original image. When you release it you will go right back to your current edit.
Alright, that’s all I have for you today. If you’re interested in learning more helpful Lightroom tips and tricks, then definitely check out this previous article. As always, I sincerely hope this information has been helpful and informative, and I wish you all the best of luck when it comes to editing your images.
Until next time!

We offer world-class travel photography
experiences around the world.
Each tour is bundled with lodging, meals, and transportation between workshops included, allowing you to focus on photography instead of the stress of traveling.
experiences around the world.
Each tour is bundled with lodging, meals, and transportation between workshops included, allowing you to focus on photography instead of the stress of traveling.
Get Our Trip Catalog
Receive a trip catalog that highlights all of our upcoming photo tours and workshops.Schedule a Trip Consultation
Meet with a photo experience coordinator, and experience a personal touch to your booking experience.Landscape Guide
Receive a FREE Landscape Cheat Sheet Written By a Pro Photographer.Webinars
Our regularly hosted webinars provide photography instruction from our own guides on a wide range of topics.Education Portal
Explore our library of articles that cover everything from common questions, to in-depth guides on how to achieve that perfect shot.
Backcountry Journeys
Connecting Passionate People To
Exceptional Experiences.
Exceptional Experiences.
Business Hours:
Mon-Fri, 8AM-4PM MT
928-478-1521
adventure@backcountryjourneys.com
Mon-Fri, 8AM-4PM MT
928-478-1521
adventure@backcountryjourneys.com
arrow_drop_down_circle
Divider Text
All Images & Content Are Property Of Backcountry Journeys Photography Tours, Workshops & Safaris LLC - Copyright 2026
About Us
Receive a Digital Trip Catalog
Find an upcoming photography tour with our interactive catalog.