2024 Travelers' Choice

About Backcountry Journeys
Why Choose Backcountry Journeys
If you're considering a photography tour, hear why Backcountry Journeys delivers the best experience in the industry.Frequently Asked Questions
If you're new to photography tours, or new to BCJ, you can find our common travel questions here.Fitness Levels
Our trips vary on physical intensity, and by reviewing our fitness levels, you can find out which trips may be more challenging, or aligned more closely with your comfort level.Meet The Crew
We've built an amazing team of experienced guides, and dedicated office staff that elevate your travel experience. Get to know their backgrounds, and hear their stories.Travel Desk
You can review our various payment, and travel policies here, along with resources regarding international travel.Gift Certificates
Give the gift of photo adventure! We offer gift certificates that can be applied to any of our upcoming tours.Loyalty Program
We reward our frequent photo adventurers with exclusive discounts on amazing photography tours.Contact Us
If you need to get in touch with our office staff, or have additional business inquiries, you can find our information here.Stay Up To Date On All Things
Backcountry Journeys
Backcountry Journeys
Our Photography Community
Our Webinars
Our regularly hosted webinars provide photography instruction from our own guides on a wide range of topics.Our Education Portal
Explore our library of articles that cover everything from common questions, to in-depth guides on how to achieve that perfect shot.Community Testimonials
We're proud to foster an amazing group of photo travelers, and here you can find their stories from their past adventures.Resources For Photographers
About Our Company
Resources For Photographers
About Our Company
Take Sharp Photos Even When It is WINDY!

Published April 13, 2021
Later this week, Matt Meisenheimer and I are headed to Southern Utah to lead Backcountry Journeys’ Canyons of Utah: Zion & Bryce photography tours. Matt will be there for the first, I will be leading both.
Zion and Bryce are certainly two of the more interesting photographic locations anywhere, and I am eagerly anticipating getting back out there after quite some time out of the field and behind this monitor. These two grand parks have served as Backcountry Journeys tour locations for as long as we’ve been around, and never let us down in terms of landscape scenery and overall experience. They both have so much to offer and are quite unique even while sharing similar geologic stories.
Zion and Bryce are certainly two of the more interesting photographic locations anywhere, and I am eagerly anticipating getting back out there after quite some time out of the field and behind this monitor. These two grand parks have served as Backcountry Journeys tour locations for as long as we’ve been around, and never let us down in terms of landscape scenery and overall experience. They both have so much to offer and are quite unique even while sharing similar geologic stories.
As I ponder these trips, I consider a large and sprawling list of details. What to do when, where, and why being at the top of my list. What might that perfect blend of iconic images and lesser-known spots will work well? Where should we explore, and what will be some of the challenges we will have that will provide us all learning moments?
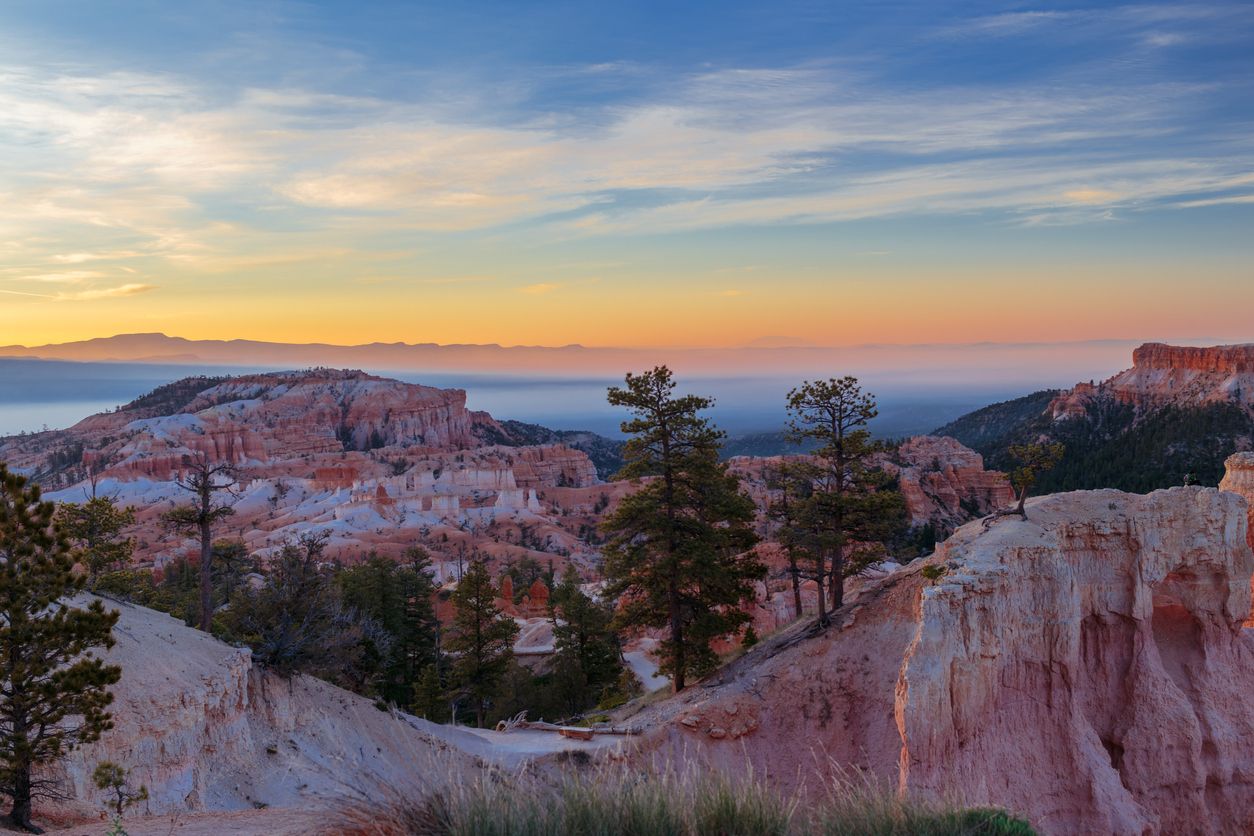
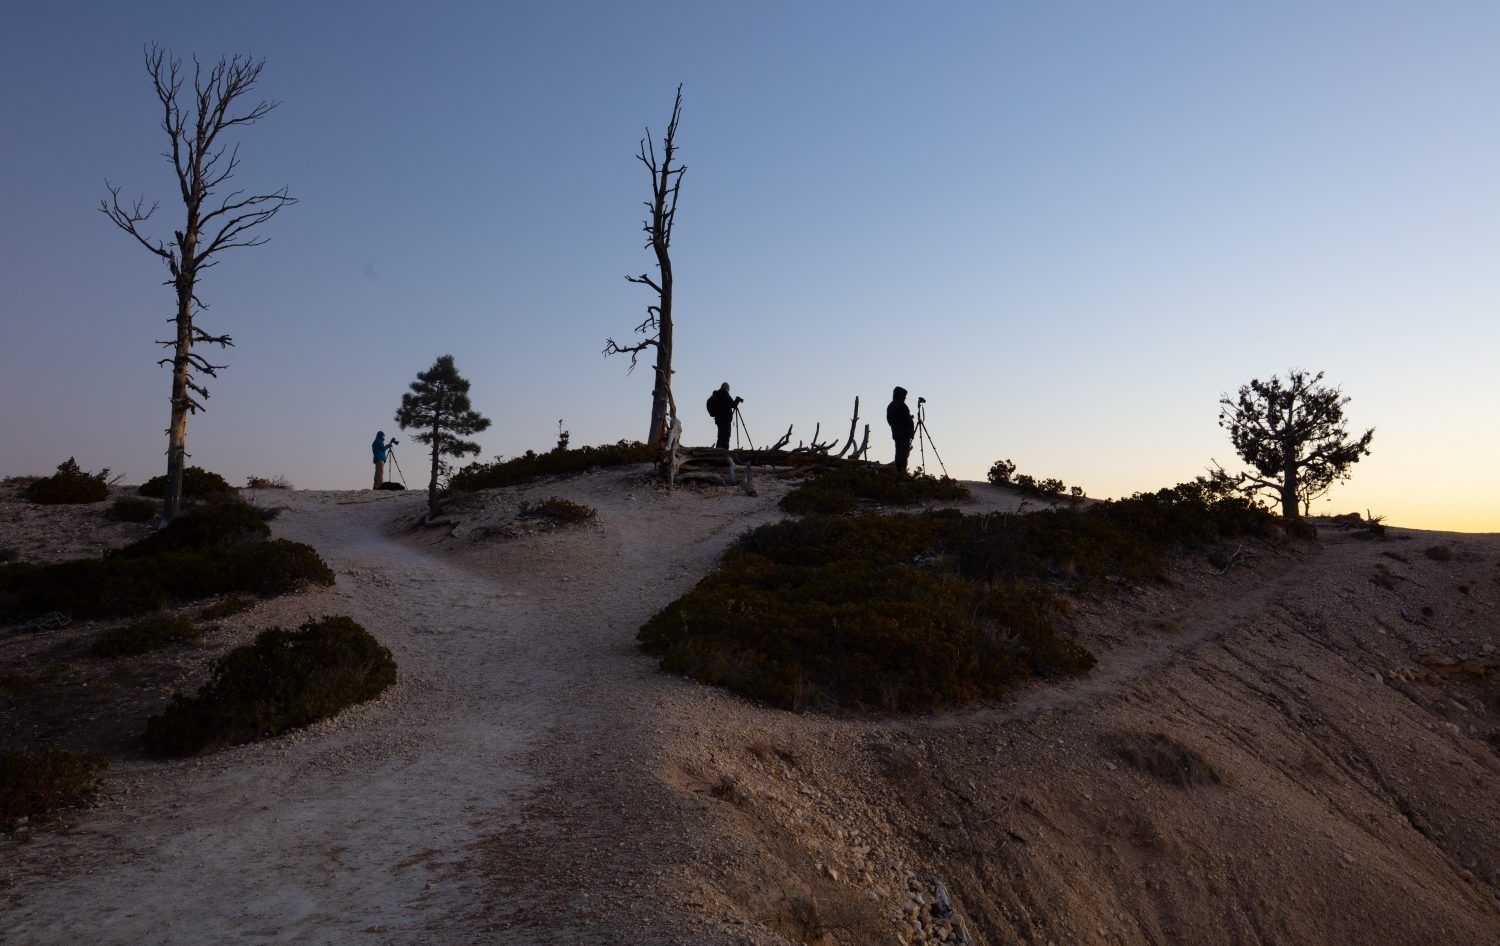
Ahh, Bryce Canyon in the morning. I think about those frigid, windy mornings, looking across the world-famous amphitheater of hoodoos with the Table Cliffs and Aquarius Plateaus standing guard on the distant horizon, beautiful valley in between. I think about our fingers and toes starting to freeze as the wind relentlessly whips. Is it ALWAYS cold and windy there? You better believe it (nearly always – so you should always be ready for it)!
This got me thinking about different things you can try to help you to still take sharp photos even when it is exceptionally windy. Wherever you may be.
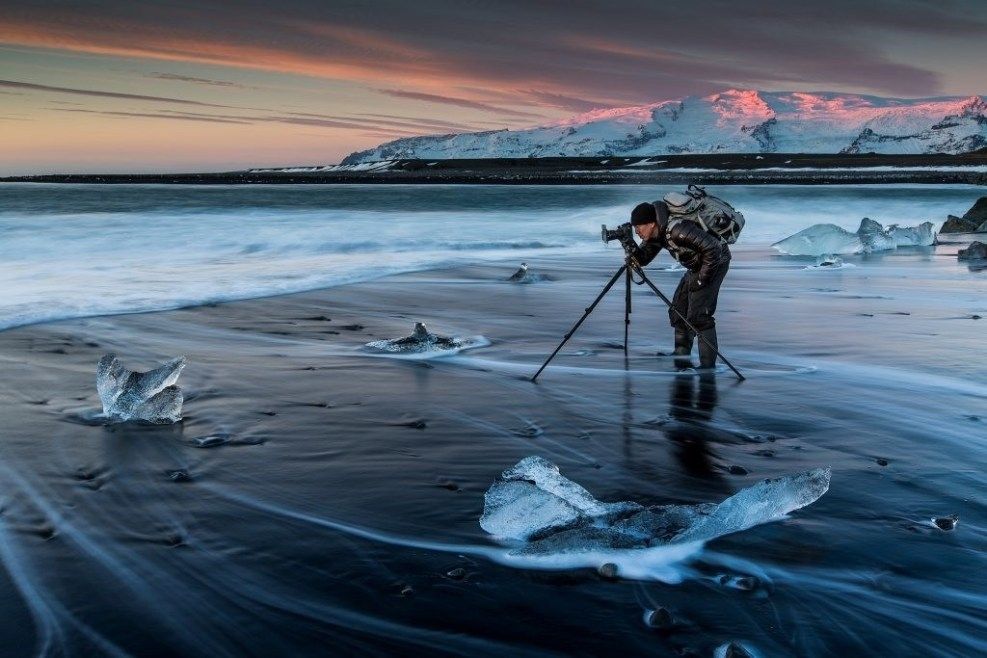
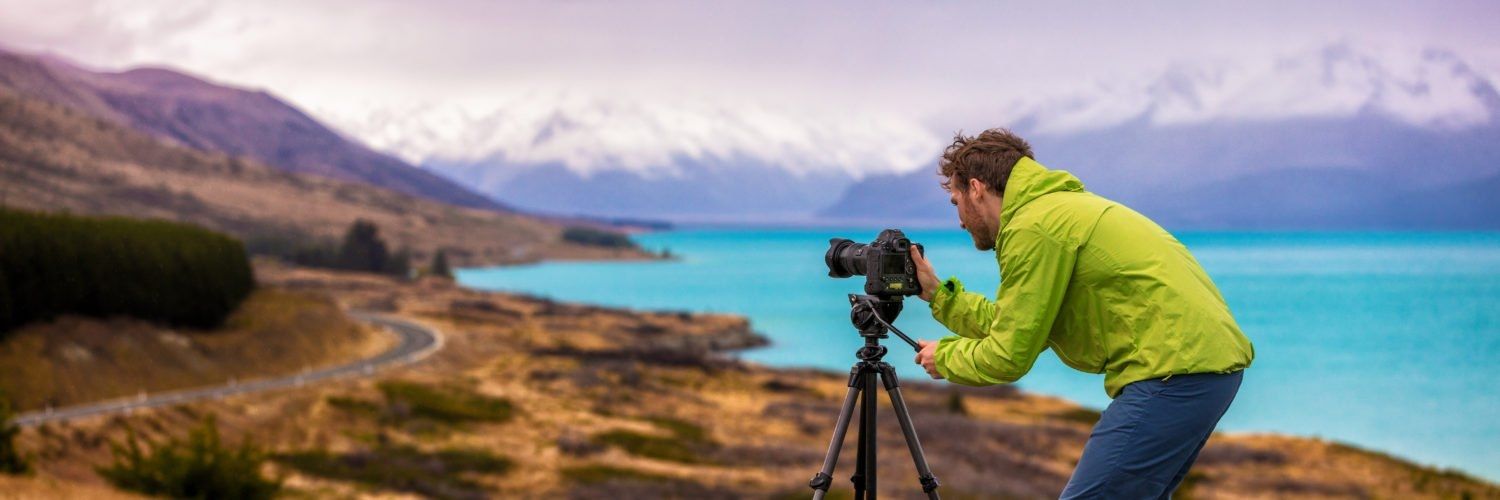
Typically, a nice tripod does its job by taking away camera shake. However, as landscape photographers we often find ourselves photographing in crummy weather. We love weather because weather can add much in the way of drama to our images. The ‘nicest’ weather days for most people aren’t necessarily the best for landscape photography. We want the front, or back-end, of a storm. We like clouds, and drama, light poking out casting corpuscular rays across something awesome. So, sometimes we must deal with this less-than-’nice’ weather in order to get a shot that will really stand out above others.
So, what do we do when the wind is blowing so hard that our tripod isn’t enough to stop your camera from shaking? Let’s look at a few things to try next time you’re out getting lucky, sitting in windy conditions, starting with your setup.
This got me thinking about different things you can try to help you to still take sharp photos even when it is exceptionally windy. Wherever you may be.
Typically, a nice tripod does its job by taking away camera shake. However, as landscape photographers we often find ourselves photographing in crummy weather. We love weather because weather can add much in the way of drama to our images. The ‘nicest’ weather days for most people aren’t necessarily the best for landscape photography. We want the front, or back-end, of a storm. We like clouds, and drama, light poking out casting corpuscular rays across something awesome. So, sometimes we must deal with this less-than-’nice’ weather in order to get a shot that will really stand out above others.
So, what do we do when the wind is blowing so hard that our tripod isn’t enough to stop your camera from shaking? Let’s look at a few things to try next time you’re out getting lucky, sitting in windy conditions, starting with your setup.
Lower Your Tripod
If your composition and surroundings allow, you can help yourself bunches by lowering the whole setup. Getting down to the ground. Now, this might not be possible. As is the case at Bryce, a lot of these viewing areas where we are allowed to be, have fencing that you have to be higher than in order to get your shot.
Doing just this might actually be the best thing you can do to combat the wind. If you are able to get your composition with your setup lower to the ground. Try it! If you just can’t, then use the other tips listed here.
While we are at it: collapse your tripod correctly, and by that, I mean the thinnest legs first.
Do you need that center column extended?
A lot of landscape photographers find value in extending the center column of their tripod. Sometimes they really really help with getting your composition just right. The fact of the matter is that if you have your camera on an extended center column, it will be less stable. You may, or may not get away with it in windy conditions (certainly depends on the wind), so considering whether you need it extended can be at the top of your “things to try” list if you are having trouble with stability and camera shake.
Hang a weighted bag from your tripod
Many tripods have hooks that weight can be hung from as a way of finding some stability. Try it by hanging your camera pack on it, especially if the wind is so strong that your setup might be blown over. But be careful. If the wind is so bad that the bag starts to blow around you’ll want to reassess.
Don’t attempt to hand-hold things still
Attempting to hold your setup still seems like an obvious thing to try, too. I mean, that’d be completely instinctual, wouldn’t it? Again, if it’s going to fall you better catch it. In super windy conditions, you’ll not want to stray far from things in case it does start to go, but holding it in an attempt to stabilize is not the best thing because you’ll likely create shake.
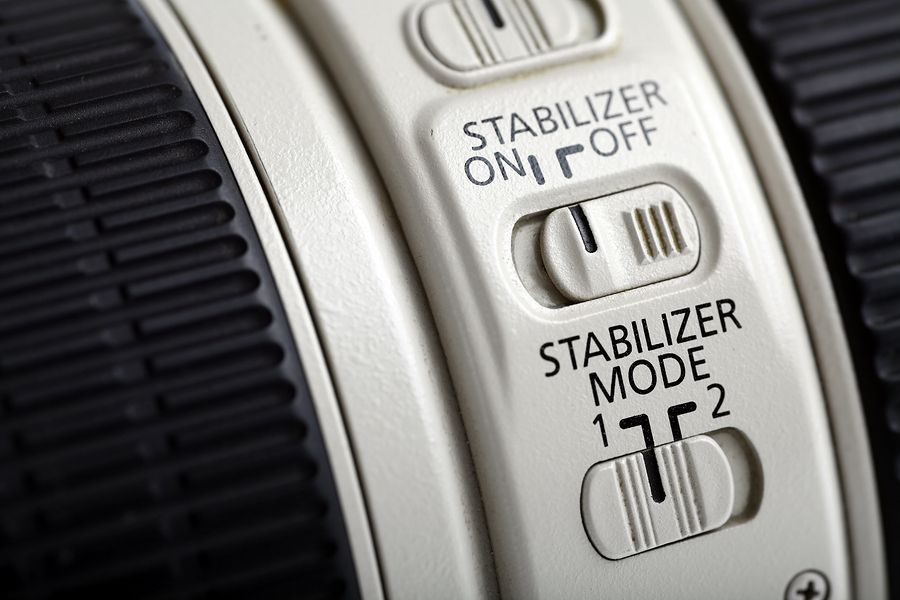
Use vibration reduction (VR)
You’ve likely heard that we don’t want to use vibration reduction with a tripod, and most of the time that is true. However, wind is one situation where you’d go ahead and switch VR to ‘on.’ Vibration reduction will do a pretty good job of reducing wind-blurred photos.
You’ve likely heard that we don’t want to use vibration reduction with a tripod, and most of the time that is true. However, wind is one situation where you’d go ahead and switch VR to ‘on.’ Vibration reduction will do a pretty good job of reducing wind-blurred photos.
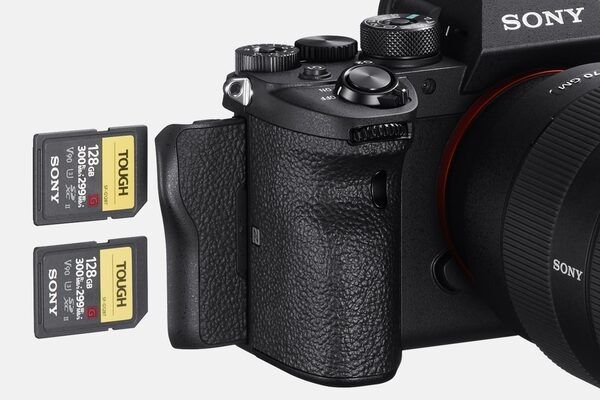
Fill your memory cards
Normally, I preach “shoot with intention” as a way of slowing folks down, and this includes my own inner dialogue. “Shoot with intention, Kenton,” I whisper to myself as I’m sizing things up behind the lens, using the mantra as a way to make sure everything I do is for a reason. This helps with getting the exposure correct, deciding on a filter, composition, to help eliminate distractions and other errors, and even help with creativity. This slows down the number of clicks, too, and thus the number of images to look at when I am back at home on the computer (I’d rather look through 100 images than 1,000). This being said, when you’re operating under extremely windy conditions, it might benefit to take maybe like four or five times as many frames as normal, just to give you a puncher’s chance at having a few that are sharp.
Try faster shutter speeds
I know what you’re thinking: we’re photographing during low-light at blue hour, golden hour, and then sunrise. How can I increase my shutter speed and still get a well-exposed image? As landscape photographers, we are often told to always keep your ISO at its base number. This is ISO 100 for most (some cameras go lower). Although it’s true we want to keep our ISO as low as possible so as to not introduce ‘noise,’ it can be helpful and sometimes necessary (astro/handholding), to increase that ISO a bit. A sharp photo at ISO 400 is more useful, in my mind than a blurry photo because I was too stubborn to bump my ISO.
Putting it together
Wind is challenging. For starters, it’s not a ton of fun to stand outside in blowing, gusting wind. I’ve yet to meet another human on this planet that loves standing around in extreme wind (Maybe people who love kites?). And it’s just worse when you’re actually trying to do something, like take quality pictures. Gusty conditions create issues with your composition, as well (however, that is for a different article). Steadying your tripod so that you can achieve sharp photos when the wind is present is certainly at, or near the top of the list. While there are no perfect methods to combatting the wind, the things discussed above can be tried and should provide some help. We’ll certainly be discussing and attempting these things at the end of the month up in Bryce Canyon. That is unless we catch some super favorable conditions, but then we’d miss out on all that fun!
So, how to approach windy conditions? Let’s reflect quickly: Start by getting your setup as stable as you can. Get as low as you can, to begin with, keeping in mind your intended composition. If your center column is extended, and you’re struggling with shake, see if you can achieve your composition with it lowered. Then, turn on your VR. Add a bag or weight to the hook on the underbelly of your ball head (not all tripod models have this). Finally, take a bunch of frames so you’ll have more to pick through, and work with your shutter speeds and ISO to find something that will be sufficient.

We offer world-class travel photography
experiences around the world.
Each tour is bundled with lodging, meals, and transportation between workshops included, allowing you to focus on photography instead of the stress of traveling.
experiences around the world.
Each tour is bundled with lodging, meals, and transportation between workshops included, allowing you to focus on photography instead of the stress of traveling.
Get Our Trip Catalog
Receive a trip catalog that highlights all of our upcoming photo tours and workshops.Schedule a Trip Consultation
Meet with a photo experience coordinator, and experience a personal touch to your booking experience.Trip Calendar
View our trip calendar and filter upcoming departures by interest or seasonality.Webinars
Our regularly hosted webinars provide photography instruction from our own guides on a wide range of topics.Education Portal
Explore our library of articles that cover everything from common questions, to in-depth guides on how to achieve that perfect shot.BACKCOUNTRY JOURNEYS
"Backcountry Journeys offers guests the unique opportunity to explore our natural world from behind their own lens. We run a selection of hand-crafted Photo Tours, Workshops & Safaris connecting passionate people to exceptional experiences. Locations worldwide.
- Russ Nordstrand, Backcountry Journeys Founder & Director
- Russ Nordstrand, Backcountry Journeys Founder & Director
TRIP CATALOG
Download our Trip Catalog for detailed information on our many destinations for photography tours, workshops, and safaris.
All Images & Content are property of Backcountry Photography Tours, Workshops & Safaris LLCs - Copyright 2025
BACKCOUNTRY JOURNEYS
"Backcountry Journeys offers guests the unique opportunity to explore our natural world from behind their own lens. We run a selection of hand-crafted Photo Tours, Workshops & Safaris connecting passionate people to exceptional experiences. Locations worldwide.
All Images & Content are property of Backcountry Journeys Photography Tours, Workshops & Safaris LLC - Copyright 2025
TRIP CATALOG
Download our Trip Catalog for detailed information on our many destinations for photography tours, workshops, and safaris.