Mon - Fri: 8 am - 4 pm MT

About Backcountry Journeys
Why Choose Backcountry Journeys
If you're considering a photography trip, hear why Backcountry Journeys delivers the best experience in the industry.Frequently Asked Questions
If you're new to photography trips, or new to BCJ, you can find our common travel questions here.Fitness Levels
Our trips vary on physical intensity, and by reviewing our fitness levels, you can find out which trips may be more challenging, or aligned more closely with your comfort level.Meet The Crew
We've built an amazing team of experienced guides, and dedicated office staff that elevate your travel experience. Get to know their backgrounds, and hear their stories.Loyalty Program
We reward our frequent photo adventurers with exclusive discounts on amazing photography trips.Contact Us
If you need to get in touch with our office staff, or have additional business inquiries, you can find our information here.Refer a Friend
Know someone perfect for one of our tours? Recommend them through this quick form.Stay Up To Date On All Things
Backcountry Journeys
Backcountry Journeys
Our Photography Community
Our Webinars
Our regularly hosted webinars provide photography instruction from our own guides on a wide range of topics.Our Education Portal
Explore our library of articles that cover everything from common questions, to in-depth guides on how to achieve that perfect shot.Community Testimonials
We're proud to foster an amazing group of photo travelers, and here you can find their stories from their past adventures.Resources For Photographers
About Our Company
Resources For Photographers
About Our Company
Understanding the Exposure Triangle: A Simple Way to Drastically Improve Your Photography
Published March 1, 2024
Creating a high-quality image that can stand the test of time is a complex and intricate process, to say the least. Not only will you need to find yourself in the right place at the right time with the right gear, but you’ll also need to be equipped with the right knowledge and expertise as well.
Having a fundamental understanding of how your camera works and how to capture the image you picture in your head is ultimately more valuable than any piece of gear or technology will ever be.
At the end of the day, creating stunning images involves more than just owning a fancy camera. It requires mastering specific skills and techniques to maximize your camera's capabilities. One crucial aspect of photography that every photographer should understand is the exposure triangle, a fundamental concept in photography that greatly influences the quality and outcome of your images.

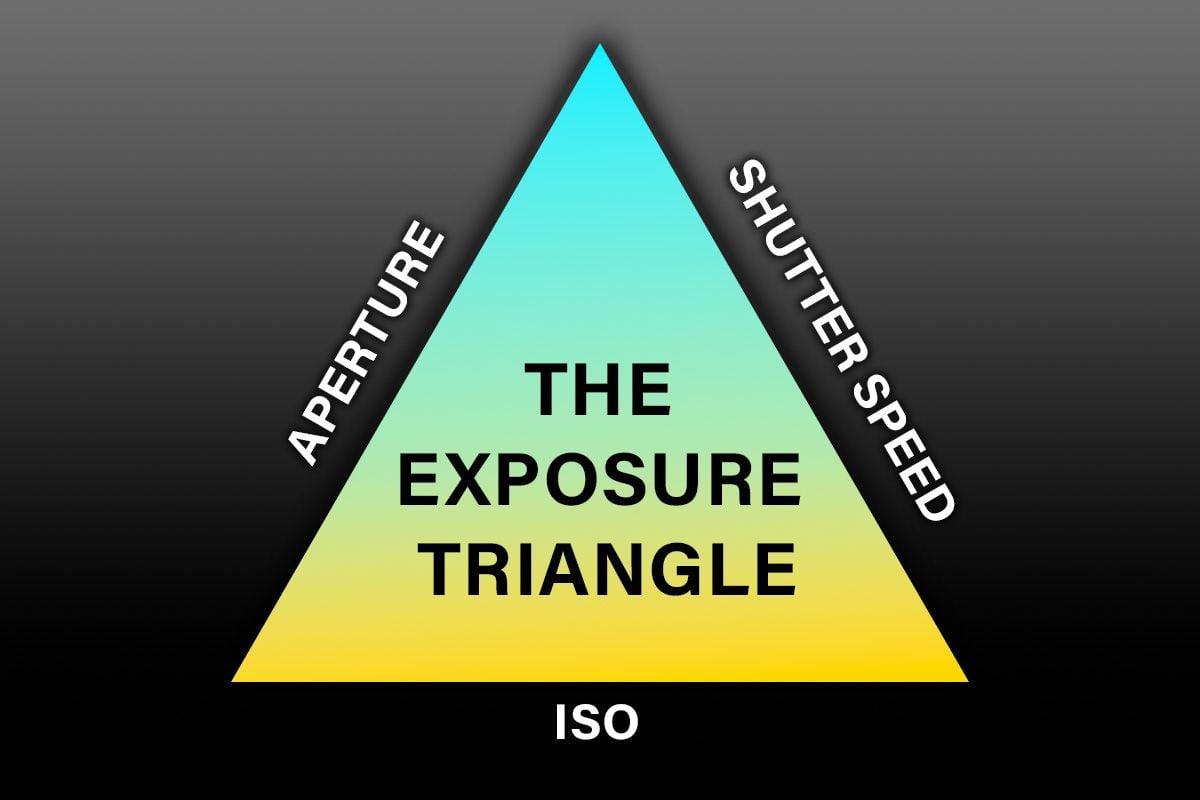
Understanding the Exposure Triangle
Like all triangles, the Exposure Triangle is built up of 3 crucial elements. These elements are Shutter Speed, Aperture, and ISO and they work together to control the overall exposure of any images you capture on your camera. In a very simple explanation, exposure refers to the amount of light being let into your camera and therefore the brightness of your image.
These three camera settings are the most influential and fundamental aspects of any image you will capture and understanding how they work will allow you to take your photography to new heights! Changing any one of them will alter your overall exposure and you will likely need to compensate for this by adjusting the other two settings. Ultimately, you’ll need to know how all three of these settings work in conjunction with one another. Let’s break it down and take a look at each of these settings.
Shutter Speed
Shutter speed determines how long the camera's shutter remains open, and therefore the amount of time your camera’s sensor is exposed to light. A good way to visualize this is to imagine shutters on a window in your house. Opening the shutters lets light in and closing the shutters prevents light from entering. The shutter on your camera works in the exact same way.
A faster shutter speed allows less light to enter your camera as the shutter is only open, and allows light to enter, for a very short period of time. Fast shutter speeds are necessary to capture fast-moving objects in crisp and sharp detail or when shooting at higher focal lengths.
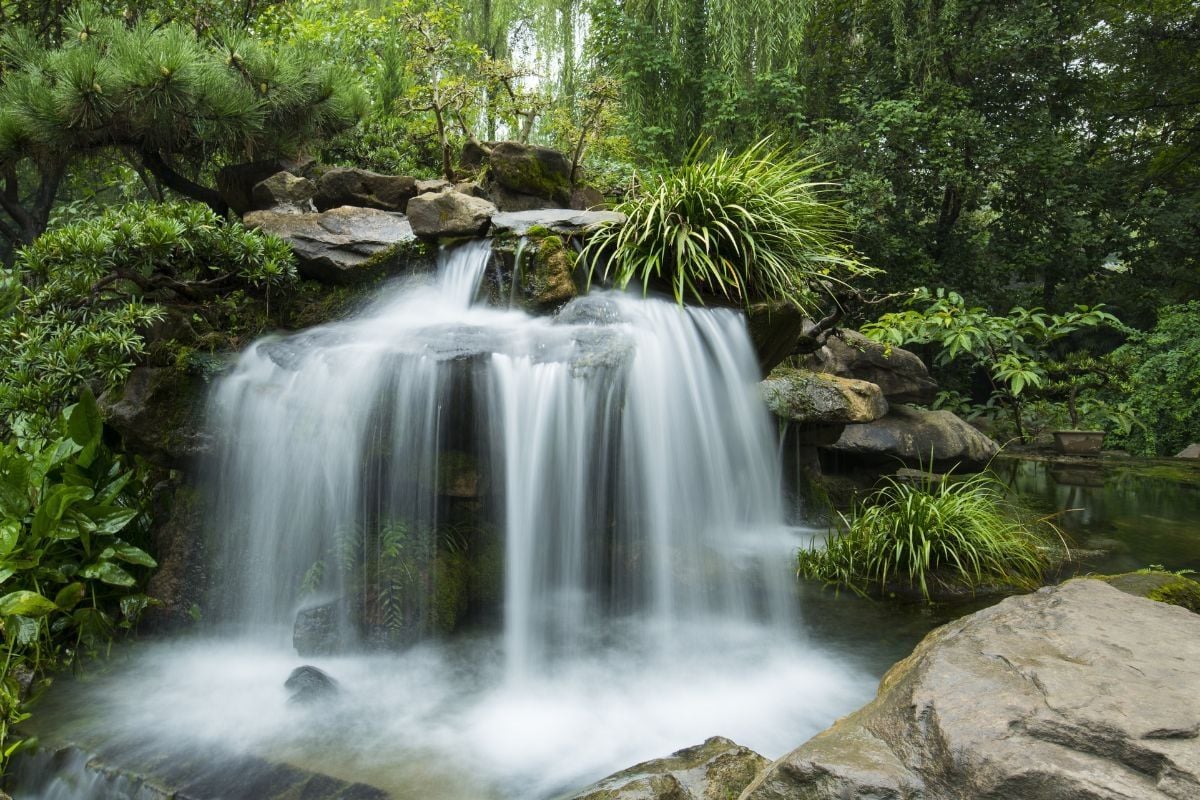
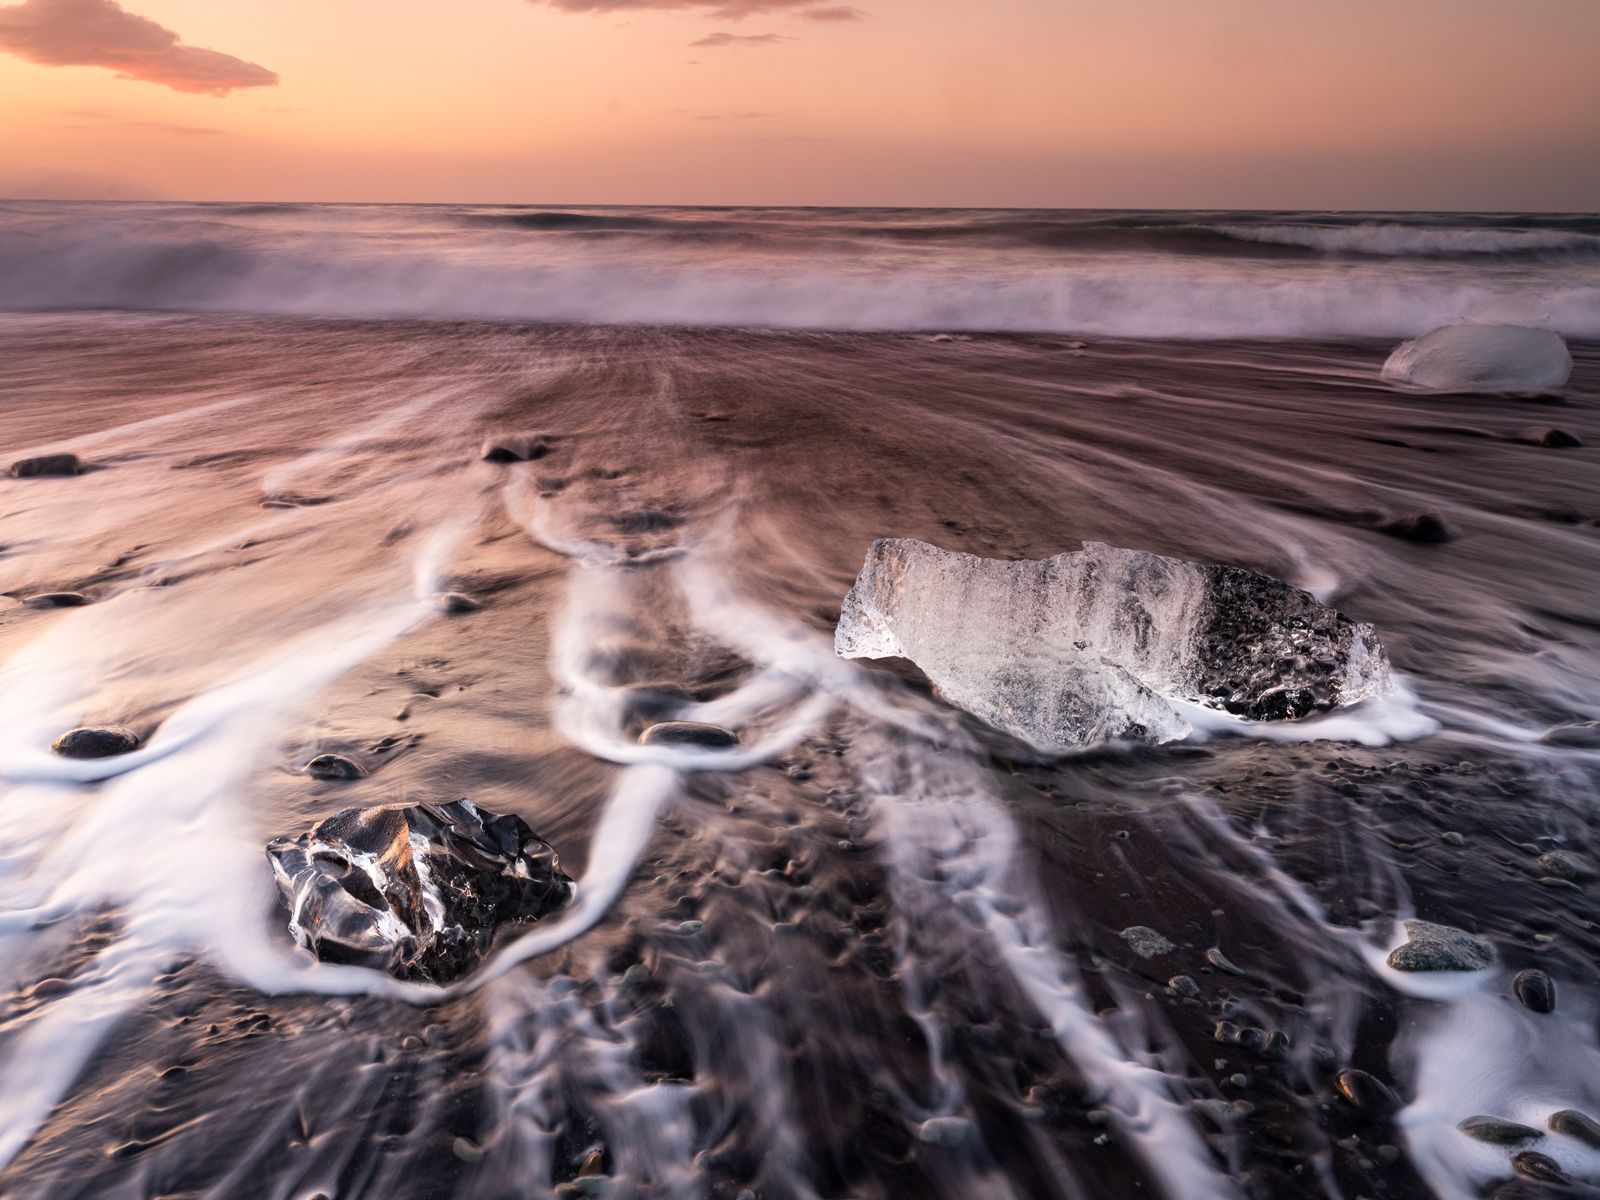
On the other hand, a slower shutter speed allows more light to hit the sensor because the shutter is open for longer periods of time. Slow shutter speeds are ideal for capturing motion blur or creating long-exposure effects like smooth-flowing water or streaking lights. You will also need to use slower shutter speeds when there is less environmental light. If you’re shooting very dim stars in the night sky a longer shutter speed is necessary to allow your camera’s sensor to detect this miniscule amount of light.
Check out this article to learn more about Shutter Speed and how it works!
Aperture
Aperture also controls the amount of light entering your camera but in a very different way. Instead of controlling the amount of time your camera allows light to enter, this setting controls the size of the opening that is letting light in. The aperture is very similar to the human eye in this way and more specifically the pupil. When we are in a low-light environment our pupils dilate or expand to allow more light in and when it’s very bright out our pupils contract to allow less light in. The aperture ring, which is an element of the lens, works in the exact same way.
Changing your aperture setting controls the amount of light that enters the camera by adjusting the size of the opening. A wider aperture (indicated by a lower f-number) allows more light to pass through, while a narrower aperture (higher f-number) lets in less light.
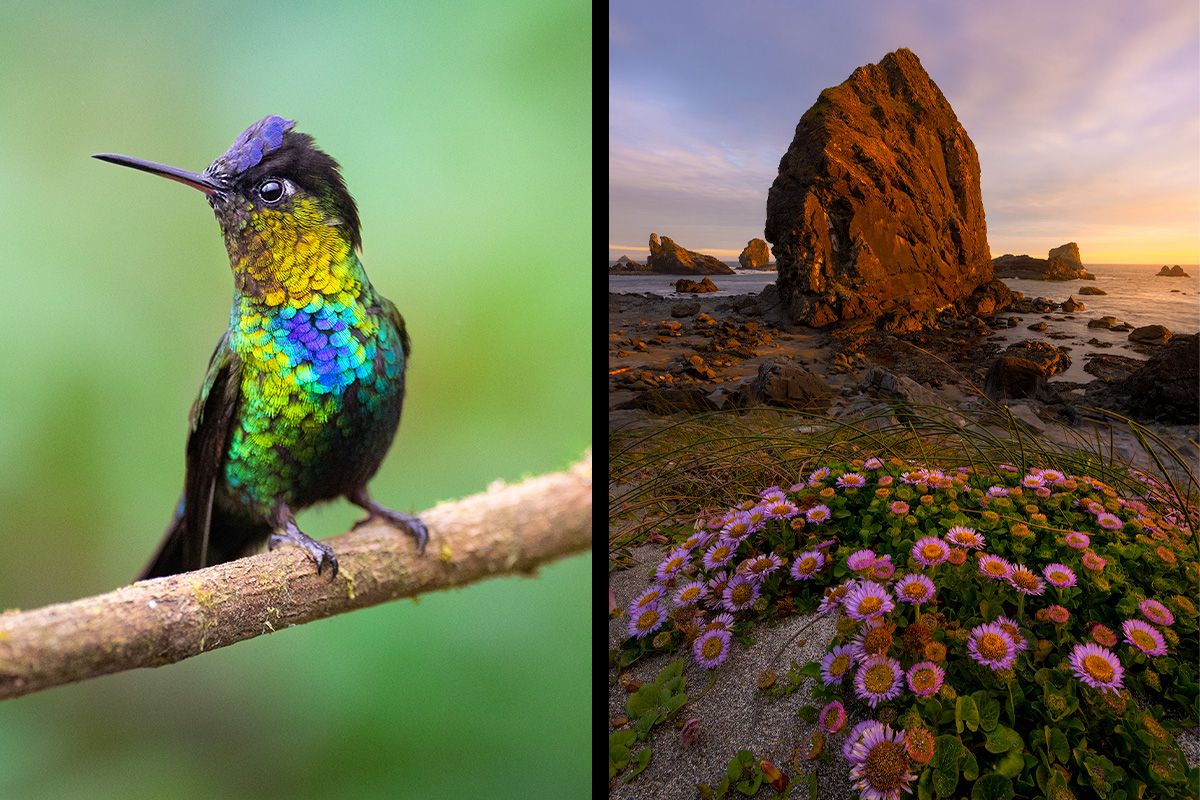
Another interesting and very important aspect of aperture is its effect on depth of field or how much of your scene is in focus. For landscape photography, where you often want everything in focus from the foreground all the way into the background, you'll typically use narrower apertures (higher f-numbers). But if you're aiming to isolate a specific subject, like an animal in a jungle, wider apertures (lower f-numbers) can create a beautiful blurred background effect allowing your subject to stand out.
Check out this article to learn more about Aperture and how it works!
ISO
And finally, the third element of the exposure triangle is ISO. This setting is simply a representation of your camera’s sensitivity to light. A higher ISO value equates to a higher sensitivity and vice versa. If you’re shooting in low light conditions, you’ll likely want to increase your camera’s sensitivity to light as there is less environmental light available. In this case, you may need to use a higher ISO value. Alternatively, if you’re shooting on a bright sunny day, you’ll likely need to opt for a lower ISO value as there is ample environmental light.
In the old days, before digital cameras existed, this setting was referred to as film speed. Photographers would buy rolls of film with varying film speeds that determined said film's sensitivity to light.
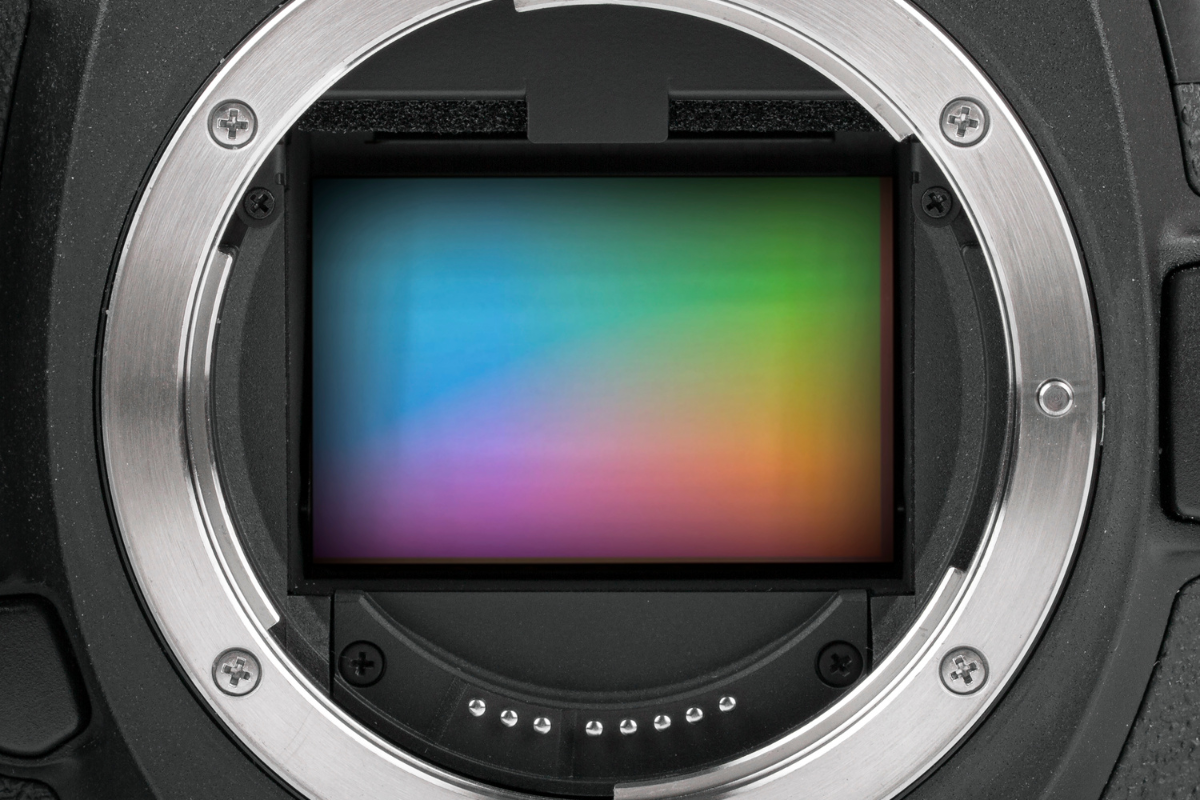
Today, all digital cameras absorb light through sensors which are high-tech panels that are jam-packed with tiny light-sensitive dots called pixels. Each of these pixels absorbs light and translates this into digital information that ultimately creates an image. When you increase your ISO you are effectively amplifying the electronic signal being sent from each pixel.
A really neat and convenient capability of modern-day cameras is that we can now change their sensitivity to light with the click of a button rather than purchasing a whole new role of film and having to swap it out. This is great and makes life a whole lot easier, but this feature comes at a price. As we continue to raise our ISO value, we introduce more digital noise into our images. If we raise this value too high the noise can become very distracting and ultimately this can completely ruin or destroy your work. Be careful not to raise your ISO too high as you embark on your photographic endeavors.
Check out this article to learn more about ISO and how it works!
Bringing it All Together
Now that we’ve covered the three components of the exposure triangle, let's explore how they work together to create a properly exposed image. The key here is balance: adjusting one element affects the other two, so it's essential to find the right combination for each situation. It’s worth mentioning that this can be a complex and delicate act. For those of us new to photography, it will take time and practice to fully understand this.
In my opinion, the best place to start is to decide which setting and therefore which element of exposure is the most important in a given situation. This will vary depending on what you’re shooting and the specific situation you’re in. It can also be different for each photographer and their unique photographic style. For instance, maybe depth of field is the most important aspect of your image. In this instance, you may want to set your aperture first and then adjust the other settings to make this work. Or perhaps you want to either freeze or blur motion. If this is the case, you’ll likely want to set your shutter speed and then go from there. Let’s look at 2 hypothetical examples to elaborate on this:
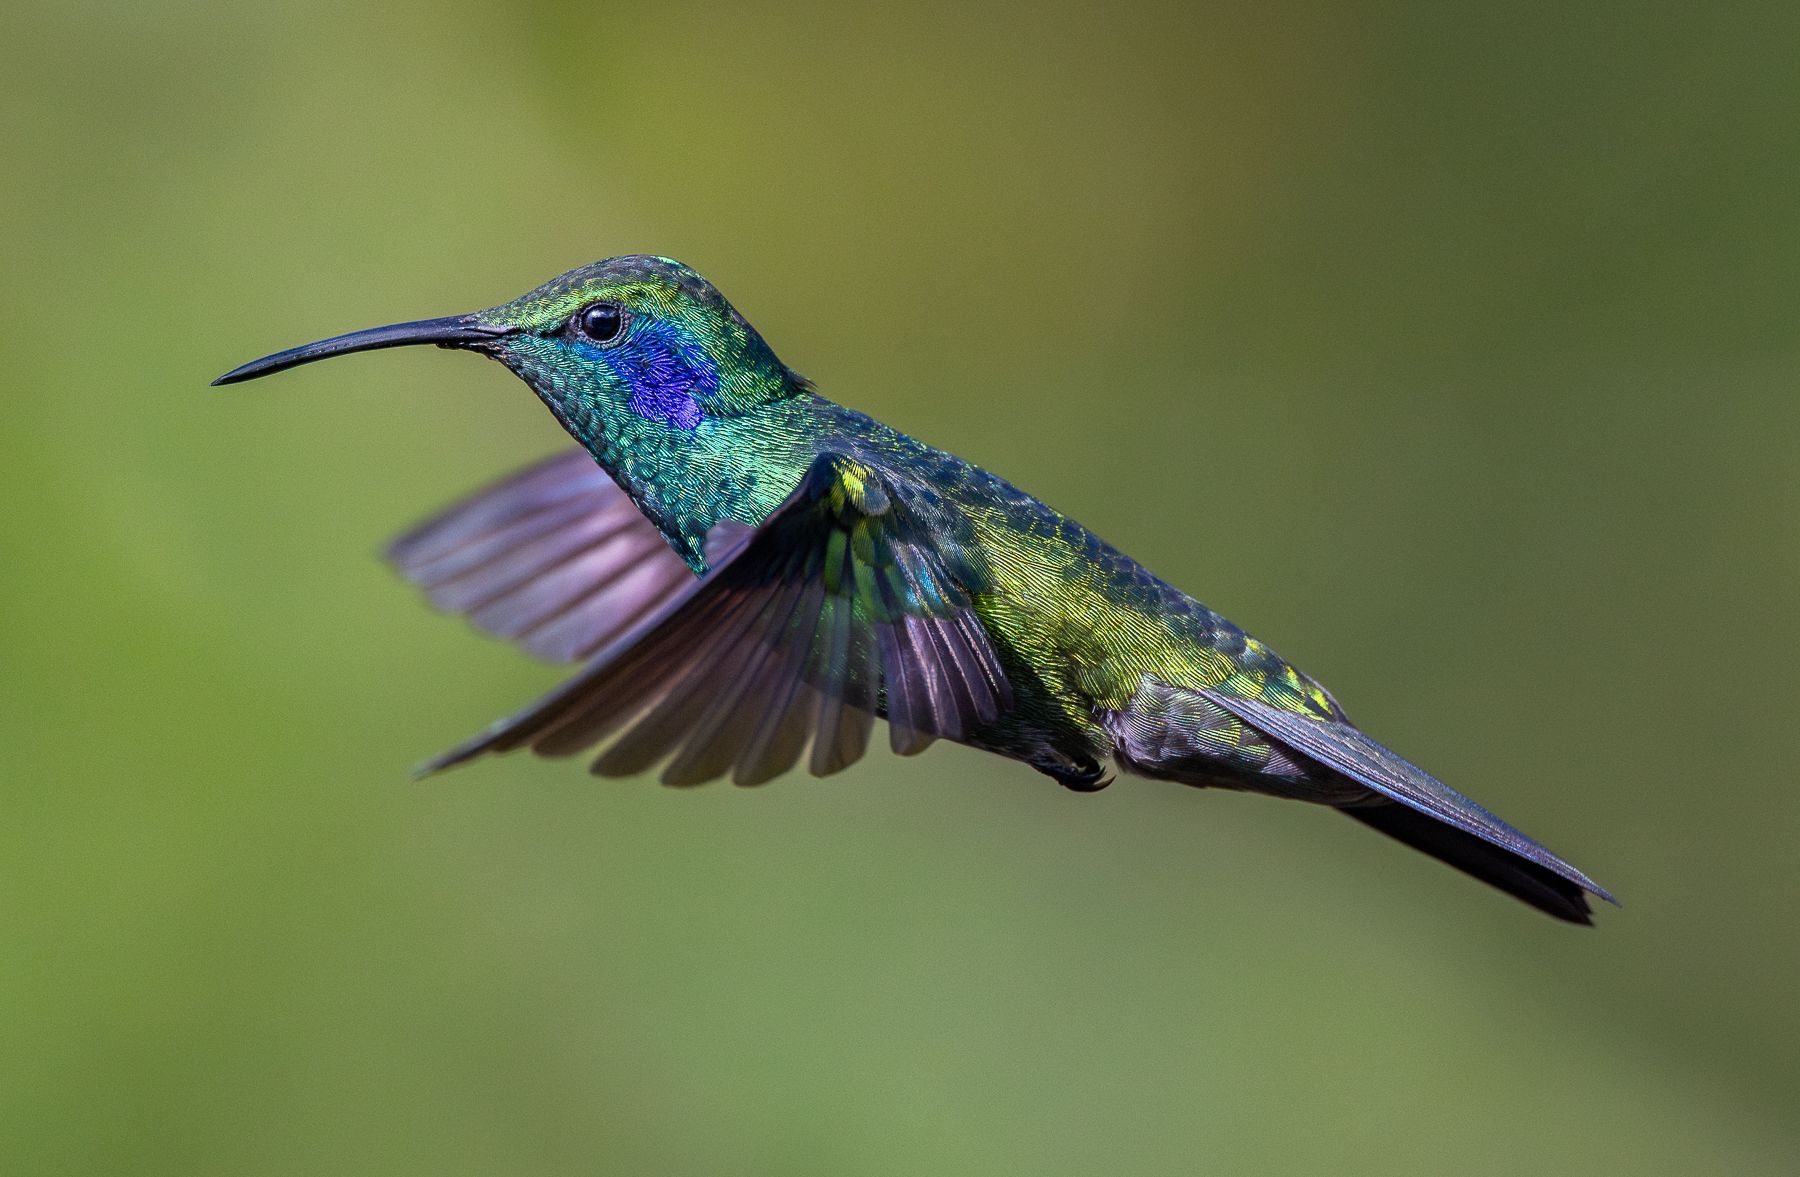
Let’s say I’m photographing a distant and fast-moving wildlife subject with a super-telephoto lens, a small bird for example. The first setting I will select is often shutter speed. I will need a very fast shutter speed to freeze any action and to prevent any unwanted motion blur caused by camera shake. Once I have determined my shutter speed, let’s say 1/2000th of a second, I will then decide what aperture I want to use. In the realm of wildlife photography, I often like to isolate my subjects from their environments by using a shallow depth of field, so I will opt to use a wide-open aperture, let’s say f/4. This will not only make my subject pop but it will also allow more light to enter my camera and I’ll likely need this light due to my fast shutter speed. Then I will then select an ISO value. When photographing wildlife, I often let my camera select this automatically and I will monitor the value to make sure it isn’t too high. In this instance let’s say my camera has opted for an ISO of 1600. And there we have it. These are settings that I commonly find myself using when photographing wildlife, but of course, this is just an example of a very specific situation. Your settings will likely be different depending on the situation you find yourself in.
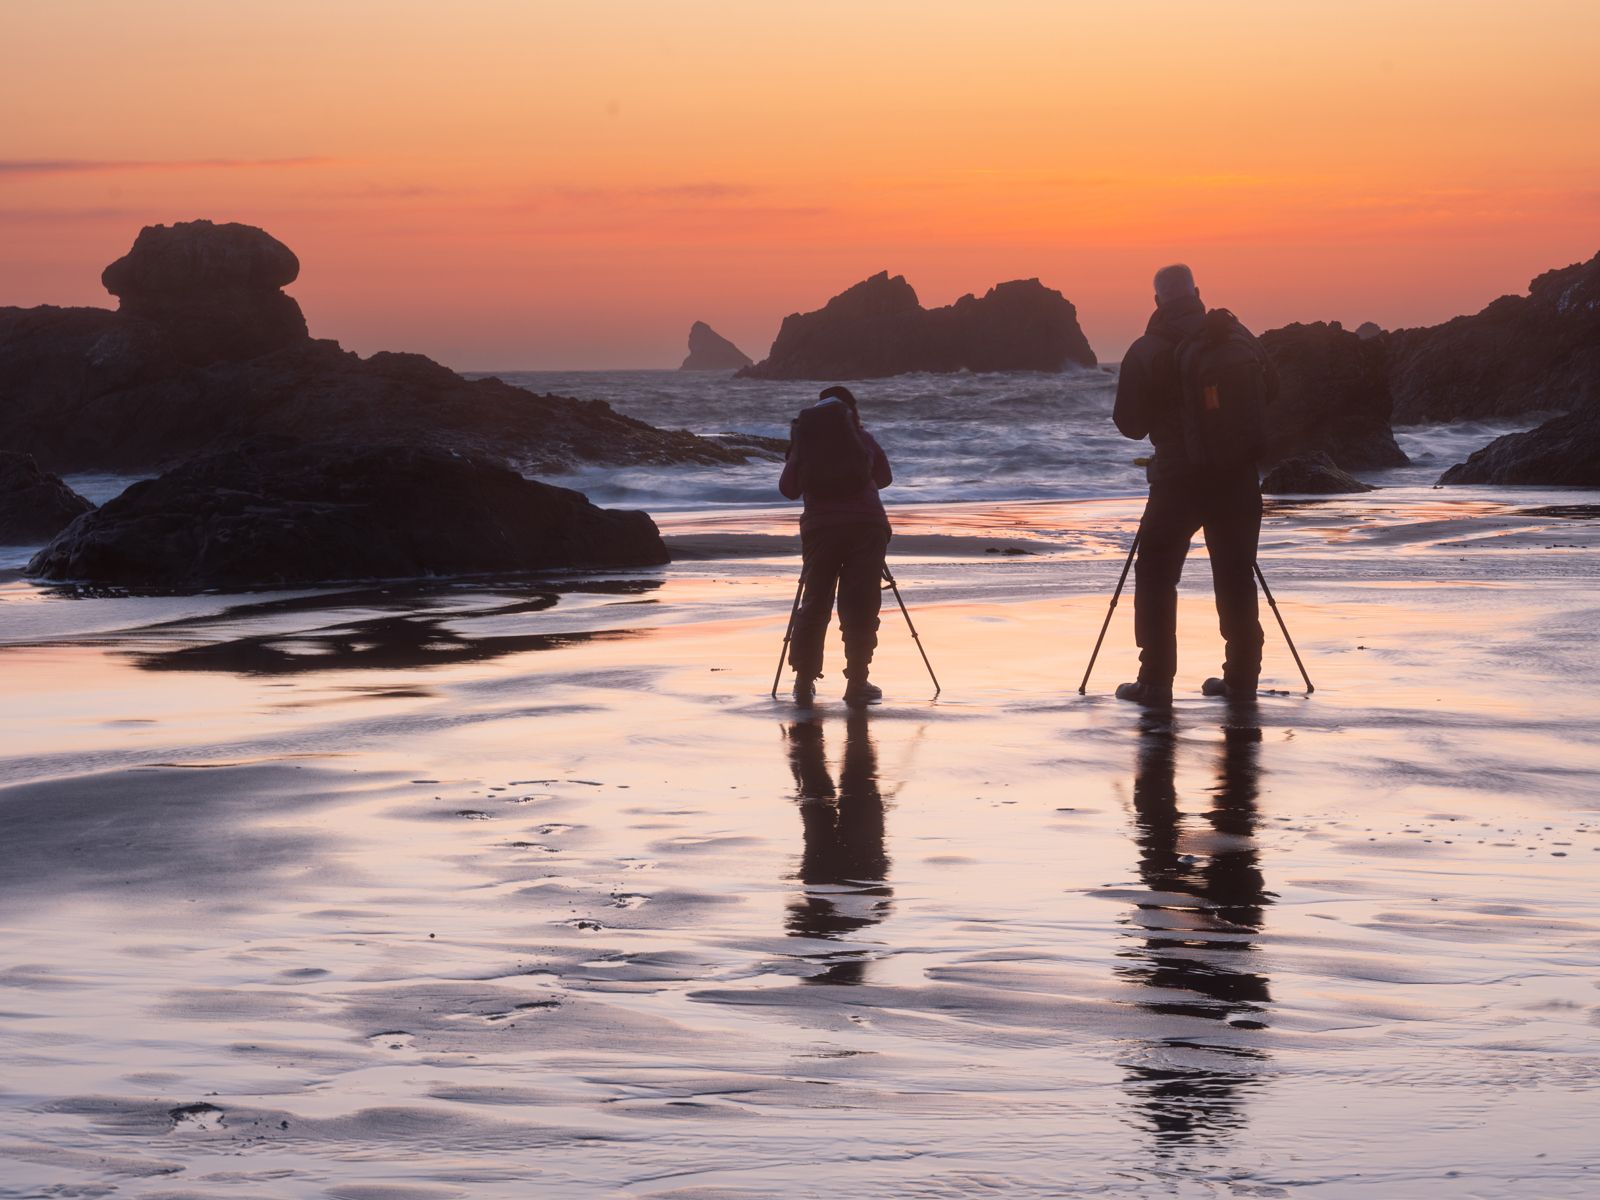
To portray the opposite side of the spectrum, here is one more hypothetical example of a very different situation: Let’s say I’m photographing a desert landscape just after sunrise using a wide-angle lens and a tripod. In this instance, I would likely select my aperture first because I want to prioritize my depth of field. I’ll select a wide depth of field, let’s say f/16, because I want both my foreground and background to be in focus. This narrow aperture will give me a wide depth of field, but it will also let in less light. Not to worry, I can compensate for this with either shutter speed or ISO. Because I’m using a tripod and nothing is moving in my scene I can select a slow shutter speed, let’s say 1/25th of a second, allowing more light to enter my camera. Additionally, because I’m using a tripod and have flexibility with shutter speed, I can opt for the lowest ISO possible to reduce any unwanted noise from ruining my image. I often shoot at ISO 100 or 200 if possible, when capturing landscape images.
I know that both of these examples are complex, but I hope this paints a clearer picture of how the three elements of the exposure triangle work together. As you change one setting you will need to change the other two to compensate.
Getting Started
If you’re looking to further understand how the exposure triangle works a great place to start is by slowly unlocking your camera’s settings. Allow your camera to do the heavy lifting off the bat and slowly start making decisions for yourself as you begin to understand what’s going on.
For new photographers, I would start out by capturing images using your camera’s “automatic” setting. Modern-day cameras are quite capable, and this will allow you to observe the settings your camera automatically chooses for given situations. Once you’ve done this you can switch over to either the “aperture priority” or “shutter priority” modes. This will allow you to manually select either an aperture or shutter speed setting and the camera will then select the other settings. This is a great way to see how one setting affects the other two corners of the exposure triangle. After this, you can then move on to the “manual” mode giving you full control over shutter speed, aperture, and ISO.
One final thing I’d like to touch on is that you should constantly monitor your light meter and histogram. These are two incredibly helpful visual tools that can tell you a lot about the exposure of an image. I always keep an eye on my histogram to make sure I’m properly exposing an image and not losing any information. As you change settings on your camera be sure to monitor your meter and histogram to see how these are affecting the overall exposure of your image.
Check out this article to learn more about the histogram!
Conclusion
And there we have it. I know this has been a longer article but I really wanted to go into depth on one of the most important elements of photography. Mastering the exposure triangle is essential for photographers of all levels. Whether you're a beginner or a seasoned pro, understanding how aperture, shutter speed, and ISO work together empowers you to take control of your camera and create stunning images in any situation. So next time you're out shooting, remember to think about the exposure triangle and experiment with different settings to capture the perfect shot.
I hope this article has been helpful and informative and I’ll see you on the next one!

We offer world-class travel photography
experiences around the world.
Each tour is bundled with lodging, meals, and transportation between workshops included, allowing you to focus on photography instead of the stress of traveling.
experiences around the world.
Each tour is bundled with lodging, meals, and transportation between workshops included, allowing you to focus on photography instead of the stress of traveling.
Get Our Trip Catalog
Receive a trip catalog that highlights all of our upcoming photo tours and workshops.Schedule a Trip Consultation
Meet with a photo experience coordinator, and experience a personal touch to your booking experience.Landscape Guide
Receive a FREE Landscape Cheat Sheet Written By a Pro Photographer.Webinars
Our regularly hosted webinars provide photography instruction from our own guides on a wide range of topics.Education Portal
Explore our library of articles that cover everything from common questions, to in-depth guides on how to achieve that perfect shot.
Backcountry Journeys
Connecting Passionate People To
Exceptional Experiences.
Exceptional Experiences.
Business Hours:
Mon-Fri, 8AM-4PM MT
928-478-1521
adventure@backcountryjourneys.com
Mon-Fri, 8AM-4PM MT
928-478-1521
adventure@backcountryjourneys.com
arrow_drop_down_circle
Divider Text
All Images & Content Are Property Of Backcountry Journeys Photography Tours, Workshops & Safaris LLC - Copyright 2026
About Us
Receive a Digital Trip Catalog
Find an upcoming photography tour with our interactive catalog.